Troubleshoot Windows 10 Laptop WiFi Connection
Having trouble with your Windows 10 laptop WiFi connection? Let’s troubleshoot it together.
Enable WiFi and Check Network Settings
![]()
To troubleshoot your Windows 10 laptop WiFi connection, the first step is to ensure that your WiFi is enabled. To do this, you can click on the WiFi icon located in the taskbar at the bottom right corner of your screen. If the WiFi is disabled, you can click on the icon and toggle the switch to enable it.
Once you have enabled WiFi, the next step is to check your network settings. You can do this by right-clicking on the WiFi icon in the taskbar and selecting “Open Network & Internet settings”. From there, you can click on “Change adapter options” to view your network connections.
In the Network Connections window, you will see a list of available network connections. Look for your WiFi connection and right-click on it to access the context menu. From the menu, select “Properties” to view the network settings for your WiFi connection.
In the WiFi Properties window, you can check the status of your connection and make sure that it is set to connect automatically. You can also check the IP address, subnet mask, and default gateway to ensure they are configured correctly.
If you are still experiencing issues with your WiFi connection after enabling WiFi and checking your network settings, you may need to troubleshoot further or contact your Internet service provider for assistance.
Restart Modem and Router

If you are experiencing Wi-Fi connectivity issues on your Windows 10 laptop, a simple solution to try is restarting your modem and router. This can often resolve common network problems and improve your connection.
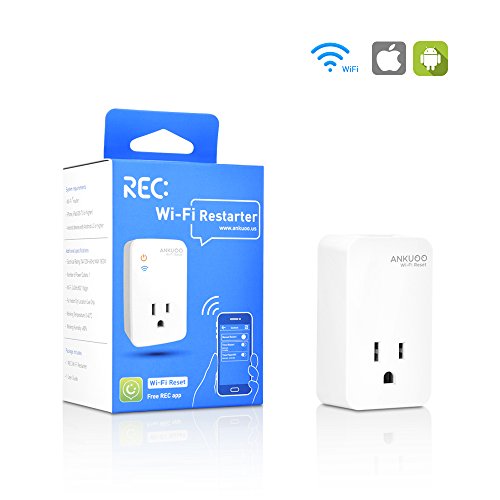
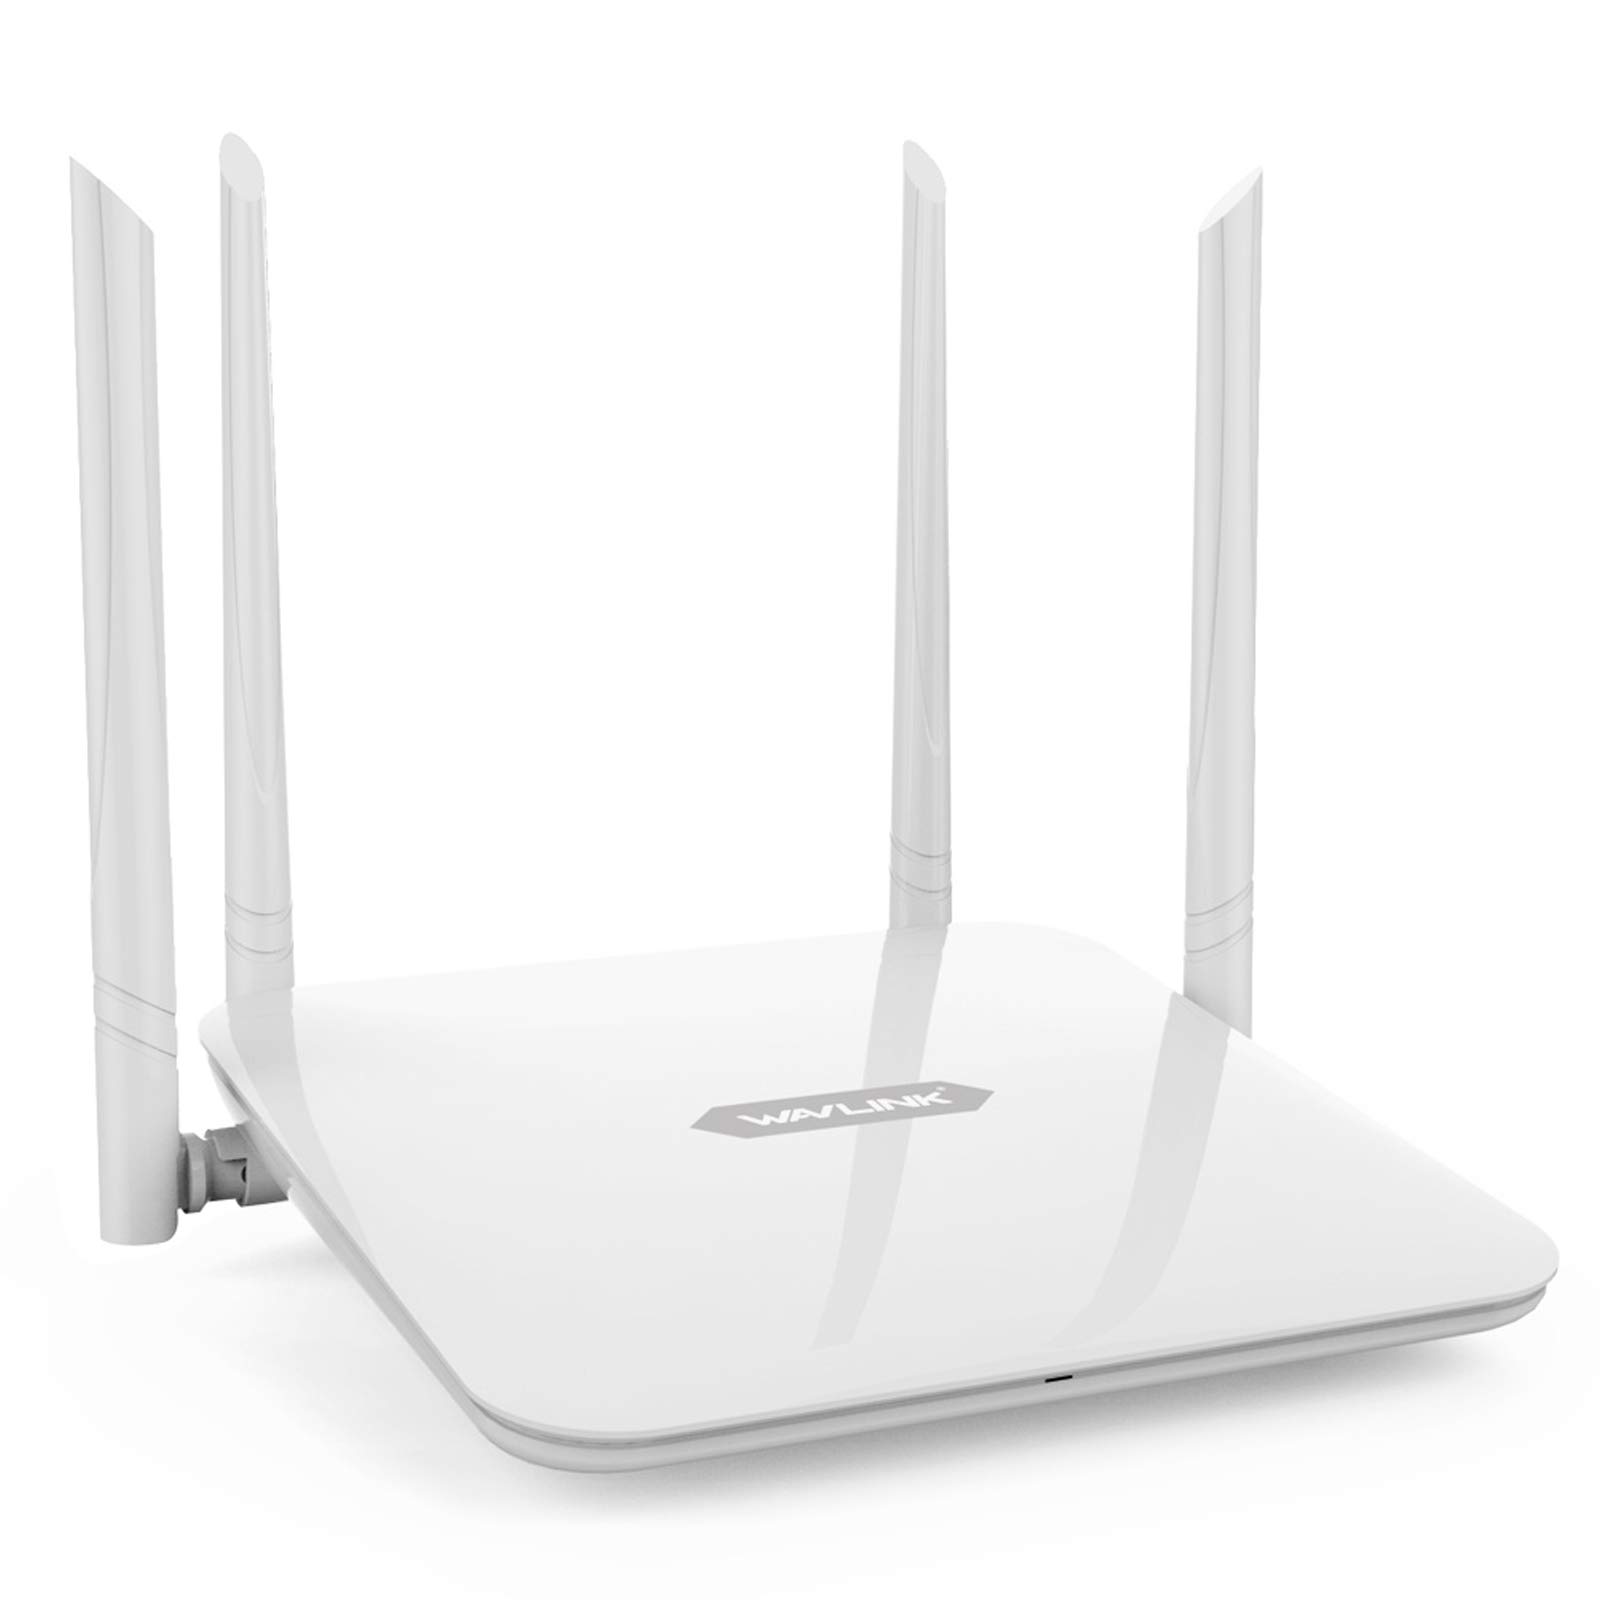
To restart your modem and router, begin by locating the power cables for both devices. Unplug the power cables from the back of the modem and router. Wait for about 30 seconds before plugging them back in.
Once you have plugged the power cables back in, wait for both devices to fully power up and establish a connection to the network. This process may take a few minutes, so be patient.
After the modem and router have restarted, try reconnecting to your Wi-Fi network on your Windows 10 laptop. You may find that the connection is now more stable and reliable.
If restarting the modem and router does not resolve your Wi-Fi connectivity issues, you may need to further troubleshoot your network or contact your Internet service provider for assistance.
Use Network Troubleshooter
- Open the Network Troubleshooter by right-clicking on the network icon in the system tray.
- Click on “Troubleshoot problems” and follow the on-screen instructions.
- If the Troubleshooter identifies an issue, it will offer potential solutions to fix it.
- Restart your laptop after applying any recommended fixes.
- If the issue persists, reach out to your network administrator or service provider for further assistance.
Update WiFi Drivers
To update your WiFi drivers on a Windows 10 laptop, follow these steps:
Step 1: Press the Windows key + X on your keyboard to open the context menu.
Step 2: Click on Device Manager from the menu that appears.
Step 3: Locate the Network adapters section and expand it.
Step 4: Right-click on your WiFi adapter and select Update driver.
Step 5: Choose Search automatically for updated driver software.
Step 6: Wait for Windows to search for the latest drivers and follow any on-screen instructions to complete the update.
Updating your WiFi drivers can help resolve connectivity issues and ensure you have the latest features and security enhancements. Make sure to periodically check for driver updates to keep your system running smoothly.
Check Service Settings and SSID Broadcast

To troubleshoot your Windows 10 laptop WiFi connection, start by checking the service settings and SSID broadcast. These settings can affect your ability to connect to a wireless network.
1. Check Service Settings: Make sure that the WiFi service is running on your laptop. To do this, go to the Start menu, type “services.msc” in the search bar, and press Enter. Look for the “WLAN AutoConfig” service in the list of services and make sure it is set to “Automatic” and is running.
2. SSID Broadcast: If you are having trouble connecting to a specific network, check if the SSID (Service Set Identifier) broadcast is enabled on the wireless router. This broadcast allows your laptop to detect and connect to the network. You can usually find this setting in the router’s admin interface.
If you still can’t connect to the WiFi network after checking these settings, try restarting your laptop and router. Sometimes a simple reboot can resolve connectivity issues.
If the problem persists, consider checking for any interference from other electronic devices or neighboring networks operating on the same frequency. You can change the channel on your router to avoid interference.
Remember to keep your laptop’s WiFi drivers updated to ensure compatibility with the latest networks and protocols.
Address Device Interference
Next, check for any physical obstacles that may be blocking the WiFi signal. Make sure there are no walls, large furniture, or other obstructions between your laptop and the wireless router that could be affecting the signal strength.
If you are still experiencing interference, try changing the channel on your wireless router. This can help avoid overlapping frequencies with other nearby networks and reduce interference. Log in to your router’s settings and switch to a less congested channel to improve your WiFi connection.
Additionally, consider updating the firmware on your router and network adapters to ensure they are running the latest software version. This can help improve performance and stability of your WiFi connection.
If you are still facing interference issues, you may want to consider investing in a WiFi range extender or a mesh network system to improve the coverage and signal strength in your home or office. These devices can help eliminate dead zones and provide a more reliable connection.
Remember to regularly restart your router and modem to refresh the connection and clear any temporary issues that may be causing interference. This simple step can often resolve WiFi connectivity problems.
Explore Alternative Operating Systems
If you are experiencing issues with the WiFi connection on your Windows 10 laptop, consider exploring alternative operating systems as a troubleshooting solution. One option you can consider is installing a Linux distribution like Ubuntu or Fedora as an alternative to Windows 10. Linux distributions are known for their stability and reliability when it comes to networking issues.
Before making any changes to your operating system, try basic troubleshooting steps such as restarting your laptop, resetting your router, or updating your network drivers. These simple steps can often resolve common WiFi connection issues without the need to switch operating systems.
If you are still facing WiFi connection problems after trying basic troubleshooting steps, consider using a live USB or CD to boot into a Linux distribution and test the WiFi connection. This will help you determine if the issue is specific to Windows 10 or if it is a more general networking issue.
Another alternative operating system to explore is Chrome OS, which is known for its simplicity and speed. Chrome OS is designed to work seamlessly with Google’s suite of applications and services, making it a good option for users who rely heavily on the cloud for their computing needs.
Keep in mind that switching to an alternative operating system may require some time to adjust to the new interface and functionality. Be sure to back up any important files before making the switch and consider consulting online forums or communities for guidance on setting up your WiFi connection on the new operating system.
FAQ
Why is my laptop not finding any Wi-Fi networks?
Your laptop may not be finding any Wi-Fi networks because the physical Wi-Fi switch on your laptop is turned off. To resolve this issue, ensure that the switch is turned on and check for an indicator light to confirm. Additionally, running the Network troubleshooter can help diagnose and fix common connection problems.
Why did my laptop suddenly stop detecting Wi-Fi?
Your laptop may have suddenly stopped detecting Wi-Fi due to a variety of reasons such as wireless signal interference, airplane mode being turned on, stalled network services, or an out-of-date network adapter.
Why is my laptop not connecting to Wi-Fi but my phone is?
Your laptop may not be connecting to Wi-Fi while your phone is due to various reasons such as the router being down, incorrect password entry, distance from the router, or compatibility issues with the network.
Why is my laptop not showing Wi-Fi option?
Your laptop may not be showing the Wi-Fi option because the Wi-Fi adapter needs to be manually enabled. Go to Network and Sharing Center, click on Change adapter settings, right-click on the Wi-Fi adapter, and select Enabled.


