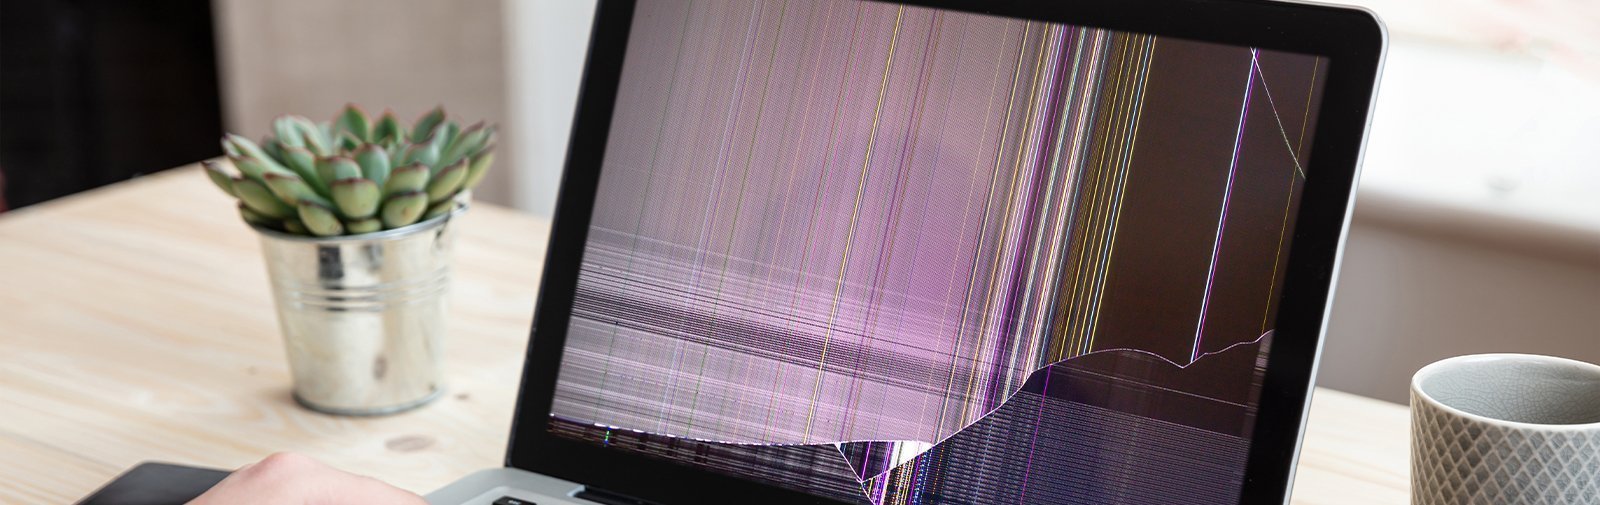
Fixing Light Spot on Laptop Screen
Shedding Light on a Glaring Issue with Laptop Screens
Dead Pixel
If you have a dead pixel on your laptop screen, you can fix it with a few simple steps. First, turn off your laptop and unplug it from the power source. Next, gently clean the affected area with a microfiber cloth to remove any dust or debris. If the dead pixel is still visible, try applying slight pressure to the area using a soft towel. Be careful not to apply too much pressure, as this can cause further damage.
Finally, turn on your laptop to see if the dead pixel has been fixed. If not, you may need to consult a professional for further assistance.
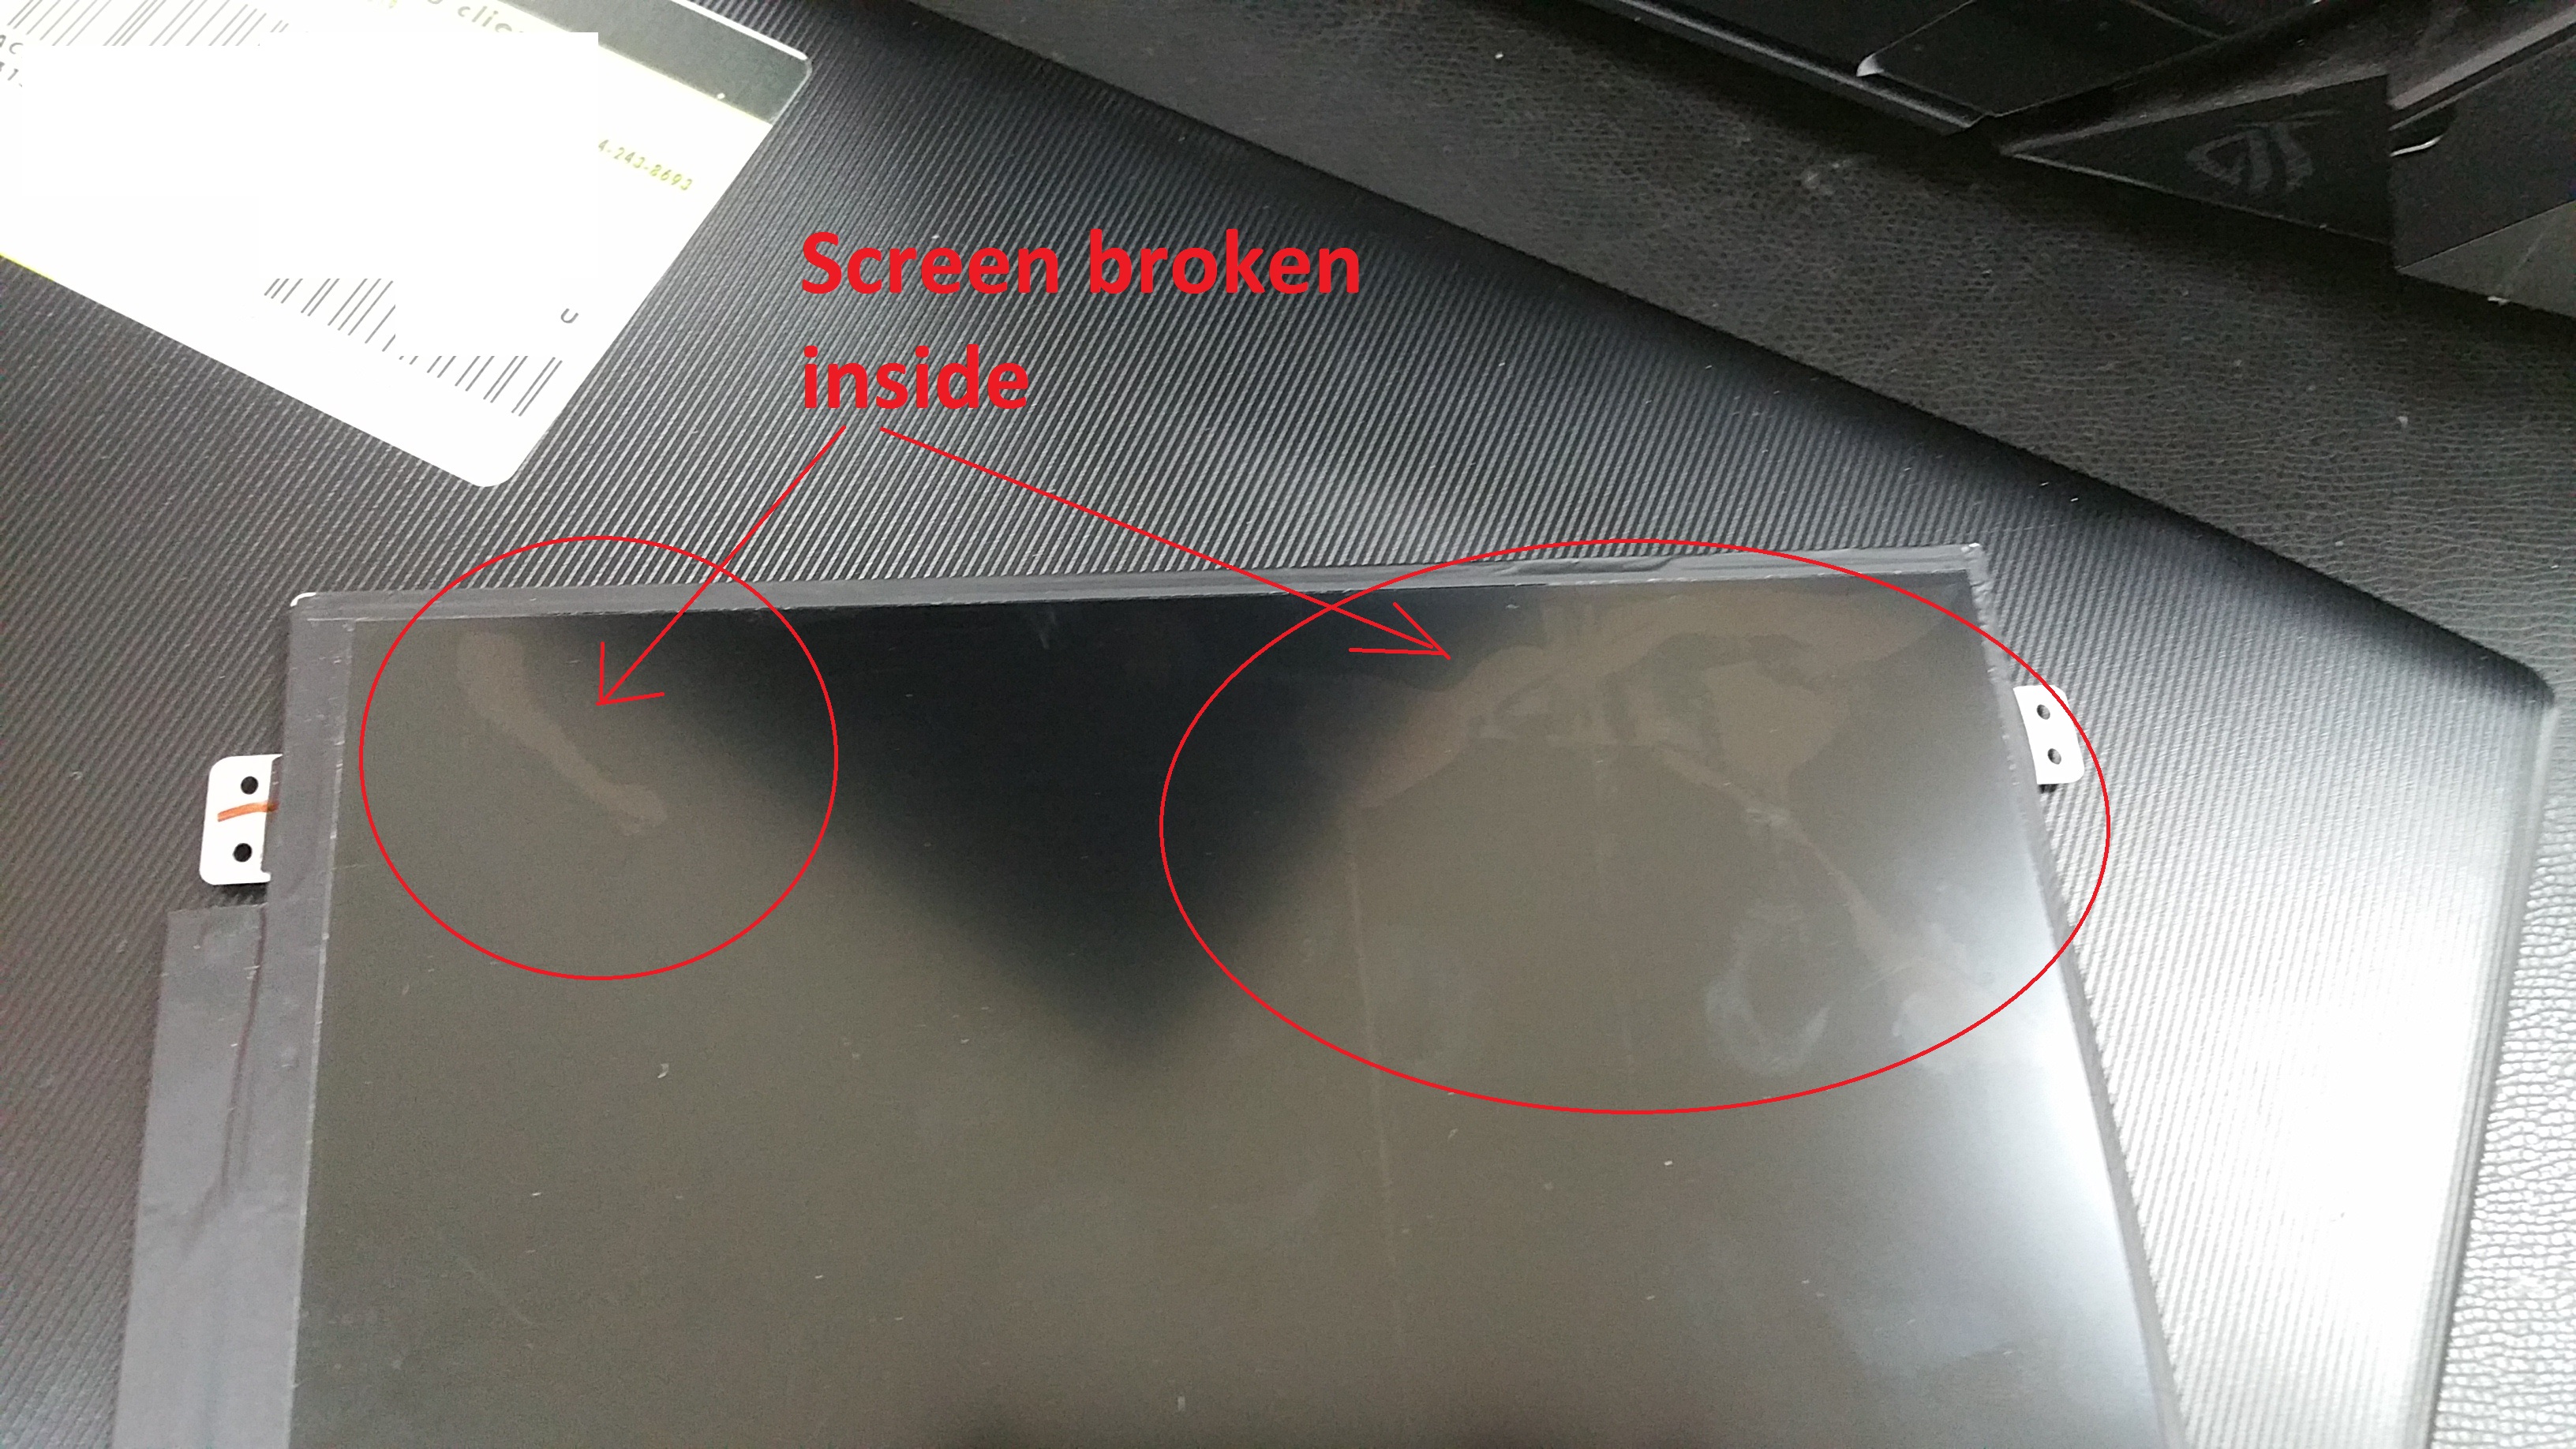
Screen Damage
If your laptop screen has a light spot, it may be due to screen damage. To fix this issue, follow these steps:
1. Power off your laptop and unplug it from the power source.
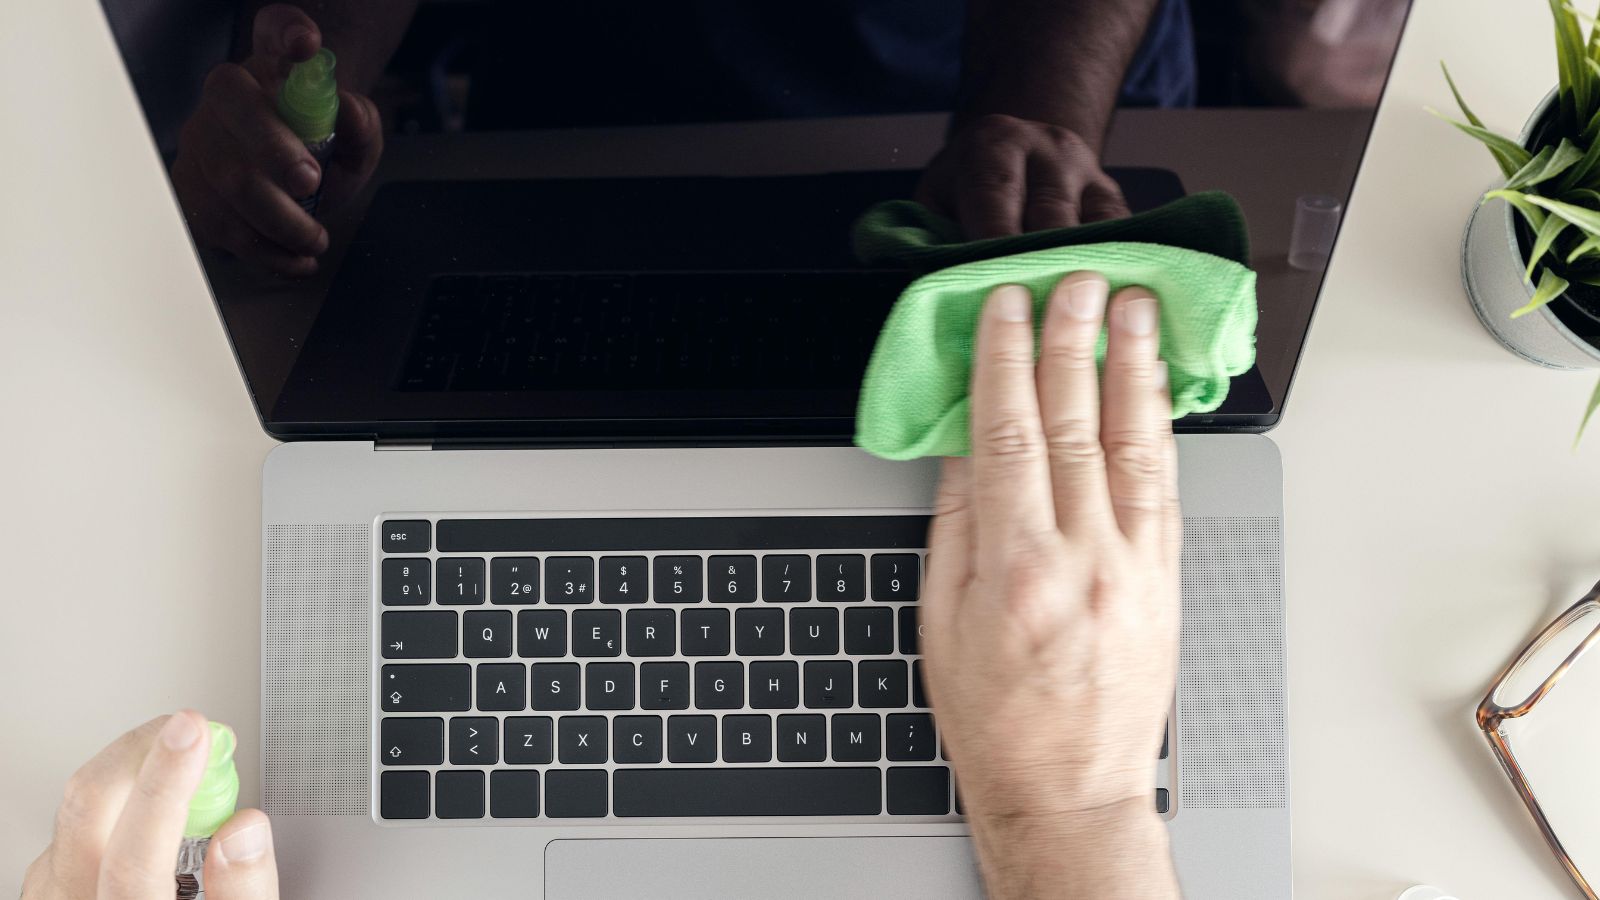
2. Gently clean the screen using a microfiber cloth to remove any dust or debris.
3. Inspect the screen for any visible damage, such as scratches or cracks. If you find any, you may need to replace the screen.
4. If there are no visible damages, the issue may be caused by a defective pixel. You can try using a pixel-fixing tool or software to resolve this.
5. If the light spot persists, it could be a hardware issue. In this case, it is recommended to contact your laptop manufacturer or a professional technician for further assistance.
python

import time
def simulate_light_spot():
screen_width = 80
screen_height = 24
# Initialize a blank screen
screen = [[' '] * screen_width for _ in range(screen_height)]
# Set the position of the light spot
spot_row = screen_height // 2
spot_col = screen_width // 2
while True:
# Clear the screen
print('�33c', end='')
# Update the light spot position
spot_row = (spot_row + 1) % screen_height
spot_col = (spot_col + 1) % screen_width
# Draw the screen with the light spot
for row in range(screen_height):
for col in range(screen_width):
if row == spot_row and col == spot_col:
print('*', end='')
else:
print(screen[row][col], end='')
print()
# Pause for a short period
time.sleep(0.1)
simulate_light_spot()
Hardware Failure
If you’re experiencing a light spot on your laptop screen, it could be due to a hardware failure. This issue is often caused by a defective pixel or a problem with the backlight of your liquid-crystal display. To fix it, you can try troubleshooting steps. Start by restarting your laptop and checking for any loose electrical connectors. If that doesn’t work, you may need to replace the backlight or even the entire screen. If you’re not comfortable doing this yourself, consider taking it to a professional.
Loose LED Reflector
If you notice a light spot on your laptop screen, it may be caused by a loose LED reflector. Here’s how to fix it:
1. Turn off your laptop and unplug it from the power source.
2. Gently clean the screen with a soft, lint-free cloth to remove any dust or smudges.
3. Carefully remove the bezel or frame around the screen using a plastic tool.
4. Locate the loose LED reflector and reposition it back into place, securing it with adhesive if necessary.
5. Reassemble the bezel and plug your laptop back in.
6. Turn on your laptop and check if the light spot is gone.
7. If the issue persists, it may be a more complex problem that requires professional assistance.
Graphic Card Driver Issues
Graphic card driver issues can sometimes result in a light spot on your laptop screen. To fix this problem, follow these steps:
1. Open the Device Manager by pressing the Windows key + X and selecting Device Manager from the menu.
2. Expand the Display adapters category and right-click on your graphic card driver.
3. Select Update driver software and choose the option to automatically search for updated driver software.
4. If an update is found, follow the on-screen instructions to install it.
5. If no updates are available or the issue persists, try uninstalling the driver by right-clicking on it and selecting Uninstall.
6. Restart your computer and Windows will automatically reinstall the driver.
7. If the light spot is still present, try adjusting the brightness and contrast settings of your monitor.
Stuck Pixel
If you have a stuck pixel on your laptop screen, here’s a simple fix you can try.
1. Turn off your laptop and disconnect the power supply.
2. Take a soft cloth or towel and dampen it slightly with water.
3. Gently press the cloth against the stuck pixel.
4. While applying slight pressure, turn on your laptop.
5. Once your laptop is turned on, remove the cloth.
Note: Be careful not to apply too much pressure, as it may damage your screen.
If the stuck pixel persists, you may need to consult a professional for further assistance.
Loosely Connected Display Cables
If you are experiencing a light spot on your laptop screen, it may be caused by loosely connected display cables. To fix this issue, follow these steps:
1. Power off your laptop and unplug it from the power supply.
2. Gently remove the bezel or frame surrounding the screen.
3. Locate the display cables connected to the back of the screen.
4. Ensure that the cables are securely plugged into the connectors on the back of the screen and the motherboard.
5. If the cables are loose, carefully reseat them.
6. Reassemble the bezel or frame and power on your laptop to check if the light spot is resolved.
This troubleshooting step can help address display issues caused by loose connections.
Wrong Internal Circuit
If you are experiencing a light spot on your laptop screen, it could be due to a wrong internal circuit. To fix this issue, follow these steps:
1. Turn off your laptop and unplug it from the power source.
2. Remove the battery if possible, as a safety precaution.
3. Open up your laptop by unscrewing the back panel.
4. Locate the internal circuit responsible for powering the screen.
5. Inspect the circuit for any visible damage, such as loose connections or burnt components.
6. If you are comfortable with electronics, try reseating the circuit by unplugging and plugging it back in securely.
7. If the circuit is damaged, you may need to replace it with a new one. Contact your laptop manufacturer or a professional technician for assistance.
8. Reassemble your laptop and turn it back on to see if the light spot has been resolved.
Fungus
1. Clean the affected area: Gently wipe the screen with a soft, lint-free cloth.
2. Use a cleaning solution: Mix equal parts of water and isopropyl alcohol, then dampen the cloth and wipe the screen again. Be careful not to apply too much pressure.
3. Prevent future growth: Keep your laptop in a dry environment and avoid spilling liquids on it.
4. Consider professional help: If the light spot persists, consult a technician or contact the laptop manufacturer for further assistance.
Age of Laptop
To fix a light spot on your laptop screen, follow these steps:
1. Turn off your laptop and unplug it from the power source.
2. Gently clean the screen with a soft, lint-free cloth to remove any dust or smudges.
3. If the light spot persists, it may be caused by a stuck or dead pixel. To fix this, try applying gentle pressure on the affected area using a soft cloth or your fingertip. Be careful not to apply too much pressure to avoid damaging the screen.
4. If the issue still persists, you can try using a pixel-fixing software or application. These tools can help recalibrate the pixels and potentially fix the light spot. Search online for reputable software options.
5. If none of the above steps work, it may be a hardware issue that requires professional repair. Contact your laptop manufacturer’s customer support or take it to a certified technician for further assistance.
Excessive Use
Excessive use of a laptop screen can lead to light spots, affecting the overall display quality. To fix this issue, follow these steps:
1. Adjust brightness: Lower the brightness level to reduce strain on the screen and minimize the appearance of light spots. Use the Taskbar settings or the display settings in the Operating System to make the adjustments.
2. Clean the screen: Use a soft cloth and gentle cleaning solution to wipe the screen. Avoid using excessive pressure or abrasive materials that could damage the liquid-crystal display.
3. Check for damage: Inspect the screen for any cracks, scratches, or visible defects. If found, it may indicate a hardware problem that requires professional repair or replacement of the computer monitor.
4. Reduce usage time: Overusing the laptop can accelerate wear and tear, leading to light spots. Take regular breaks and avoid prolonged usage to allow the screen to cool down and prevent excessive heat buildup.
Overheating of Laptop
If your laptop is overheating, it can cause various issues, including a light spot on your screen. To fix this problem, follow these steps:
1. Clean the air vents: Dust and debris can accumulate in the air vents, causing the laptop to overheat. Use compressed air to blow out any blockages, ensuring proper airflow.
2. Elevate your laptop: Placing your laptop on a flat, hard surface can help dissipate heat more effectively. Consider using a laptop cooling pad or stand to improve ventilation.
3. Check for background processes: Some programs may be running in the background, consuming excessive resources and generating heat. Use the Task Manager (Ctrl + Shift + Esc) to identify and close any unnecessary processes.
4. Update your operating system and drivers: Outdated software can lead to hardware inefficiencies and increased heat generation. Check for updates using Windows Update or the manufacturer’s website.
5. Use power-saving settings: Adjust your power plan settings to reduce the strain on your laptop’s hardware and minimize heat generation.
Manufacturing Defect
If you notice a light spot on your laptop screen, it may be a manufacturing defect that can be fixed. Follow these steps to resolve the issue:
1. Check for any external factors such as dirt or dust on the screen. Clean it using a soft cloth if necessary.
2. If the light spot persists, it could be a hardware issue. Restart your laptop and check if the spot is still present.
3. If the issue persists even after restarting, try updating your graphics drivers. Go to the manufacturer’s website and download the latest drivers for your specific laptop model.
4. If updating the drivers doesn’t help, try resetting your laptop’s display settings. Right-click on the desktop and select “Display settings.” Click on “Advanced display settings,” then “Display adapter properties.” Finally, click on “Monitor” and choose the option to reset the display settings to default.
5. If none of the above steps work, it’s recommended to contact your laptop manufacturer’s customer support for further assistance. They may provide additional troubleshooting steps or recommend sending your laptop for repair.
Use a Magnifying Glass
To fix a light spot on your laptop screen, you can use a magnifying glass to inspect the affected area more closely. Ensure you have good lighting and a clean surface to work on.
First, power off your laptop and unplug it from any power source. Gently clean the screen with a microfiber cloth to remove any dust or smudges.
Next, use the magnifying glass to examine the spot. Look for any physical damage, such as scratches or cracks. If you notice any, it may require professional repair or replacement.
If there are no visible damages, try gently applying pressure to the area with the light spot using your finger or a soft cloth. Be careful not to press too hard, as this could further damage the screen.
If the light spot persists, it could be a hardware issue or a problem with the display panel. In this case, it is recommended to contact the manufacturer’s customer support or a professional technician for assistance.
Turn off the Lights of the Room
To fix a light spot on your laptop screen, try turning off the lights in the room. This will help you identify if the issue is caused by external lighting. Additionally, make sure to clean the screen using a soft cloth to remove any dirt or smudges that might be causing the light spot. If the problem persists, you can try adjusting the brightness settings on your computer. Open the Taskbar and locate the brightness slider to make adjustments. If none of these solutions work, it may be a hardware issue, and you should consider contacting a professional for further assistance.
Fix Loose LCD Reflector
- Identify the issue: Determine if the light spot on your laptop screen is caused by a loose LCD reflector.
- Gather necessary tools: Prepare a set of small screwdrivers, a soft cloth, and a pair of tweezers.

- Power off and disconnect: Shut down your laptop completely and unplug it from the power source.
- Remove the bezel: Carefully pry off the plastic frame surrounding the screen using a small screwdriver or your fingers.
- Locate the LCD reflector: Look for a thin, rectangular piece of plastic or glass positioned behind the screen.
- Inspect for looseness: Check if the LCD reflector is loose or misaligned by gently pressing on it with a soft cloth.

- Tighten or reposition: Use the tweezers to carefully adjust the LCD reflector back into its proper position or tighten any loose screws holding it in place.
- Reassemble the bezel: Align the plastic frame back onto the screen and snap it securely into place.
- Power on and test: Turn on your laptop and verify if the light spot on the screen has been resolved.
Fix the Stuck Pixel
-
Method 1: Applying Pressure
- Turn off your laptop and disconnect it from any power source.
- Locate the stuck pixel on the screen.

- Take a soft cloth or a microfiber cloth and fold it in half.
- Gently apply pressure directly on the stuck pixel using your finger or the cloth.
- While applying pressure, turn on your laptop.
- Release the pressure after a few seconds and check if the stuck pixel is fixed.

-
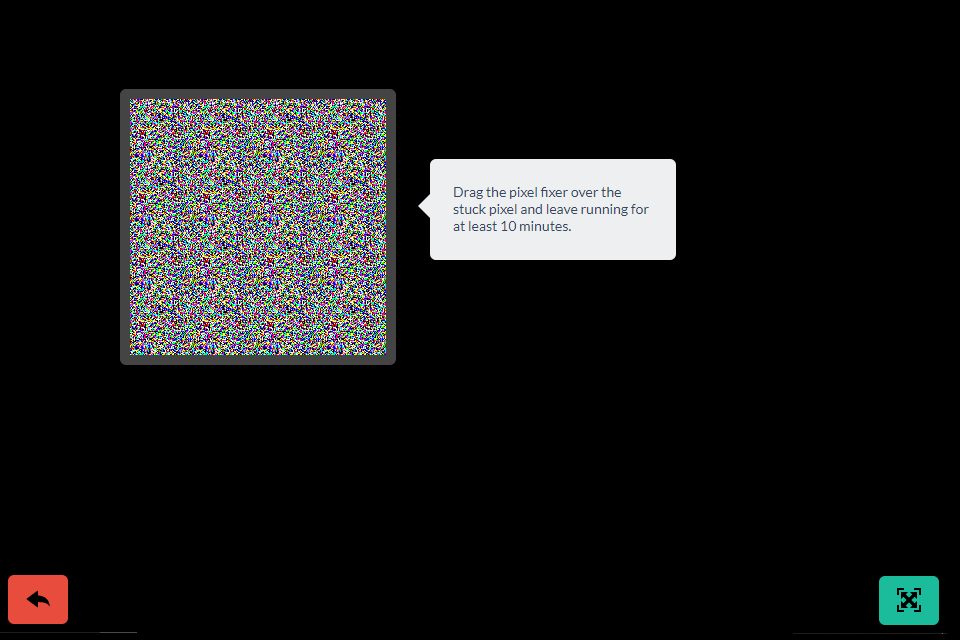
Method 2: Using Software
- Download and install a pixel fixing software like “PixelHealer” or “JScreenFix”.
- Launch the pixel fixing software.
- Follow the on-screen instructions provided by the software.
- Typically, you will need to select the area where the stuck pixel is located and run a pixel fixing routine.

- Allow the software to run for the recommended duration.
- After the routine is completed, check if the stuck pixel is resolved.
-
Method 3: Using Pressure and Heat
- Turn off your laptop and unplug it from any power source.
- Locate the stuck pixel on the screen.
- Take a clean pencil eraser or a stylus with a soft tip.
- Gently apply pressure on the stuck pixel using the eraser or stylus.
- While applying pressure, turn on your laptop.
- Keep the pressure applied for a few seconds and then release.
- If the stuck pixel persists, use a hairdryer on low heat setting.
- Hold the hairdryer a few inches away from the screen and move it in a circular motion over the stuck pixel for about 15-20 seconds.

- Allow the screen to cool down and check if the stuck pixel is fixed.
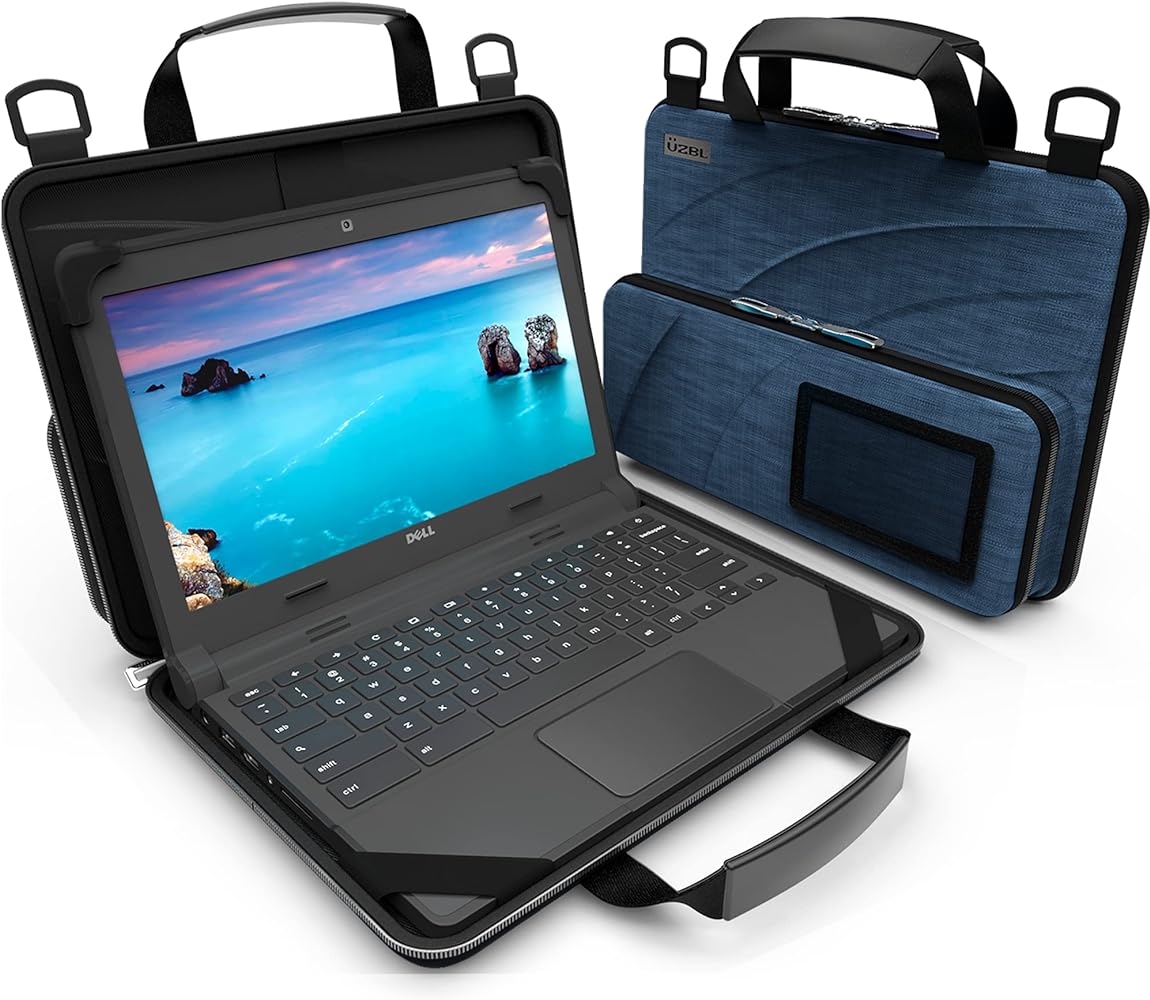
Use a Protective Case
- Invest in a high-quality protective case to shield your laptop screen from potential damage.
- Choose a case that provides reliable protection against bumps, scratches, and impacts.
- Opt for a shock-absorbent material to minimize the risk of light spots or screen distortions.
- Ensure the case fits your laptop model perfectly to avoid any unnecessary pressure on the screen.
- Keep your laptop securely stored in the case when not in use or during transportation.
- Handle your laptop with care to prevent accidental drops or knocks that could lead to light spots.
- Regularly clean the case to remove any dust or debris that may cause screen irregularities.
- Consider using a screen protector in addition to the protective case for an extra layer of defense.
- Follow manufacturer instructions regarding proper case usage and maintenance to maximize protection.
Use a Warm Damp Cloth
- Clean the affected area on your laptop screen using a warm damp cloth.
- Gently wipe away any dirt or smudges that may be causing the light spot.
- Be careful not to press too hard or use abrasive materials, as this could damage the screen.
- Dab the cloth lightly on the light spot, applying gentle pressure to remove any residue.

- Avoid using excessive moisture, as it can seep into the screen and cause further damage.
- If the light spot persists, repeat the cleaning process, ensuring the cloth is always clean and damp.
- Allow the screen to fully dry before turning on your laptop again.
- Consider using a screen protector to prevent future light spots and protect your screen from scratches.
- Maintain regular cleaning of your laptop screen to prevent the accumulation of dirt and smudges.
- If the light spot remains after cleaning, contact Microsoft support for further assistance.
Use Software
- Update your graphics driver: Ensure you have the latest graphics driver installed on your laptop to resolve the light spot issue.
- Calibrate your display settings: Use the built-in display calibration tools to adjust the brightness, contrast, and gamma settings for a more balanced screen.
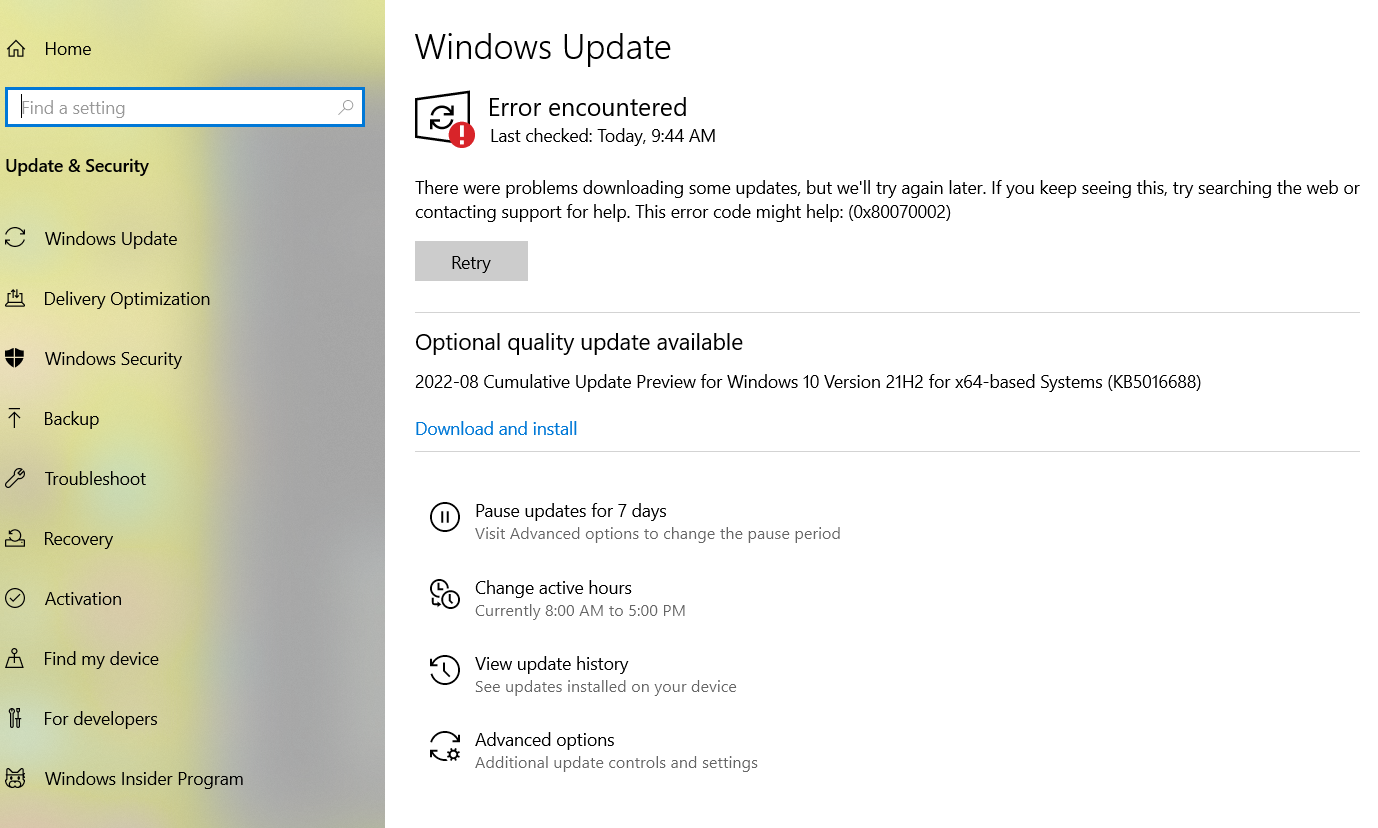
- Check for Windows updates: Install any pending Windows updates, as they often include important fixes for display-related issues.
- Run the Display troubleshooter: Use the built-in Windows troubleshooter to automatically detect and fix common display problems, including light spots.
- Disable adaptive brightness: Turn off the adaptive brightness feature in your laptop’s power settings to prevent automatic brightness adjustments that may cause light spots.
- Adjust the screen position: Try moving the screen to different angles and positions to see if the light spot changes or disappears, indicating a physical issue with the display.
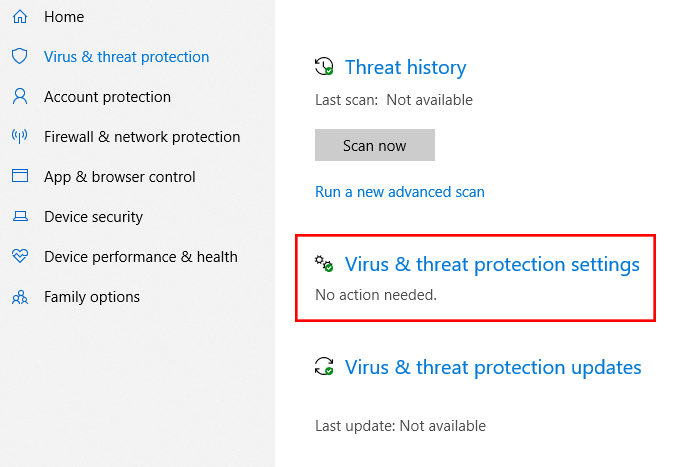
- Scan for malware: Run a comprehensive antivirus scan to ensure that no malware or malicious programs are causing display abnormalities.
- Reset your display settings: If all else fails, you can reset your display settings to their default values, which may help resolve the light spot problem.
Use Hardware
- Check the display settings: Adjust the brightness and contrast settings to see if it resolves the light spot issue.
- Update the graphics driver: Ensure you have the latest driver installed for your graphics card to address any compatibility issues.
- Check for physical damage: Inspect the laptop screen for any visible cracks or damage that may be causing the light spot.
- Reset the display settings: Resetting the display settings to the default values can help eliminate any software-related issues causing the light spot.
- Connect an external monitor: By connecting an external monitor, you can determine if the light spot is specific to your laptop screen or a broader issue.
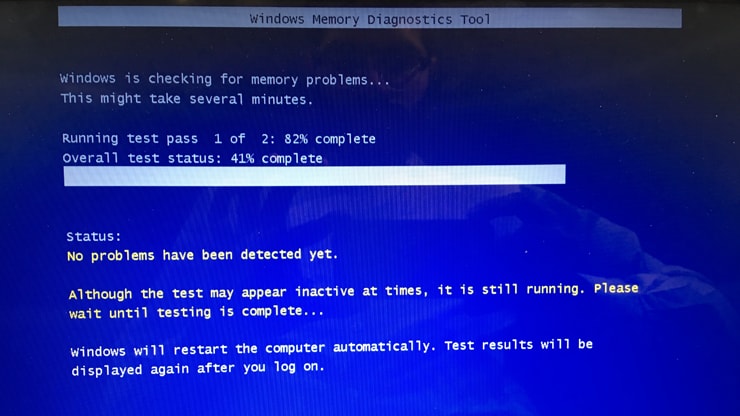
- Run a hardware diagnostic test: Utilize built-in diagnostic tools or software provided by the laptop manufacturer to check for any hardware faults causing the light spot.
- Clean the screen: Dust, smudges, or fingerprints on the screen can sometimes create the illusion of a light spot. Gently clean the screen using a microfiber cloth and screen cleaning solution.
- Adjust the screen position: Try changing the angle or position of the laptop screen to see if the light spot disappears or changes in intensity.
- Consider professional repair: If none of the above solutions work, it may be necessary to contact a professional technician or the laptop manufacturer for further assistance or screen replacement.
Cleaning Habits
- Regularly clean your laptop screen to maintain its clarity and performance.
- Use a soft, lint-free cloth to gently wipe the screen.
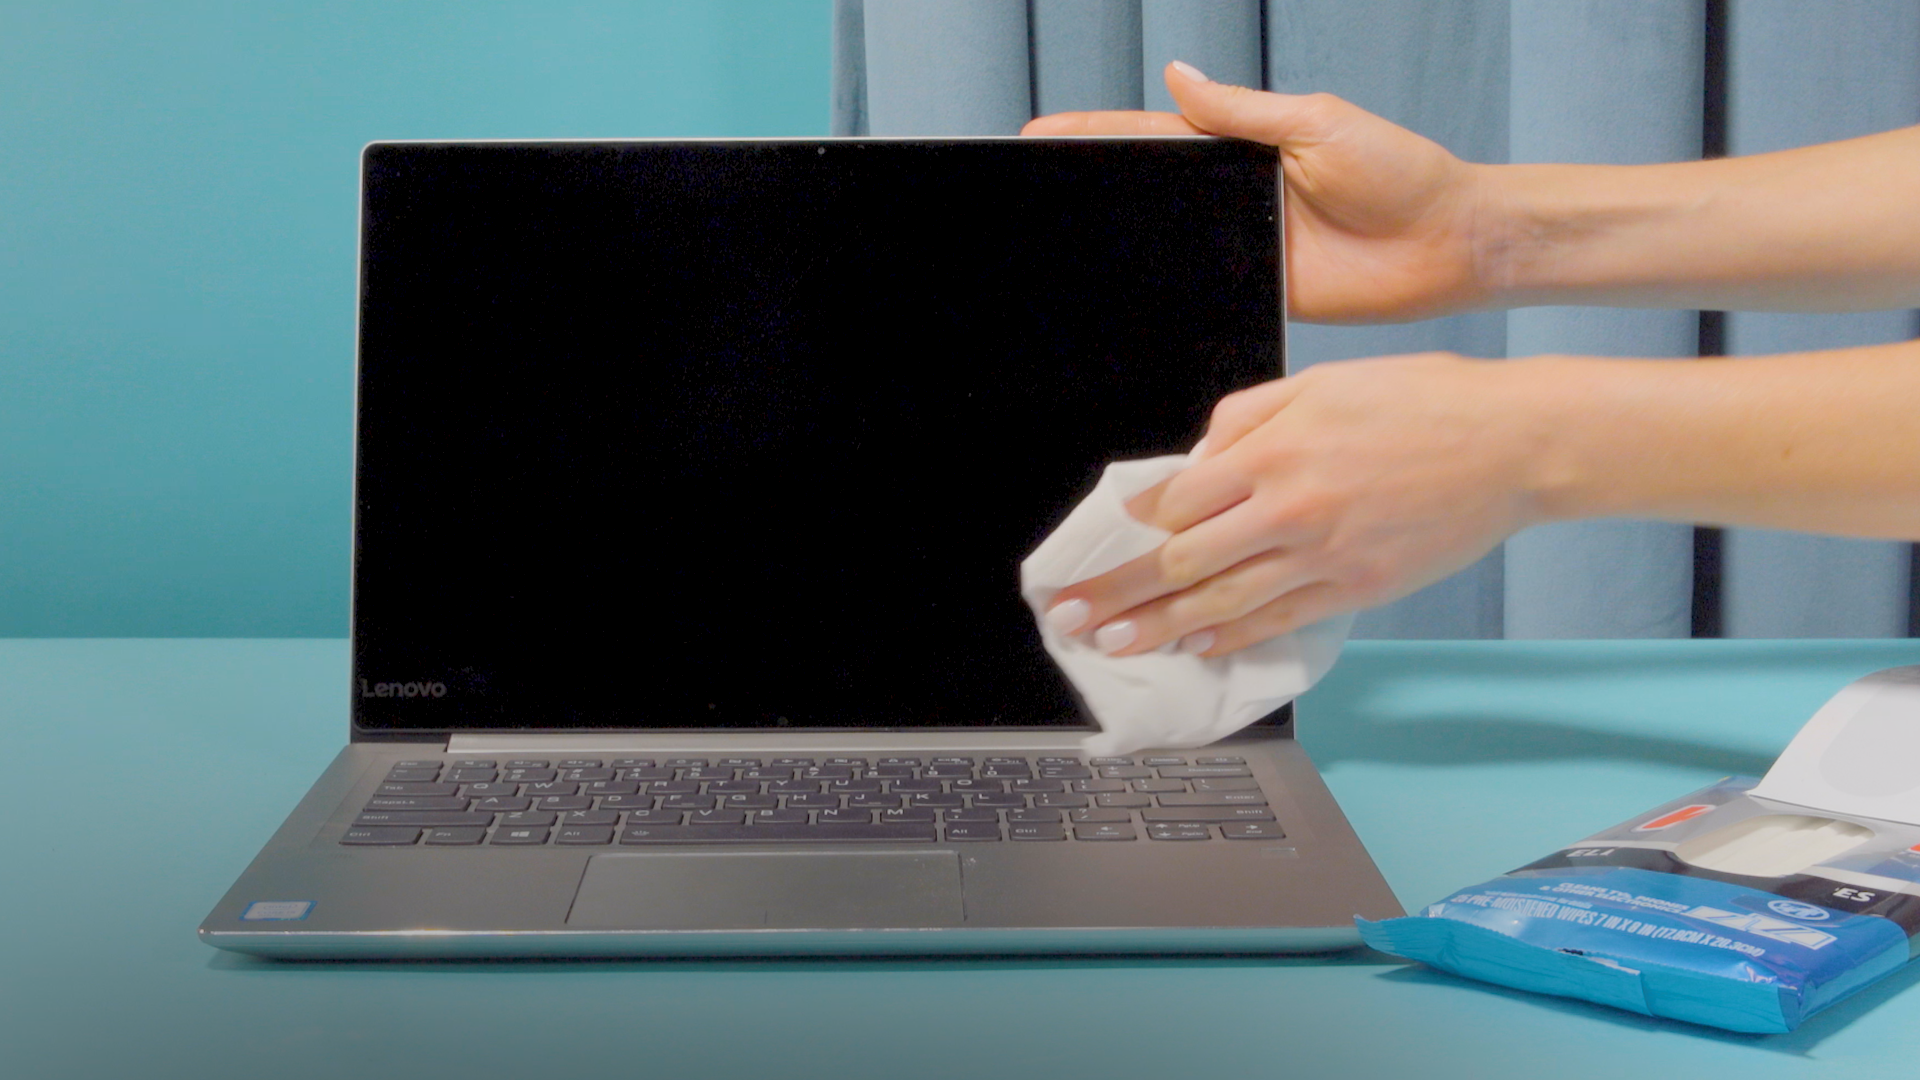
- For stubborn stains or fingerprints, dampen the cloth with a small amount of water or non-abrasive screen cleaner.
- Avoid using harsh chemicals or abrasive materials that can damage the screen’s coating.
- Ensure your laptop is powered off before cleaning the screen.
- Avoid spraying liquid directly onto the screen; instead, spray it on the cloth first.

- Gently wipe in a circular motion to remove dirt or smudges.
- Pay special attention to cleaning the edges and corners of the screen.
- After cleaning, wait for the screen to dry completely before closing the laptop or turning it on.
- Repeat this cleaning routine periodically to maintain optimal screen performance.
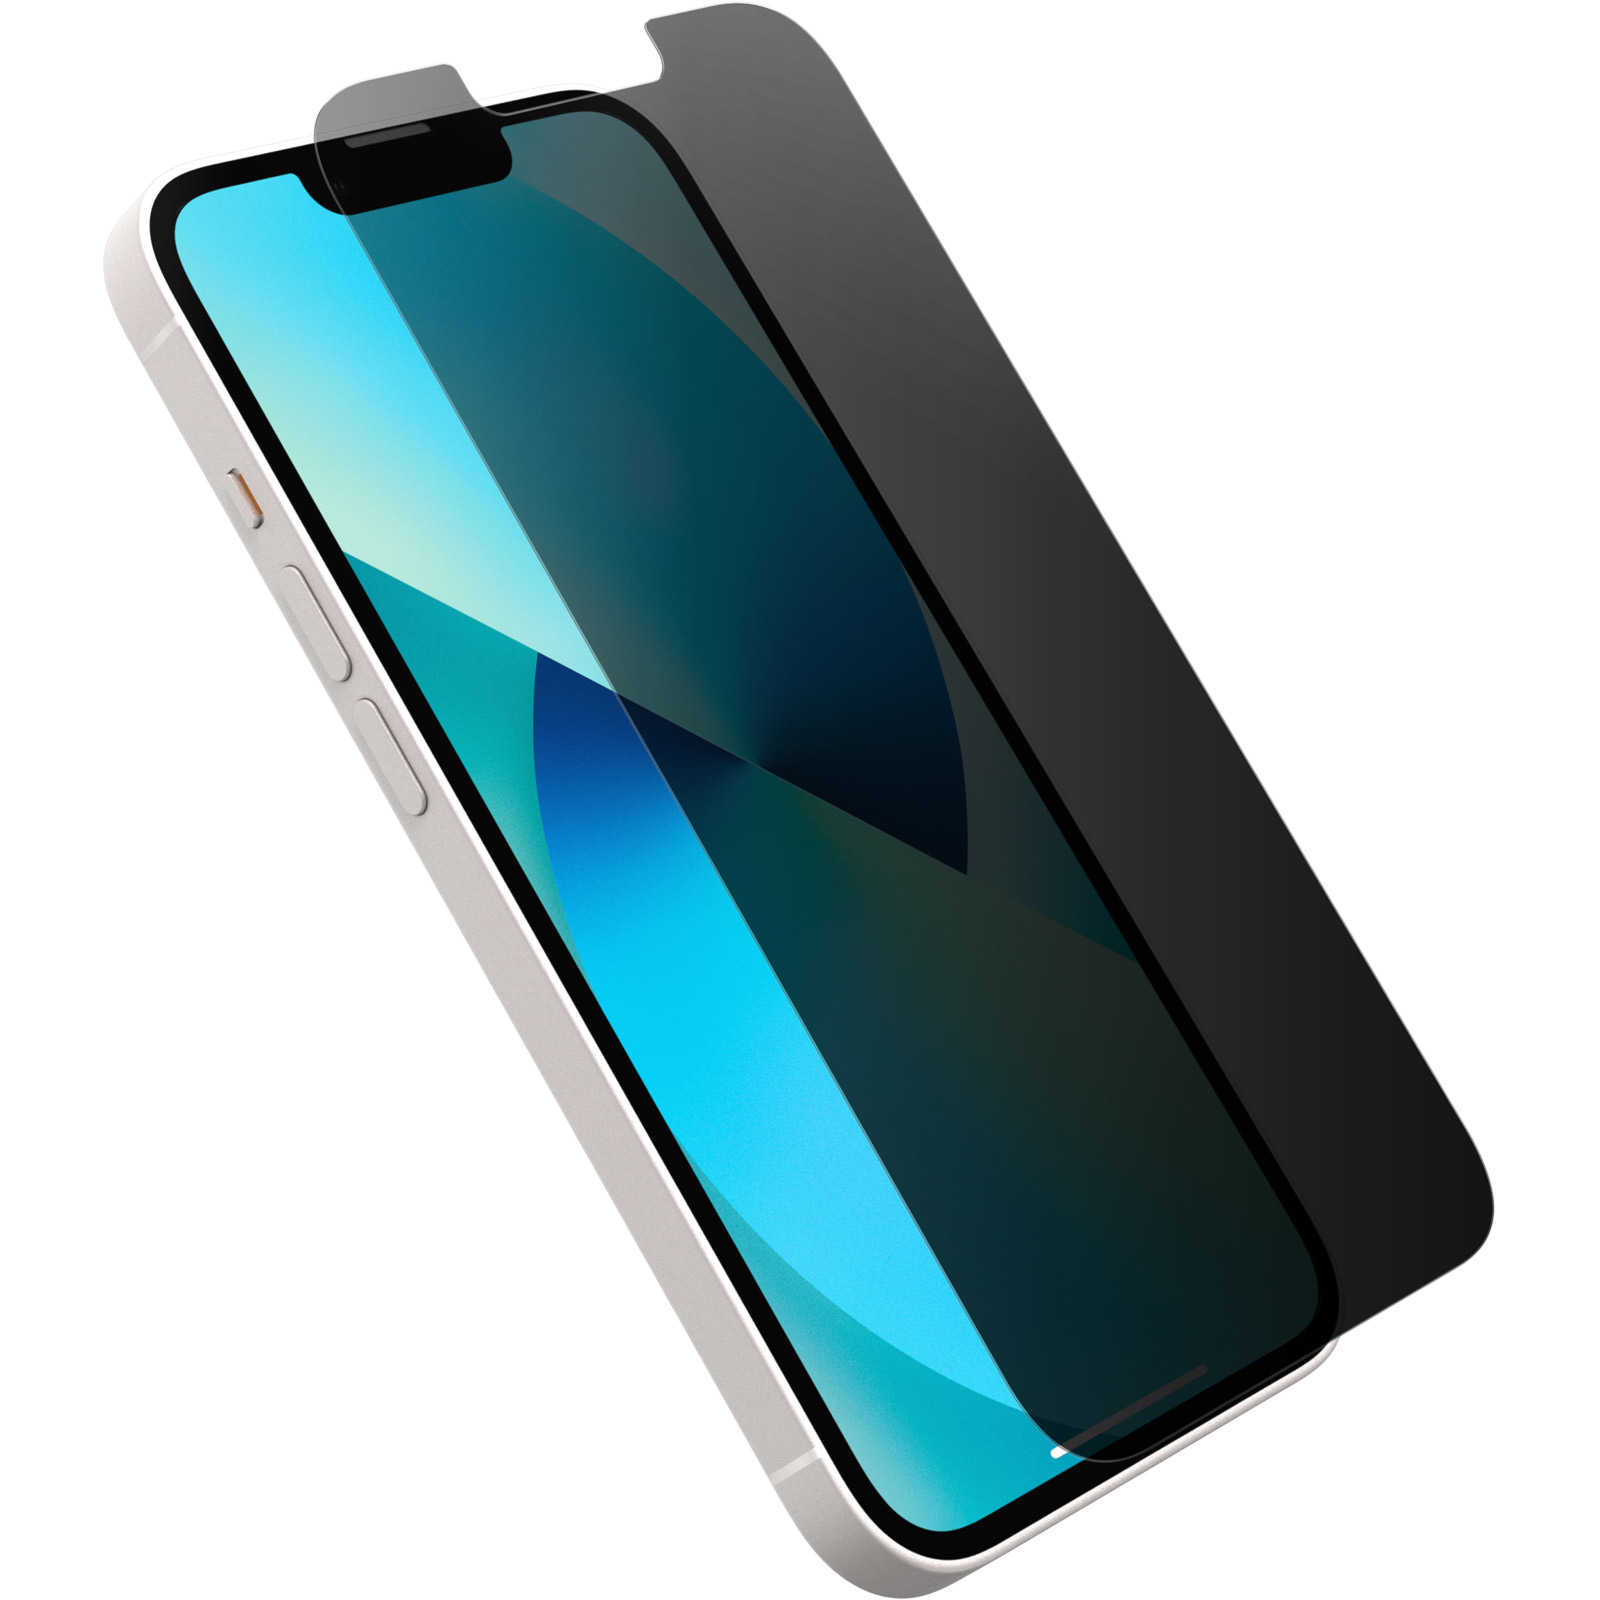
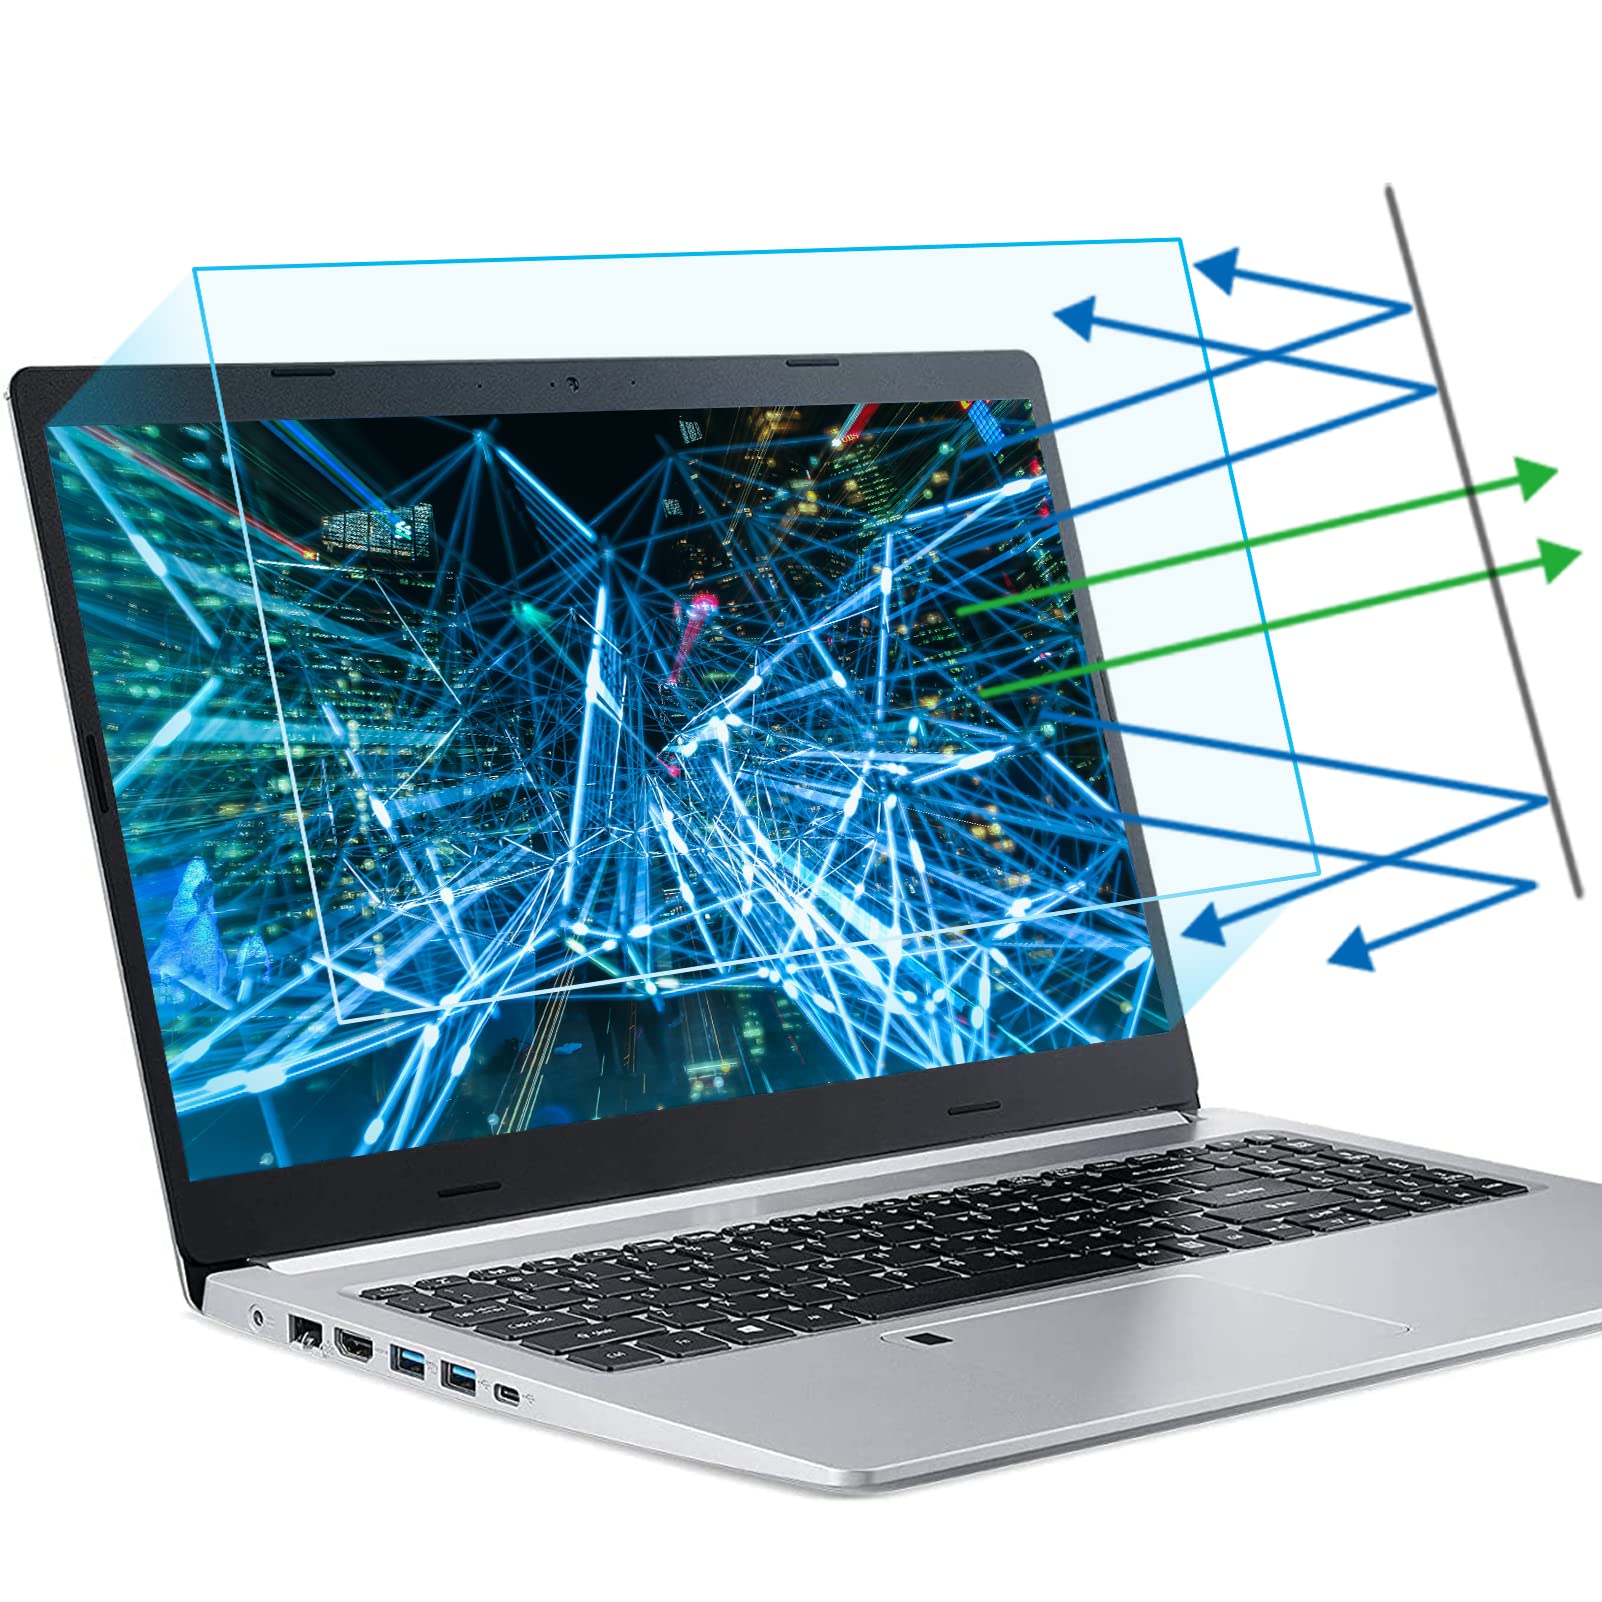
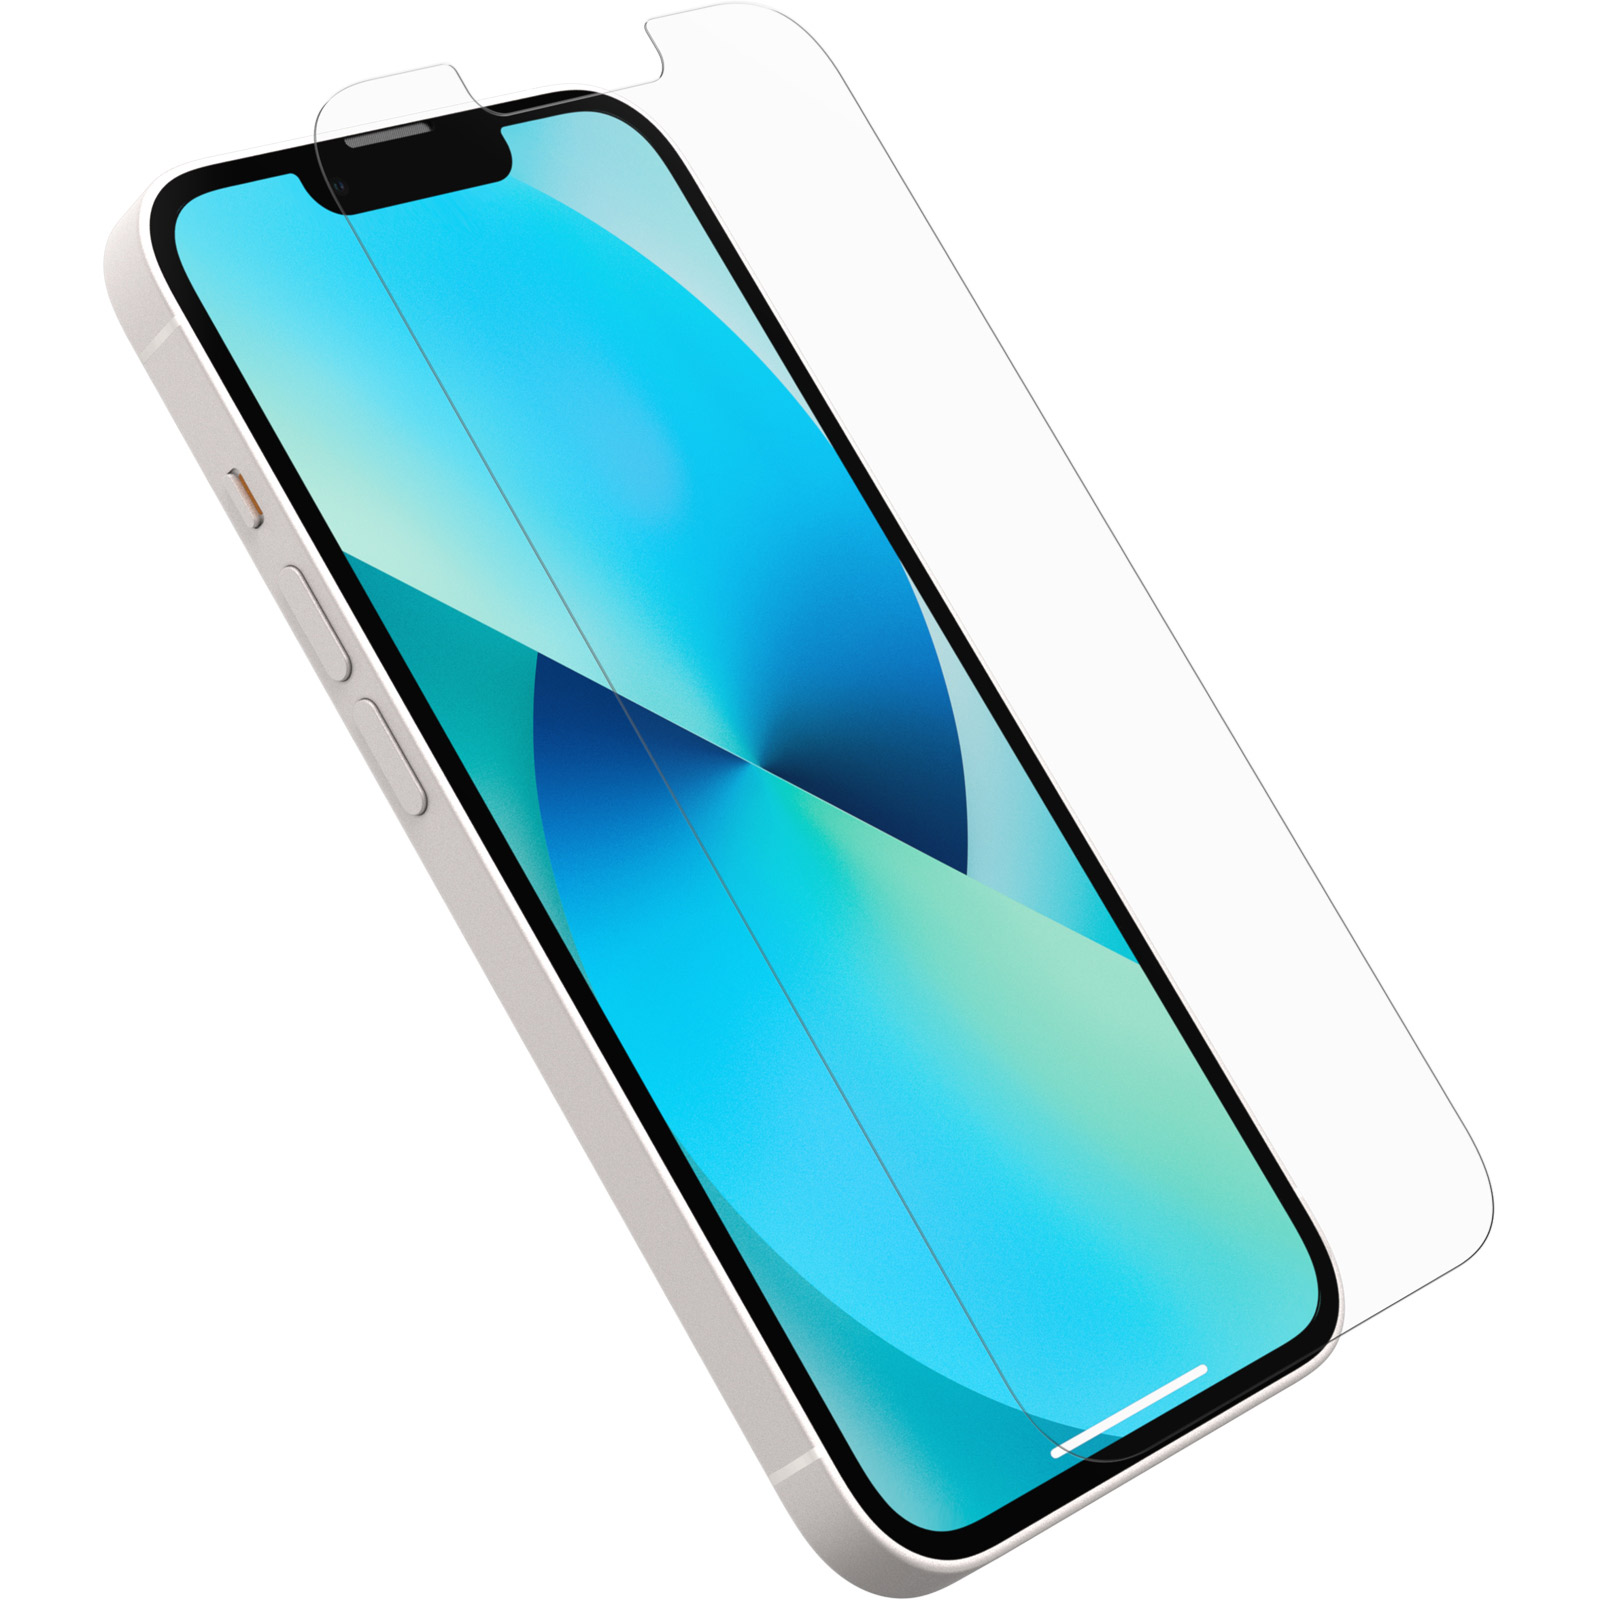
Use a Screen Protector
- Protect your laptop screen with a high-quality screen protector
- Prevent scratches, smudges, and fingerprints from affecting your display
- Enhance the longevity and durability of your screen
- Reduce glare and reflections for a better viewing experience
- Ensure clear visibility by minimizing light spots and distractions on your screen
- Easy to apply and remove without leaving residue or damaging the screen
- Available in various sizes and types to fit your laptop’s specific dimensions
- Maintain the pristine condition of your laptop screen for a professional and polished appearance
- Compatible with touchscreens, preserving the functionality of your device
- Invest in protection to avoid costly repairs or screen replacements in the future
Optimize Brightness
- Adjust brightness settings: Navigate to the Display settings on your laptop and locate the brightness slider. Increase or decrease the brightness level to eliminate the light spot.
- Use the keyboard shortcut: Depending on your laptop model, there might be a dedicated brightness control key or a combination of function keys that allow you to adjust brightness. Look for the sun icon or the letters “Fn” on your keyboard.
- Update display drivers: Visit the manufacturer’s website or use Windows Update to ensure you have the latest display drivers installed. Outdated drivers can sometimes cause display issues, including light spots.
- Check for software conflicts: Certain applications or software settings can interfere with display brightness. Close any unnecessary programs and check if the light spot persists.
- Disable adaptive brightness: Some laptops have a feature called adaptive brightness, which automatically adjusts the screen brightness based on ambient lighting conditions. Disable this feature in the Power Options settings.
- Inspect the screen for physical damage: Carefully examine the laptop screen for any visible cracks or damage that may be causing the light spot. If found, consider contacting a professional for repair or replacement.
- Perform a screen calibration: Use the built-in Windows calibration tool or third-party software to recalibrate your laptop screen. This can help correct any color or brightness inaccuracies that may contribute to the light spot.
- Reset display settings: If all else fails, you can reset the display settings to their default values. This will revert any customized settings that might be causing the light spot.
Avoid Direct Sunlight
- Place your laptop away from direct sunlight: Exposing your laptop to direct sunlight can cause permanent damage to the screen.
- Avoid using your laptop near windows: Even if the sunlight is not directly hitting the screen, the reflection can still cause glare and affect visibility.
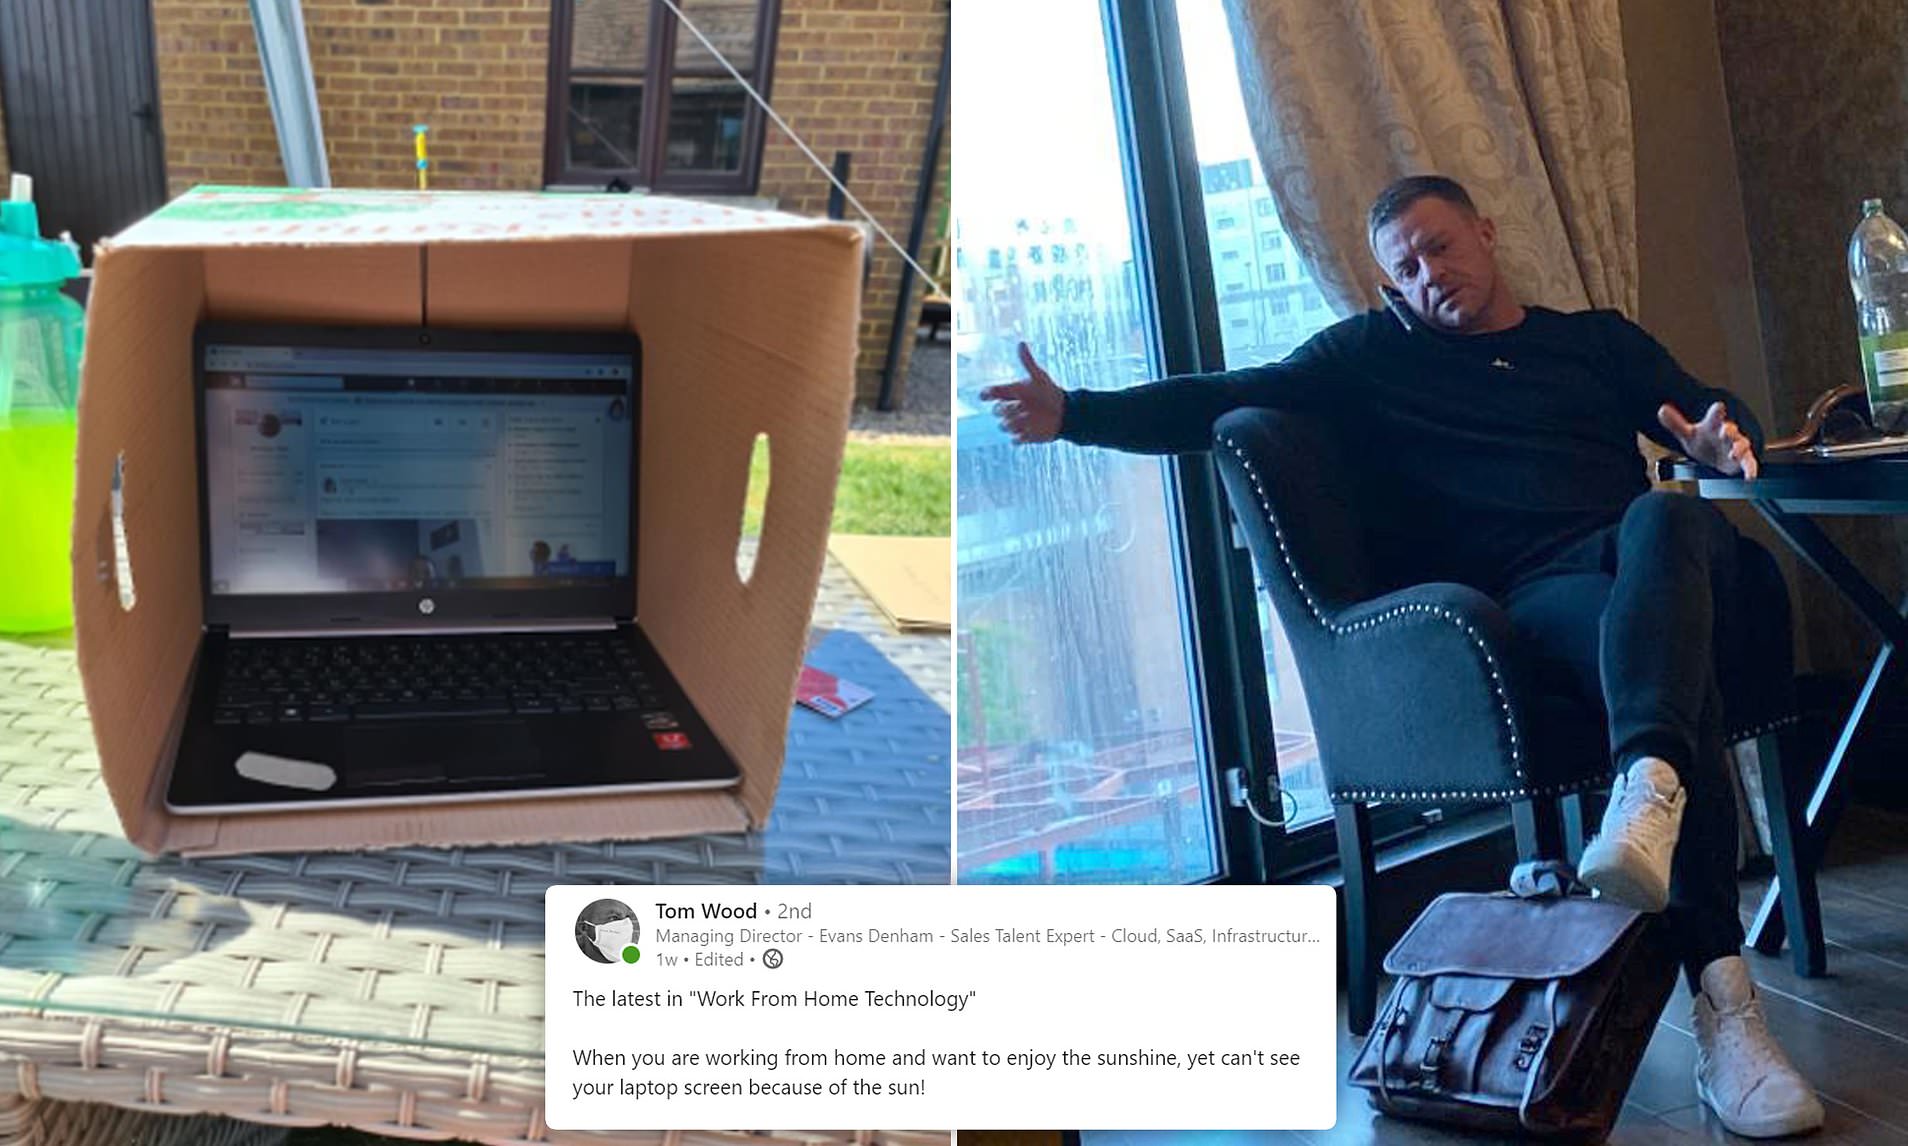
- Use curtains or blinds: If you are unable to move your laptop away from windows, use curtains or blinds to block out the sunlight and prevent it from hitting the screen.
- Adjust the screen brightness: Lowering the screen brightness can help minimize the impact of any light spots caused by direct sunlight.
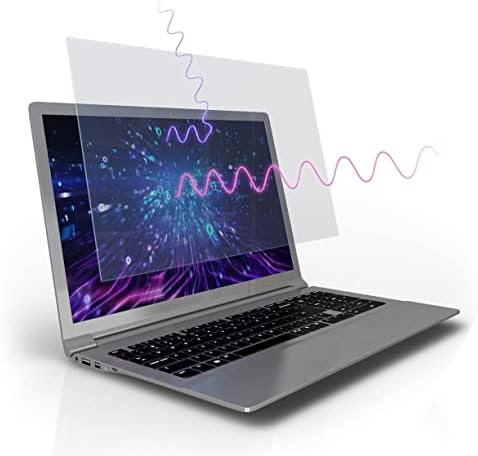
- Invest in a laptop screen protector: Consider purchasing a screen protector that reduces glare and protects your laptop screen from potential damage caused by sunlight exposure.
- Use an anti-glare filter: Attach an anti-glare filter to your laptop screen to minimize reflections and improve visibility, especially when working in bright environments.
- Position your laptop correctly: Angle your laptop in a way that reduces the chance of direct sunlight hitting the screen. Tilting the screen or adjusting the position can make a difference.
- Find a shaded area: If you are working outdoors, find a shaded area where the direct sunlight won’t affect your laptop screen.
- Keep your laptop clean: Regularly clean your laptop screen to remove any dust or smudges that may worsen the appearance of light spots caused by sunlight.
- Consider professional repair: If the light spot on your laptop screen persists even after taking preventive measures, consult a professional technician who can assess and fix the issue.

Don’t Apply Too Much Pressure
- Check for any accumulated dirt or debris on the laptop screen.
- Gently wipe the affected area with a soft, lint-free cloth.

- Ensure no liquids or cleaning agents are used while cleaning.
- Do not apply excessive pressure to the screen as it may cause damage.
- Consider using a screen cleaning solution specifically designed for laptops.
- If the light spot persists, seek professional assistance from a certified technician.

Don’t Sleep on Your Laptop
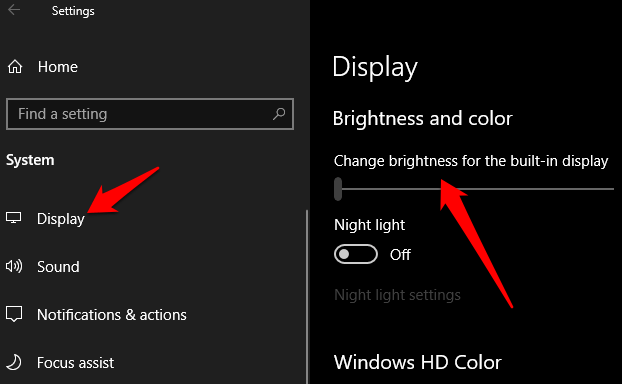
- Open the display settings on your laptop.
- Locate the brightness adjustment slider.
- Drag the slider to increase or decrease the brightness level.
- Check if the light spot on the screen disappears or improves.
Repair Method 2: Update Graphics Drivers
- Open the Device Manager on your laptop.
- Expand the “Display adapters” category.
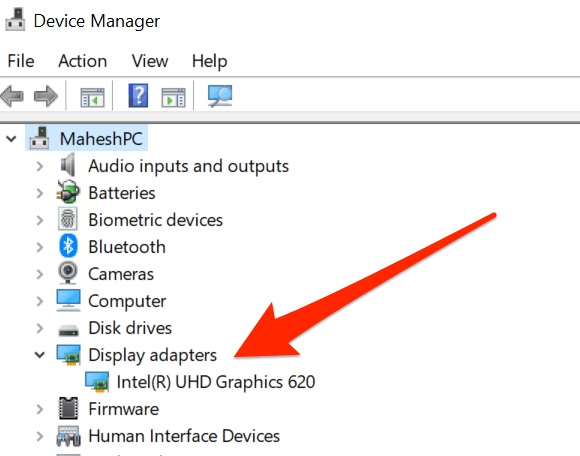
- Right-click on the graphics driver and select “Update driver”.
- Choose the option to automatically search for updated drivers.
- Follow the on-screen instructions to complete the driver update.
- Restart your laptop and check if the light spot issue is resolved.
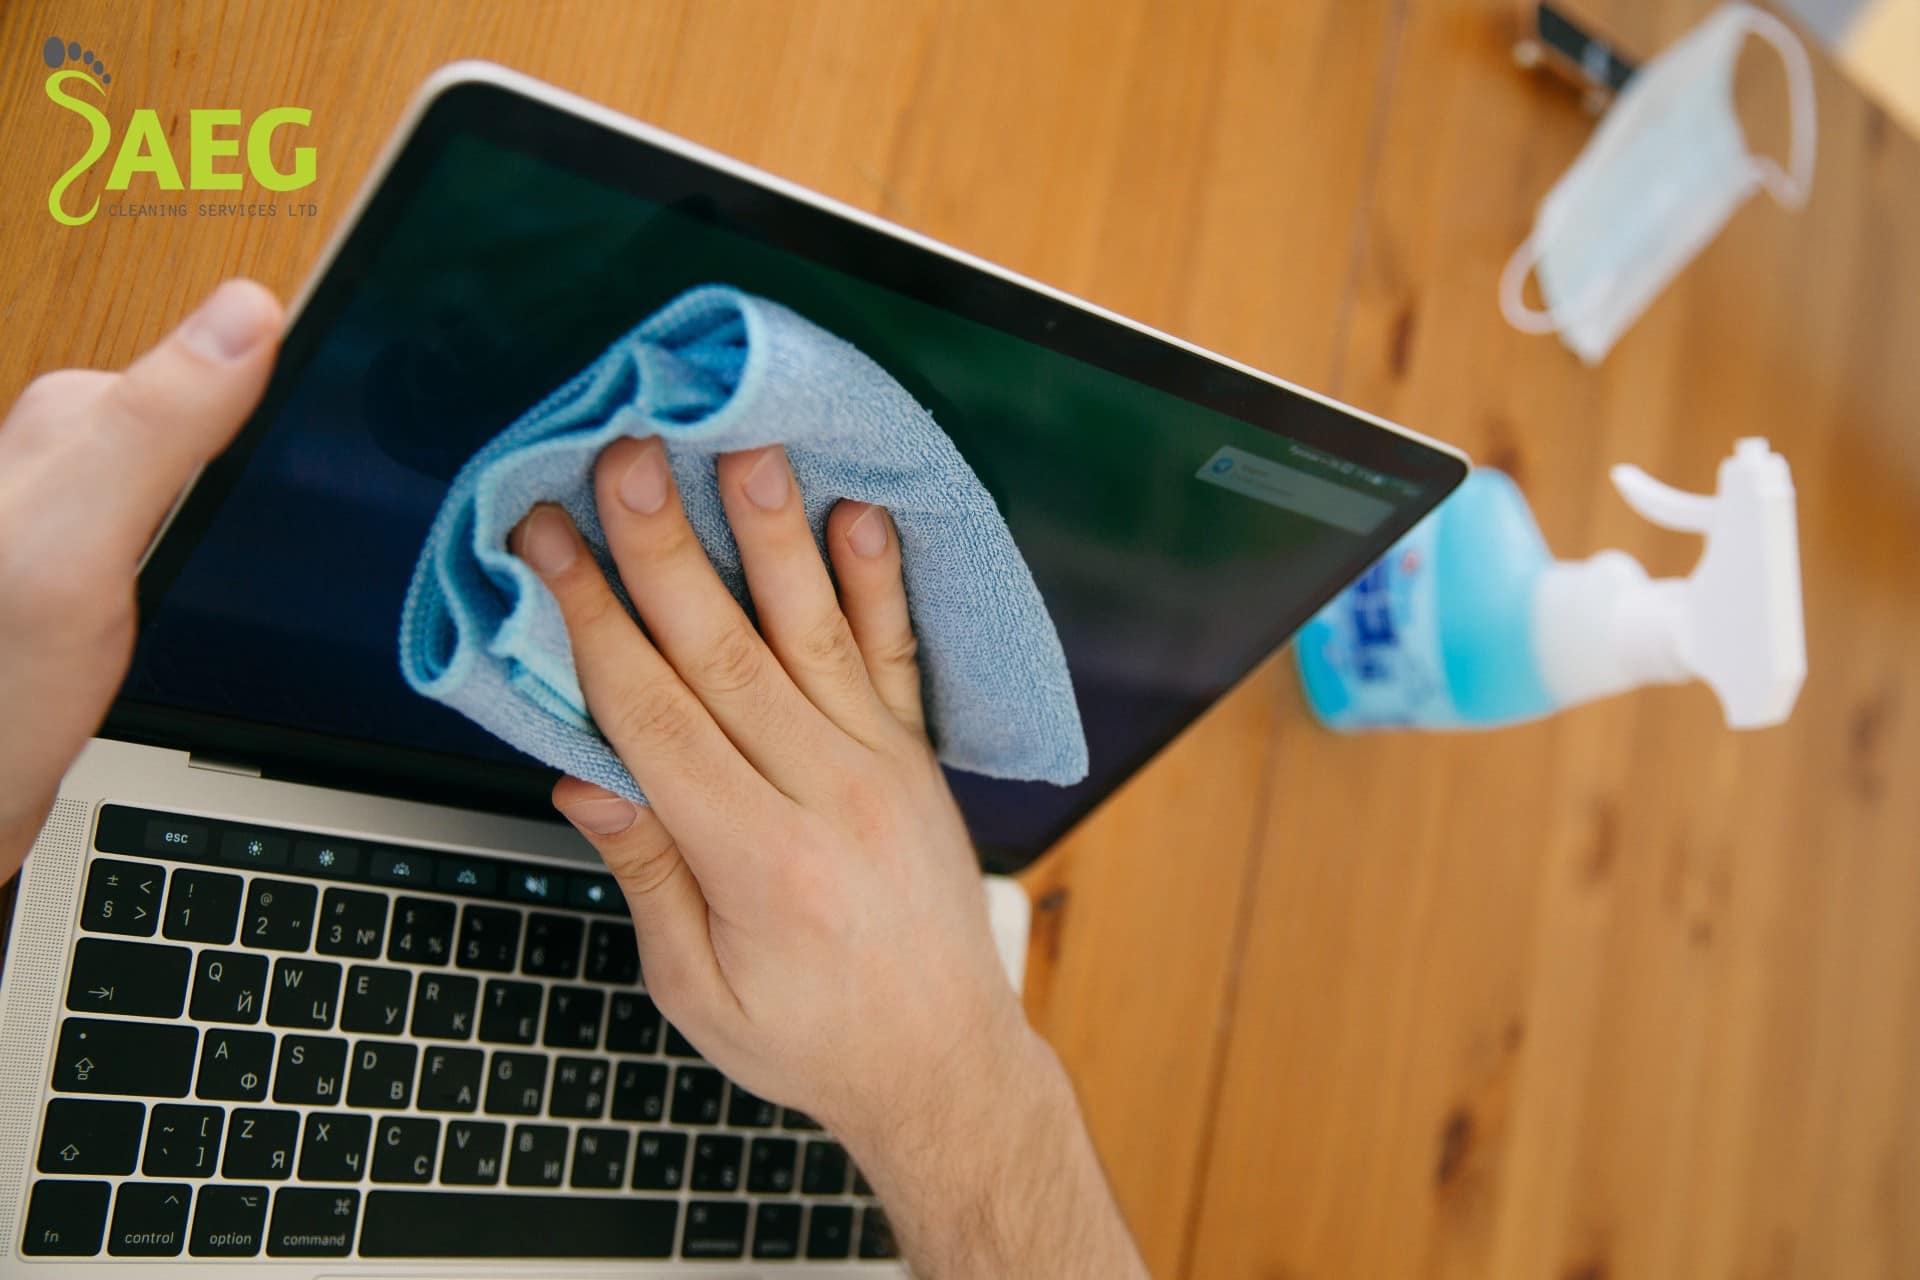
Repair Method 3: Clean the Screen
- Turn off your laptop and unplug it from the power source.
- Dampen a microfiber cloth with water or a screen cleaning solution.
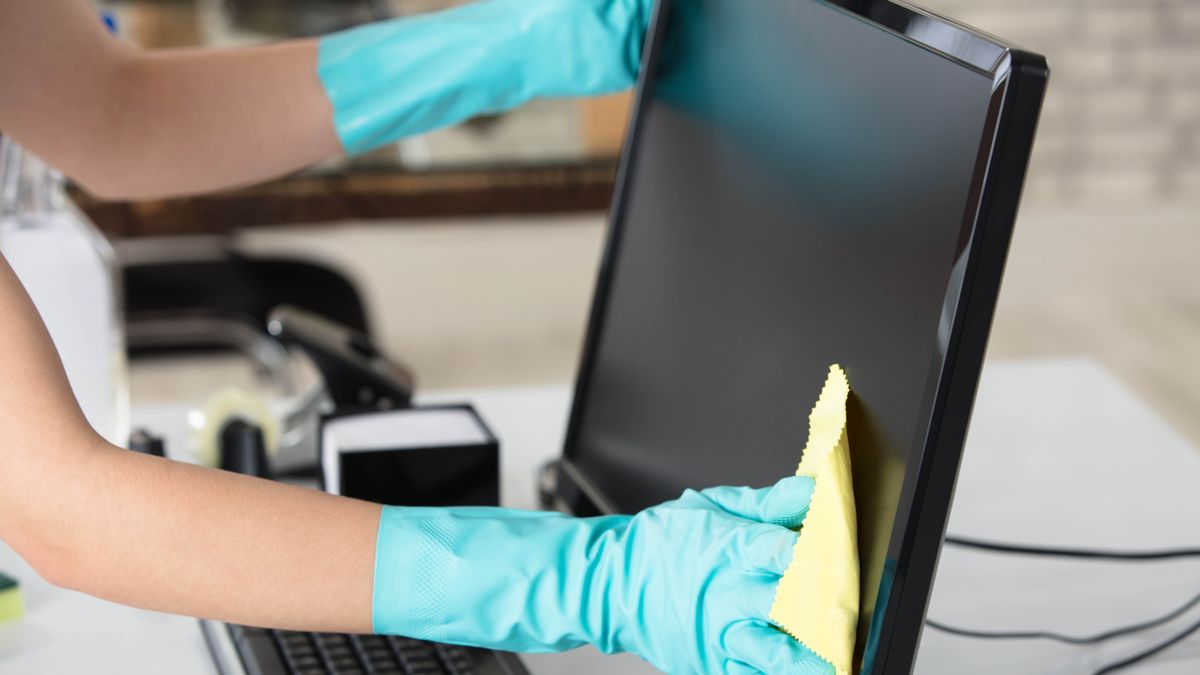
- Gently wipe the laptop screen in a circular motion to remove any dirt or smudges.
- Avoid applying excessive pressure to prevent damaging the screen.
- Allow the screen to air dry or use a clean, dry cloth to remove any remaining moisture.
- Turn on your laptop and check if the light spot is still present.
Repair Method 4: Check for Physical Damage
- Inspect the laptop screen for any visible cracks or damages.
- If you notice any physical damage, it may require professional repair or screen replacement.
- Contact the manufacturer or a certified technician to assess and fix the issue.
Repair Method 5: Run Display Troubleshooter
- Press the Windows key + I to open the Settings menu.
- Click on “Update & Security” and select “Troubleshoot” from the left sidebar.
- Scroll down and click on “Additional troubleshooters”.
- Locate and run the “Display” troubleshooter.
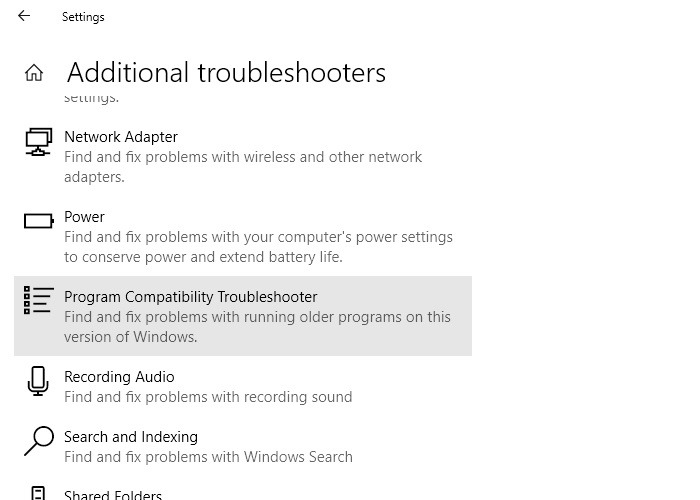
- Follow the prompts and instructions provided by the troubleshooter.
- Restart your laptop and check if the light spot on the screen is fixed.
Check Laptop Warranty
To check the warranty for your laptop, follow these steps:
1. Locate the laptop’s serial number. It is usually found on the bottom of the device or in the system settings.
2. Visit the manufacturer’s website, such as Acer, Dell, or Microsoft, and navigate to their support or warranty page.
3. Enter the laptop’s serial number in the designated field to verify its warranty status.
4. If the laptop is still covered, contact the manufacturer’s customer support to initiate a warranty claim.
Remember, warranties typically cover hardware defects and malfunctions, but not damage caused by wear and tear or accidents.
If your laptop’s screen has a light spot, it could be due to a glitch or defect in the display panel. In this case, reach out to the manufacturer for assistance.
Replace Your Screen
To replace your laptop screen and fix the light spot issue, follow these steps:
1. Turn off your laptop and unplug it from the power source.
2. Use a small screwdriver to carefully remove the screws holding the bezel in place.
3. Gently detach the bezel from the screen, being cautious not to damage any wires or connectors.
4. Locate the screws securing the old screen and remove them.
5. Disconnect the video cable and any other connectors attached to the screen.
6. Carefully lift out the old screen and place the new one in its position.
7. Reconnect the video cable and any other connectors.
8. Secure the new screen with the screws.
9. Place the bezel back on and secure it with the screws.
10. Turn on your laptop to test the new screen. It should now be free from light spots.
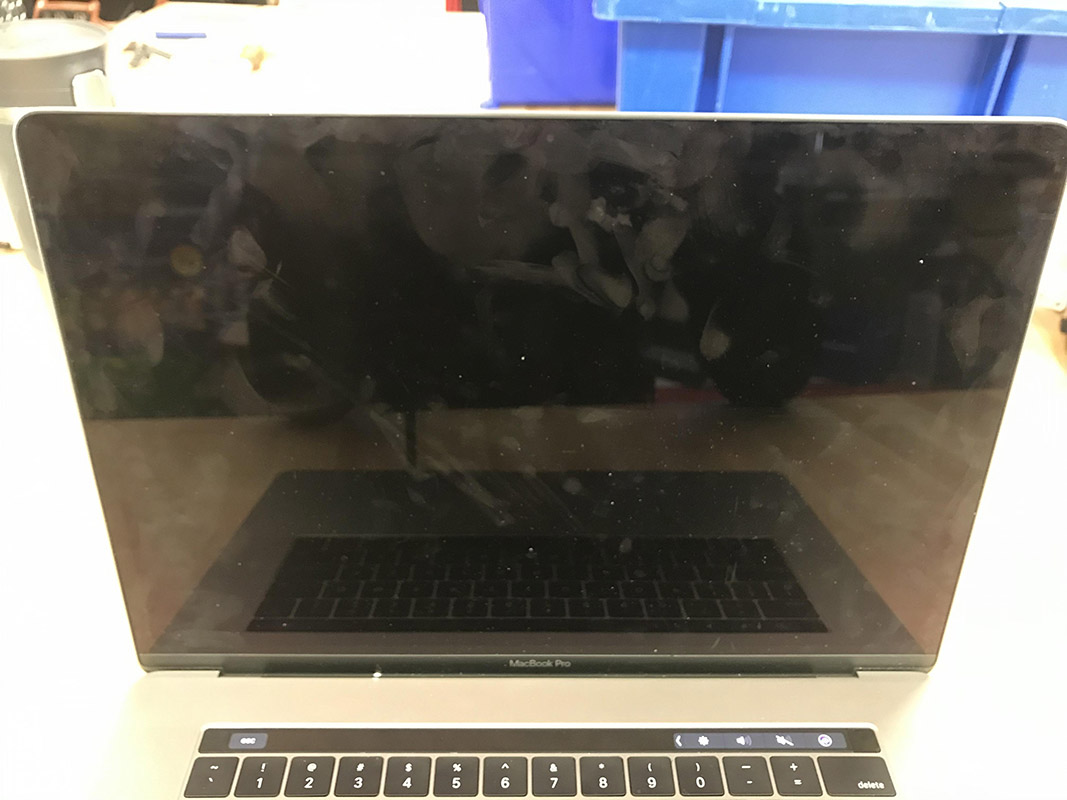
What are Pressure Marks on Laptop Screen?
Pressure marks on a laptop screen are visible spots or discolorations caused by applying excessive pressure to the screen. These marks can occur due to mishandling or accidentally placing heavy objects on the screen. To fix this issue, gently massage the affected area with a soft, lint-free cloth. Applying gentle pressure while rubbing in circular motions can help redistribute the pixels and alleviate the pressure marks. Avoid using excessive force or abrasive materials, as this could further damage the screen. If the pressure marks persist, it is recommended to seek professional assistance for repair or replacement.
How to Fix Pressure Spots on Laptop Screen?
If you’re experiencing pressure spots on your laptop screen, there are a few steps you can take to try and fix the issue. First, turn off your laptop and unplug it from any power source. Gently clean the screen using a microfiber cloth, focusing on the affected areas. Avoid using any harsh chemicals or abrasive materials.
If cleaning doesn’t resolve the problem, try applying gentle pressure to the affected spots with your fingertips. Be careful not to press too hard or use any sharp objects. If the pressure spots persist, they may be caused by a hardware issue. In this case, it’s best to contact the manufacturer or a professional technician for further assistance.
What do Flickering White Dots on Laptop Screen Mean?
Flickering white dots on a laptop screen can be a frustrating issue, but there are ways to fix it. First, try adjusting the screen brightness to see if that helps. If not, check the display settings and make sure the resolution is set correctly. Updating the graphics driver may also resolve the issue.
If these steps don’t work, it could be a hardware problem. Inspect the electrical connectors and clean the screen to remove any potential debris. If the problem persists, it may be best to contact the manufacturer or a professional technician for further assistance.
Method #1: Removing Stuck Pixels
If you notice a pesky stuck pixel on your laptop screen, here’s a simple method to fix it:
1. Turn on your computer monitor and locate the stuck pixel.
2. Gently apply pressure with a soft cloth or your fingertip directly on the stuck pixel.
3. While applying pressure, turn off your computer monitor.
4. Release the pressure and turn your monitor back on.
5. Repeat this process a few times if necessary.
Method #2: Fixing LED Reflectors
If you’re experiencing a light spot on your laptop screen, it could be due to a misaligned or damaged LED reflector. Follow these steps to fix it:
1. Start by turning off your laptop and disconnecting the power source.
2. Carefully remove the laptop screen bezel using a plastic pry tool or your fingers. Be gentle to avoid damaging the screen or other components.
3. Locate the LED reflectors behind the screen. They are usually small white or silver plastic pieces.
4. Check if any reflectors are misaligned, cracked, or broken. If so, use a small amount of adhesive to reattach or replace them. Make sure they are securely in place.
5. Once the reflectors are fixed, reassemble the laptop screen bezel. Make sure all clips are properly aligned and snap it back into place.
6. Power on your laptop and check if the light spot issue is resolved.
Remember to exercise caution when working with delicate computer hardware components. If you’re unsure or uncomfortable performing these steps, it’s best to seek professional assistance.
Note: This method specifically addresses LED reflector issues. If the problem persists or is not related to the reflectors, it could be caused by other factors such as a faulty motherboard or electrical connector. In such cases, it’s recommended to consult a qualified technician or reach out to the laptop manufacturer for further assistance.
Method #3: Reinstalling Display Drivers
To fix a light spot on your laptop screen, you can try reinstalling the display drivers. Follow these steps:
1. Press the Windows key + X and select “Device Manager.”
2. Expand the “Display adapters” category and right-click on your graphics card.
3. Select “Uninstall device” and check the box that says “Delete the driver software for this device.”
4. Click “Uninstall” to remove the drivers.
5. Restart your computer.
6. After rebooting, Windows will automatically reinstall the display drivers.
7. If the issue persists, visit the manufacturer’s website to download and install the latest drivers for your graphics card.
Note: Reinstalling the display drivers can resolve various display-related issues, including light spots on the screen.
Method #4: Using Third-Party Tools
To fix a light spot on your laptop screen, you can try using third-party tools specifically designed for screen calibration and repair. These tools can help identify and correct issues like brightness inconsistencies or light spots. Here’s a step-by-step guide:
1. Research and choose a reliable third-party tool that suits your laptop’s operating system.
2. Download and install the tool following the provided instructions.
3. Launch the tool and navigate to the screen calibration or repair section.
4. Follow the on-screen instructions to diagnose and fix the light spot issue.
5. If necessary, adjust the brightness or contrast settings using the tool.
6. Test your laptop screen to see if the light spot is resolved.
Test for white spots before purchasing a laptop
- Identify white spots: Examine the laptop screen thoroughly to detect any presence of white spots.
- Perform a pixel test: Use a pixel testing tool to check for any dead or stuck pixels.

- Inspect the screen under different lighting conditions: Examine the laptop screen in various lighting environments to ensure visibility of white spots.
- Verify for uneven brightness: Look for areas on the screen that appear brighter or darker than the rest.
- Run a color test: Display different colors on the screen to identify if any white spots appear more prominent with specific hues.
- Check for white spots at different angles: Tilt the screen to different angles and observe if any white spots become more noticeable or disappear.
- Inspect the entire screen surface: Pay attention to all corners, edges, and the center of the screen for the presence of white spots.
- Consult customer reviews: Research customer feedback or reviews to determine if other users have reported issues with white spots on the specific laptop model.
- Consider warranty coverage: Assess the warranty terms to ensure that white spots are covered and can be addressed by the manufacturer or seller.
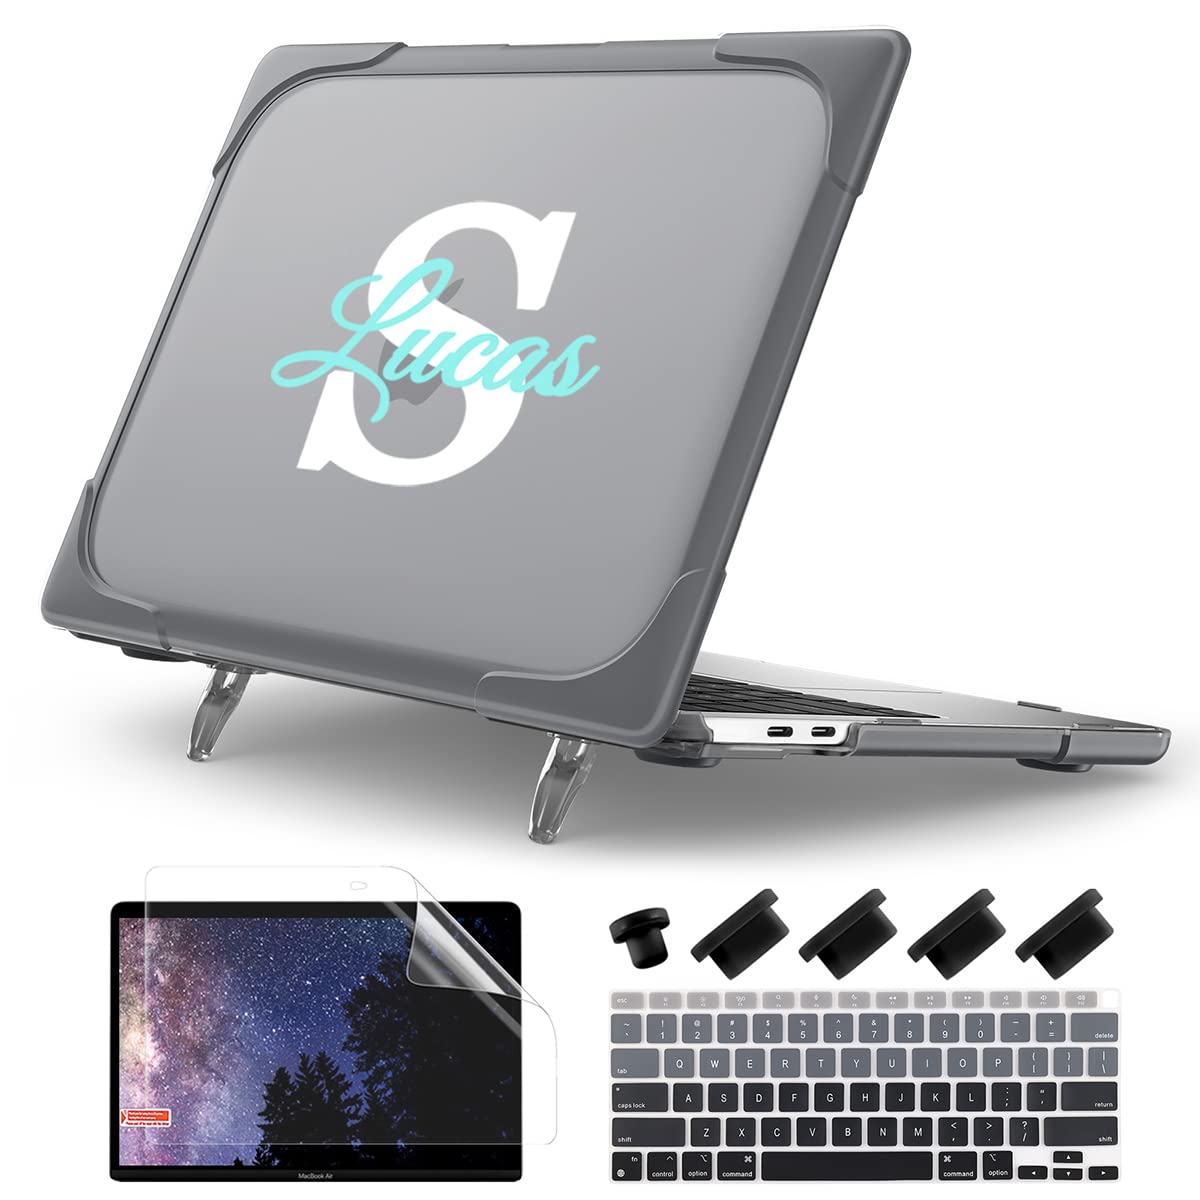
Get a Protective Case
- Protect your laptop with a high-quality case to prevent damage and extend its lifespan.
- Invest in a durable and shock-absorbent protective case specifically designed for your laptop model.
- Choose a case that offers reinforced corners and padding to safeguard against accidental drops and impacts.
- Ensure a snug fit by selecting a case that perfectly matches the dimensions of your laptop.
- Opt for a water-resistant or waterproof case to shield your laptop from spills, rain, and other liquid hazards.
- Consider a case with additional storage pockets to conveniently carry accessories like chargers, cables, and mice.
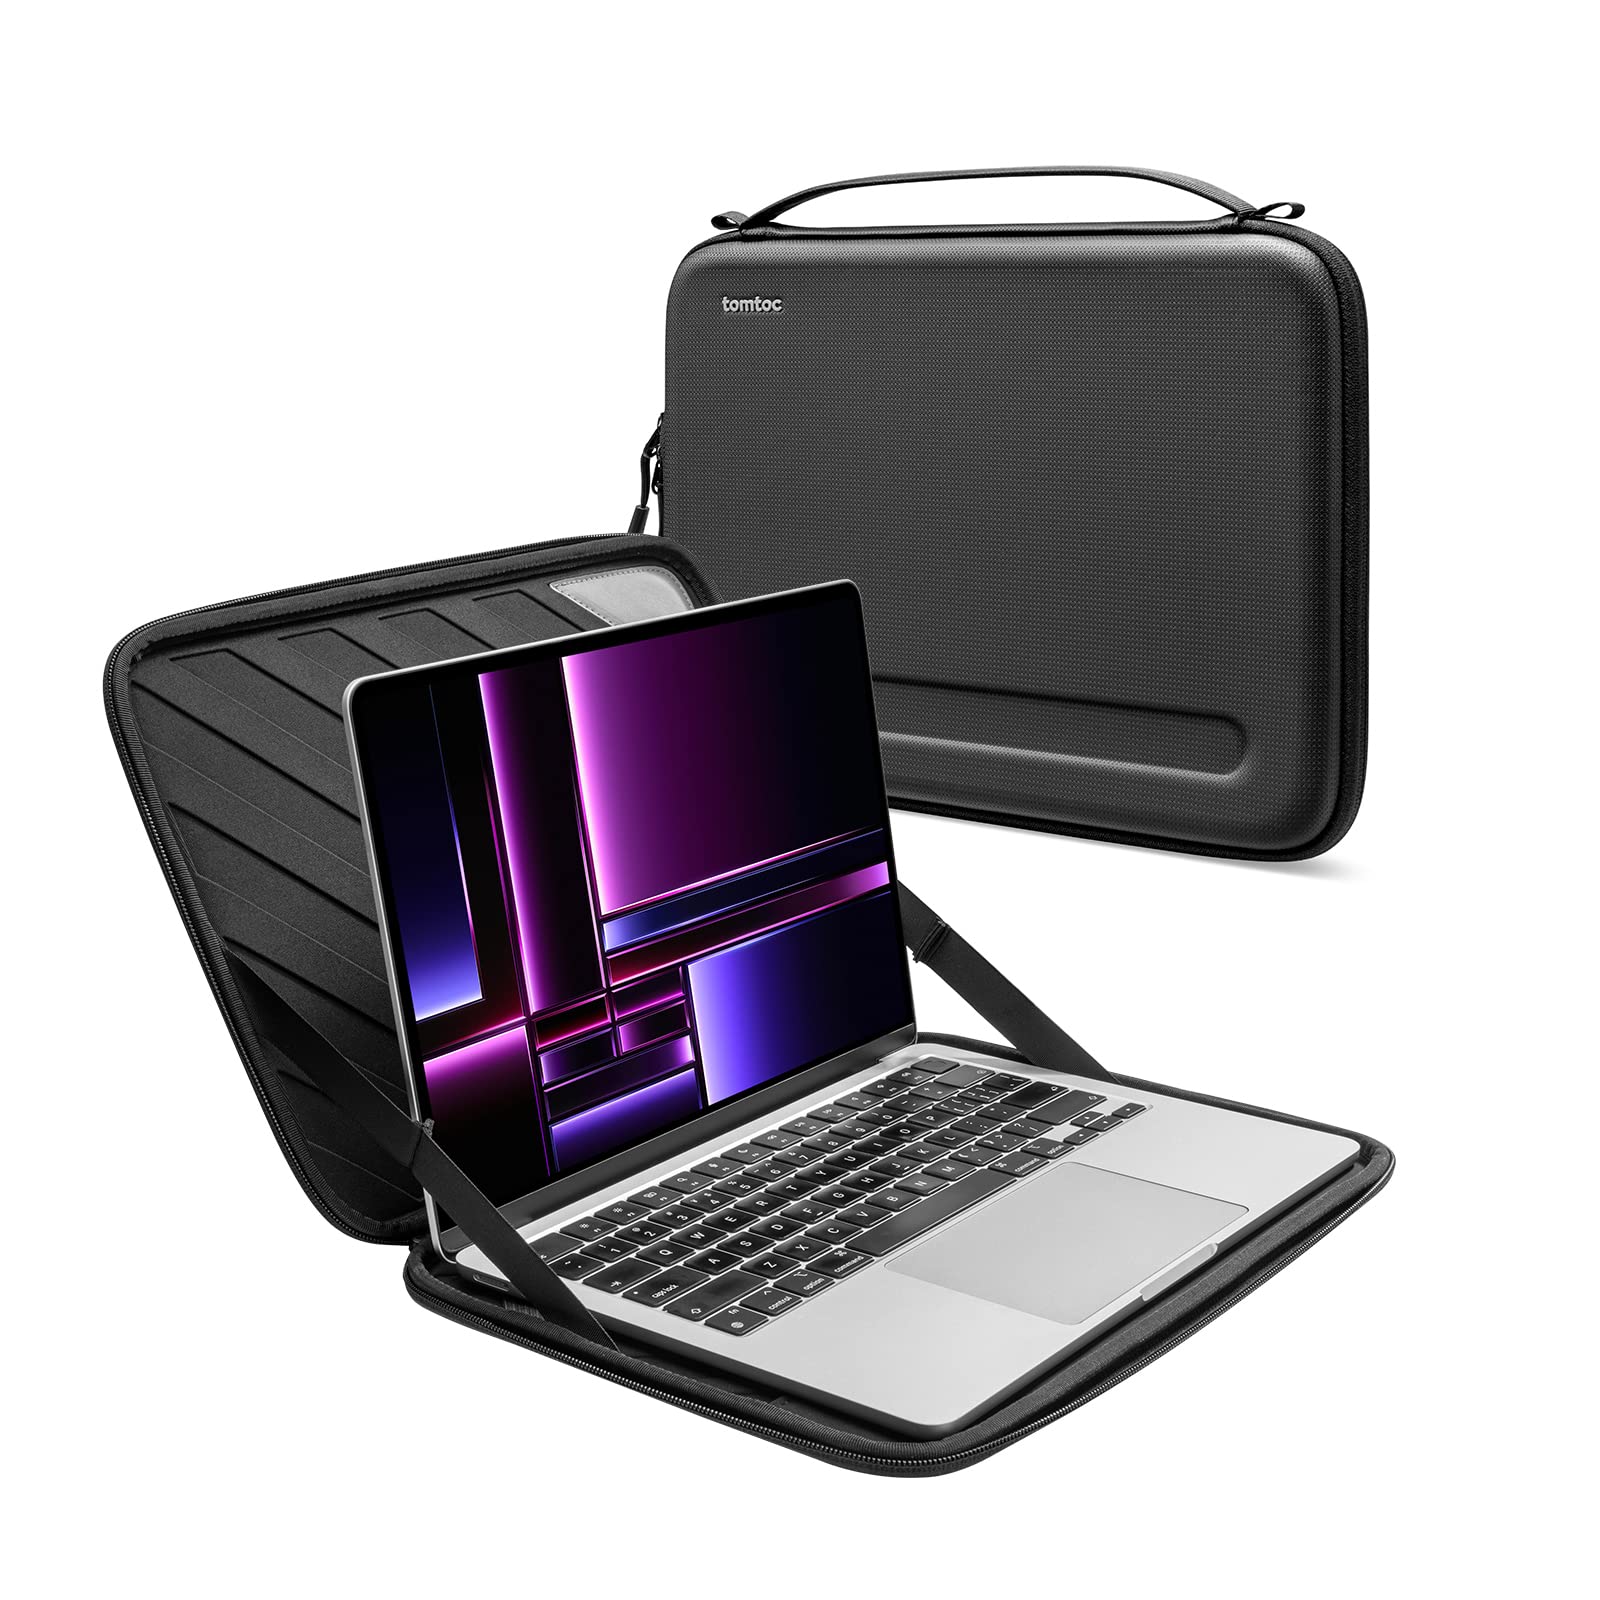
- Easily transport your laptop with a case that features comfortable handles or a detachable shoulder strap.
- Look for a case made of high-quality materials such as neoprene, nylon, or polycarbonate for enhanced protection.
- Maintain a professional appearance with a sleek and stylish protective case that complements your laptop’s design.
- Take proactive measures to prevent scratches, smudges, and dirt accumulation on your laptop’s screen by using a case.
Don’t Sleep with Your Laptop
- Avoid sleeping with your laptop – Sleeping with your laptop can cause pressure on the screen, leading to the formation of light spots.
- Keep your laptop on a flat surface – Placing your laptop on uneven surfaces can cause it to bend, potentially resulting in light spots on the screen.

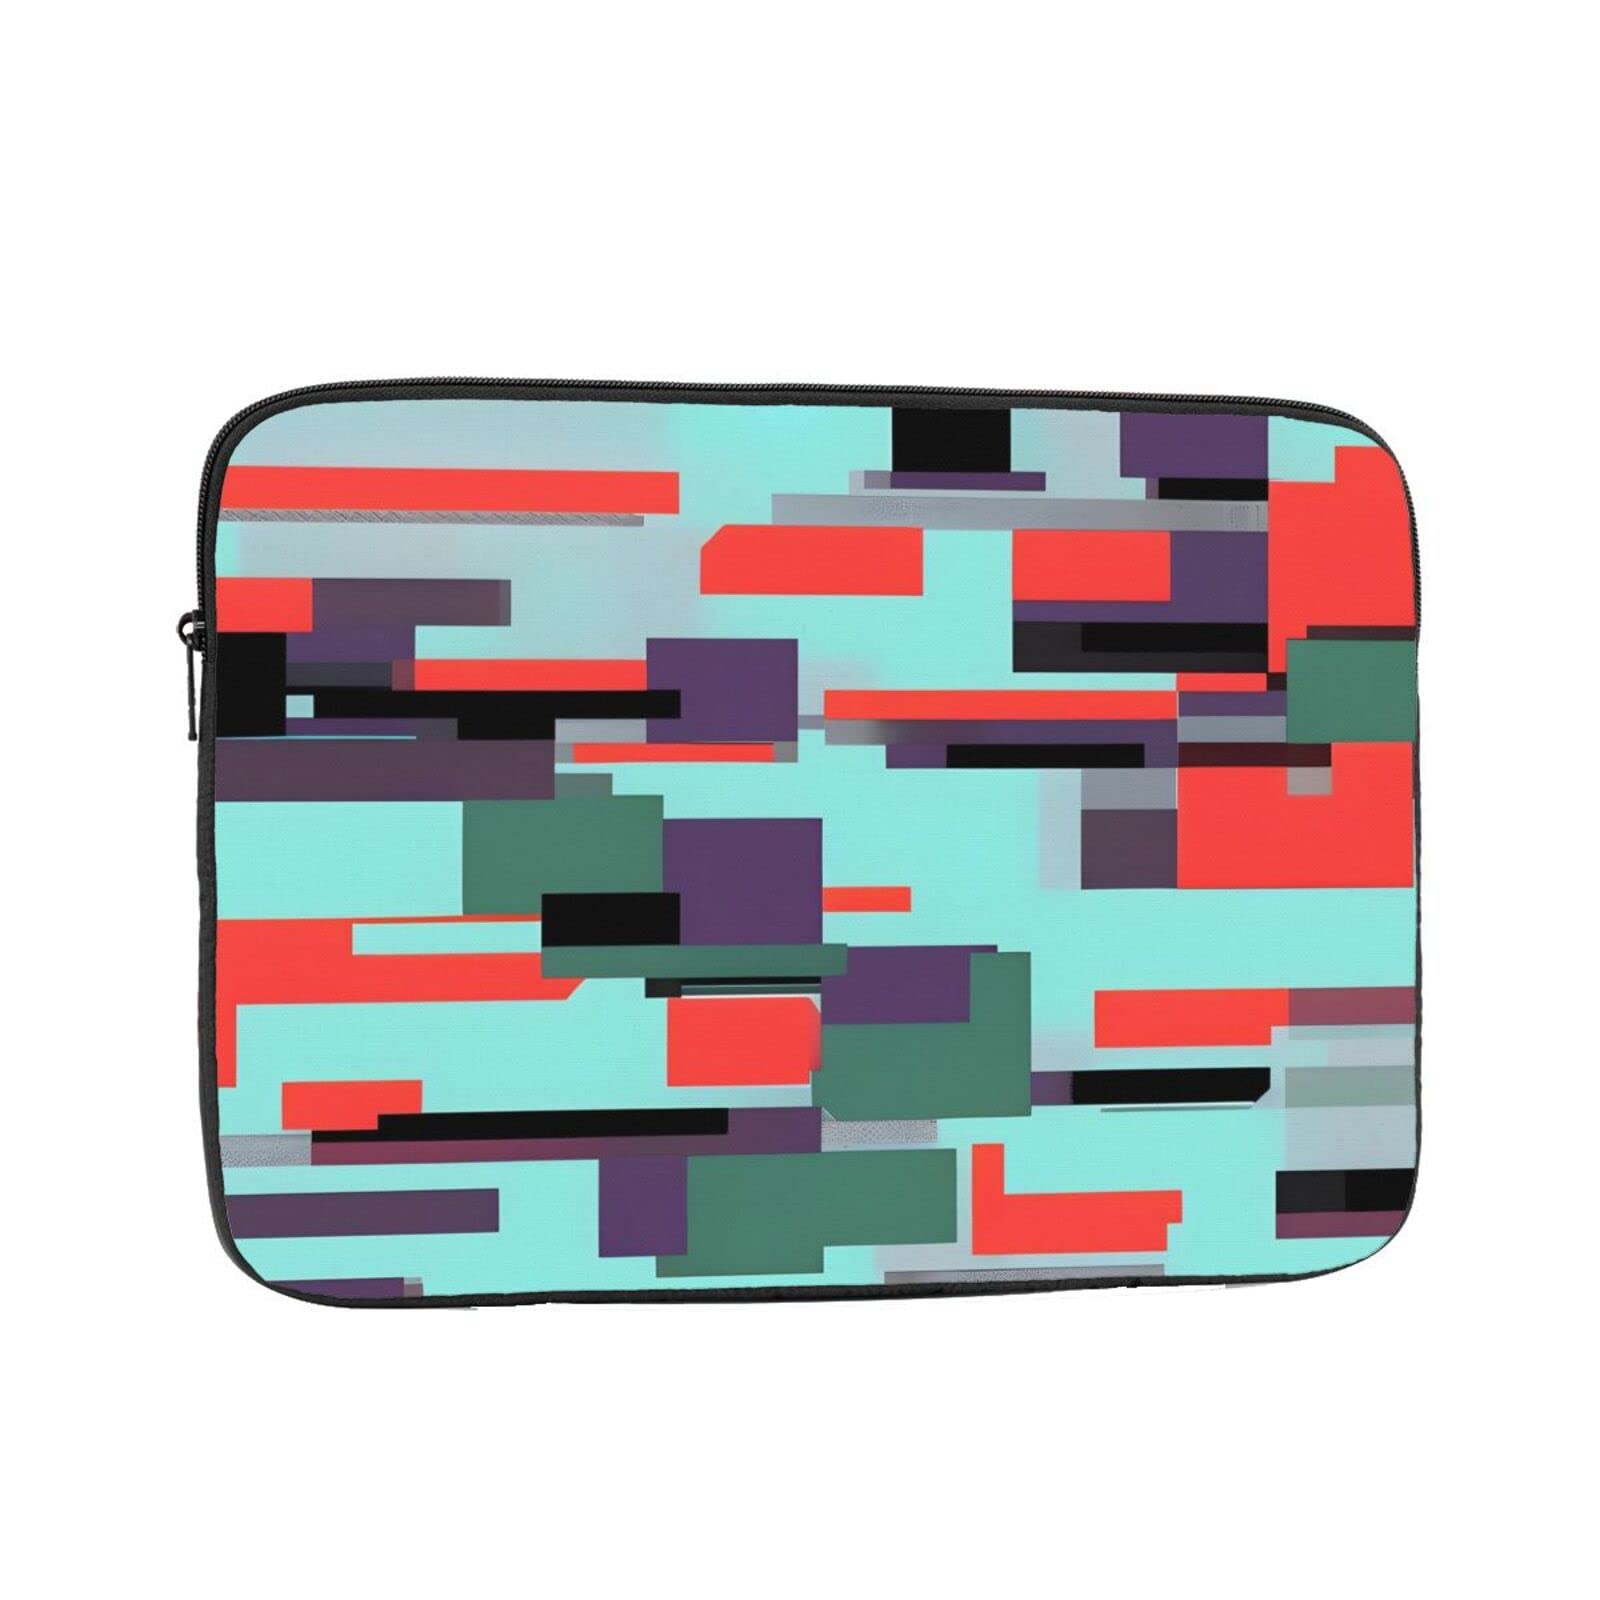
- Use a laptop sleeve or case – Protect your laptop from external pressure and accidental damage by using a reliable laptop sleeve or case.
- Handle your laptop with care – Rough handling can cause internal components to shift, leading to screen issues like light spots.
- Keep your laptop away from extreme temperatures – Exposure to excessive heat or cold can affect the performance of your laptop’s display and potentially cause light spots.
- Avoid placing heavy objects on your laptop – The weight of heavy objects can put pressure on the screen, resulting in light spots.

- Regularly clean your laptop screen – Dust and dirt particles can accumulate on the screen, affecting its visibility and potentially causing light spots.
- Avoid touching the screen directly – Touching the screen with dirty or greasy fingers can leave marks that may lead to light spots.
- Don’t slam the laptop shut – Closing your laptop forcefully can cause damage to the screen or its internal components, leading to light spots.
- Keep liquids away from your laptop – Spillage on the screen can seep into the display, causing permanent damage and light spots.

Don’t Press Your Touch Screen Laptop Too Hard
- Protect your touch screen: Avoid applying excessive pressure while using your touch screen laptop.
- Be gentle with your taps and swipes to prevent any damage to the screen.

- Use your fingertips: Instead of using your nails or other objects, rely on the natural touch of your fingertips for a more controlled touch experience.
- Keep your screen clean: Regularly clean your touch screen using a soft, lint-free cloth to remove any smudges or dirt that may affect its sensitivity.
- Consider using a screen protector to provide an extra layer of defense against scratches.
- Adjust touch sensitivity: Explore your device’s settings to customize the touch sensitivity according to your preference.
- Calibrate your touch screen: If you notice any inconsistencies or inaccuracies in touch response, calibrate your touch screen to improve its performance.
- Take breaks: Avoid prolonged heavy touch screen usage to prevent potential damage or screen burn-in.
- Remember that touch screens are designed to be responsive without excessive force, so a light touch is usually sufficient.
What causes white spots on laptop screens?
White spots on laptop screens can be caused by a variety of factors. One common reason is pressure applied to the screen, which can damage the display pixels and create white spots. Another possibility is a manufacturing defect or a glitch in the display hardware. Additionally, exposure to moisture or extreme temperatures can lead to mold or mildew growth, resulting in white spots. To fix this issue, try gently massaging the affected area or using a soft cloth to clean the screen. If the problem persists, it may require professional assistance.
How do I get rid of white spots on my HP laptop?
To get rid of white spots on your HP laptop screen, you can try a few troubleshooting steps.
First, clean the screen using a soft, lint-free cloth. Gently wipe the affected area in a circular motion to remove any dust or dirt particles.
If the spots persist, try adjusting the screen brightness. Open the settings menu, go to display settings, and reduce the brightness level.
If the issue still persists, you may need to update your graphics driver. Go to the HP support website, locate your laptop model, and download the latest driver for your graphics card.
If none of these steps work, it’s possible that there may be a hardware issue. In such cases, it’s recommended to contact HP support for further assistance.
Is a white pixel dead or stuck?
A white pixel on your laptop screen can be either dead or stuck.
To determine the issue, try gently tapping the affected area. If the pixel changes color or disappears, it was stuck. If it remains white, it’s likely dead.
To fix a stuck pixel, use a pixel fixing software or display exercise videos to stimulate the pixel. For a dead pixel, unfortunately, it cannot be repaired and would require a screen replacement.
Remember to backup your data before attempting any fixes.
If the issue persists, contact your laptop manufacturer for further assistance.
Will dead pixels go away?
Dead pixels on a laptop screen are caused by defective pixels that fail to display the correct colors. Unfortunately, dead pixels do not go away on their own and need to be fixed. To fix dead pixels on your laptop screen, try the following steps:
1. Run a pixel test: Use online tools or software designed to identify and fix dead pixels.
2. Perform a physical fix: Gently massage the affected area or apply slight pressure with a soft cloth to try and revive the pixel.
3. Consider professional repair: If the above steps don’t work, consult a technician or contact the manufacturer for assistance.