Dell XPS 13 Troubleshooting Guide
Unleash the potential of your Dell XPS 13 with our comprehensive troubleshooting guide. Navigate through common issues and find effective solutions to optimize your user experience.
Dell Windows Support Center
If you’re experiencing issues with your Dell XPS 13, the Dell Windows Support Center is here to help. Whether it’s problems with brightness, touchpad usage, keyboard, or more, our support center provides direct instructions to troubleshoot and resolve these issues.
For mouse or touchpad usage problems, navigate to the “Mouse Usage” or “Touchpad Usage” section in the support center. There, you’ll find step-by-step instructions on resolving common mouse-related issues.
To optimize your XPS 13’s performance, check out the “Startup Programs” section. It provides information on managing startup programs and removing unnecessary applications to improve system startup.
If you’re facing battery-related issues, such as battery drain or low battery life, the support center offers troubleshooting steps to maximize your computer battery’s performance.
For any hardware-related problems, like screen flickering or microphone not working, the support center provides specific solutions for Dell XPS 13 models, including XPS L321X, XPS 13 L322X, XPS 9300, and more.
Visit the Dell Windows Support Center for a variety of troubleshooting guides and solutions tailored to your Dell XPS 13.
Mouse, Keyboard, and Touchpad Issues
- Check for physical damage:
- Inspect the mouse, keyboard, and touchpad for any visible physical damage such as loose cables, broken keys, or cracks.

- Clean the peripherals:
- Use a soft cloth or compressed air to clean the mouse, keyboard, and touchpad, removing any dust or debris that may be interfering with their functionality.
- Update drivers:
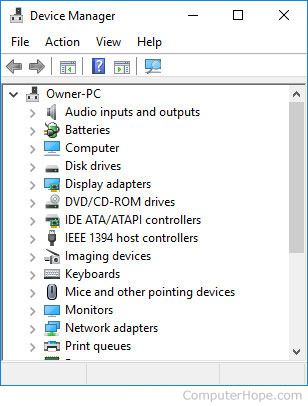
- Open Device Manager by pressing Win+X and selecting Device Manager.
- Expand the relevant category (e.g., Mice and other pointing devices, Keyboards) and right-click on the device.

- Select Update driver and follow the on-screen instructions to update the driver.
- Check mouse and touchpad settings:
- Open the Settings app by pressing Win+I.
- Go to Devices and select Mouse or Touchpad from the left-hand menu.
- Adjust the settings according to your preferences, ensuring that the mouse and touchpad are enabled and functioning correctly.
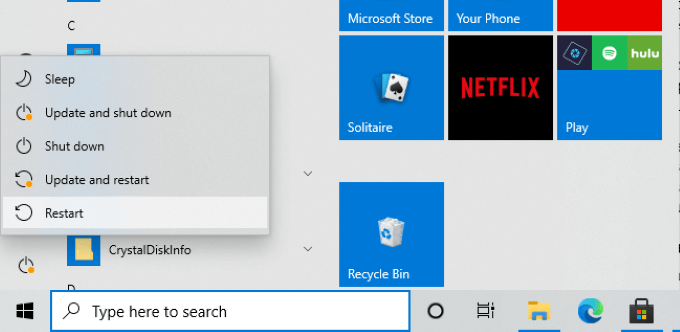
- Restart the computer:
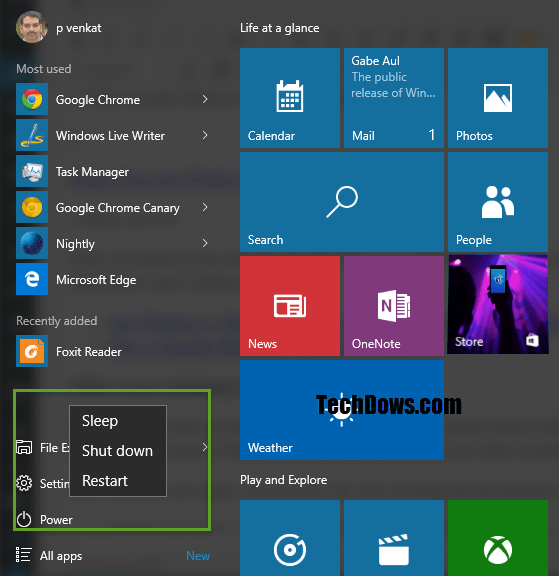
- Close all open programs and click on the Start button.
- Select Restart from the power options menu and wait for the computer to reboot.
- Check if the mouse, keyboard, and touchpad issues have been resolved.
- Perform a system restore:
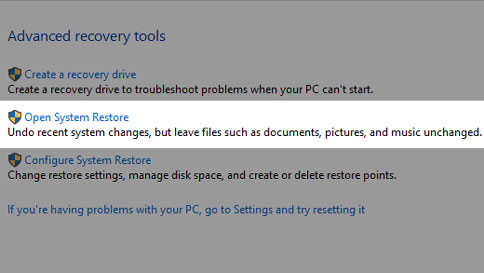
- Open the Control Panel by searching for it in the Start menu.
- Click on Recovery and select Open System Restore.

- Follow the prompts to choose a restore point and initiate the system restore process.
- Allow the computer to restart and check if the peripherals are working properly.
- Contact technical support:
- If none of the above steps resolve the mouse, keyboard, or touchpad issues, reach out to Dell’s technical support for further assistance.
Troubleshooting Slow Performance and Unresponsiveness
– Adjust the brightness level on your Dell XPS 13 to optimize battery life and reduce strain on the system.
– Check for any Windows 10 updates and install them to ensure your laptop is running at its best.
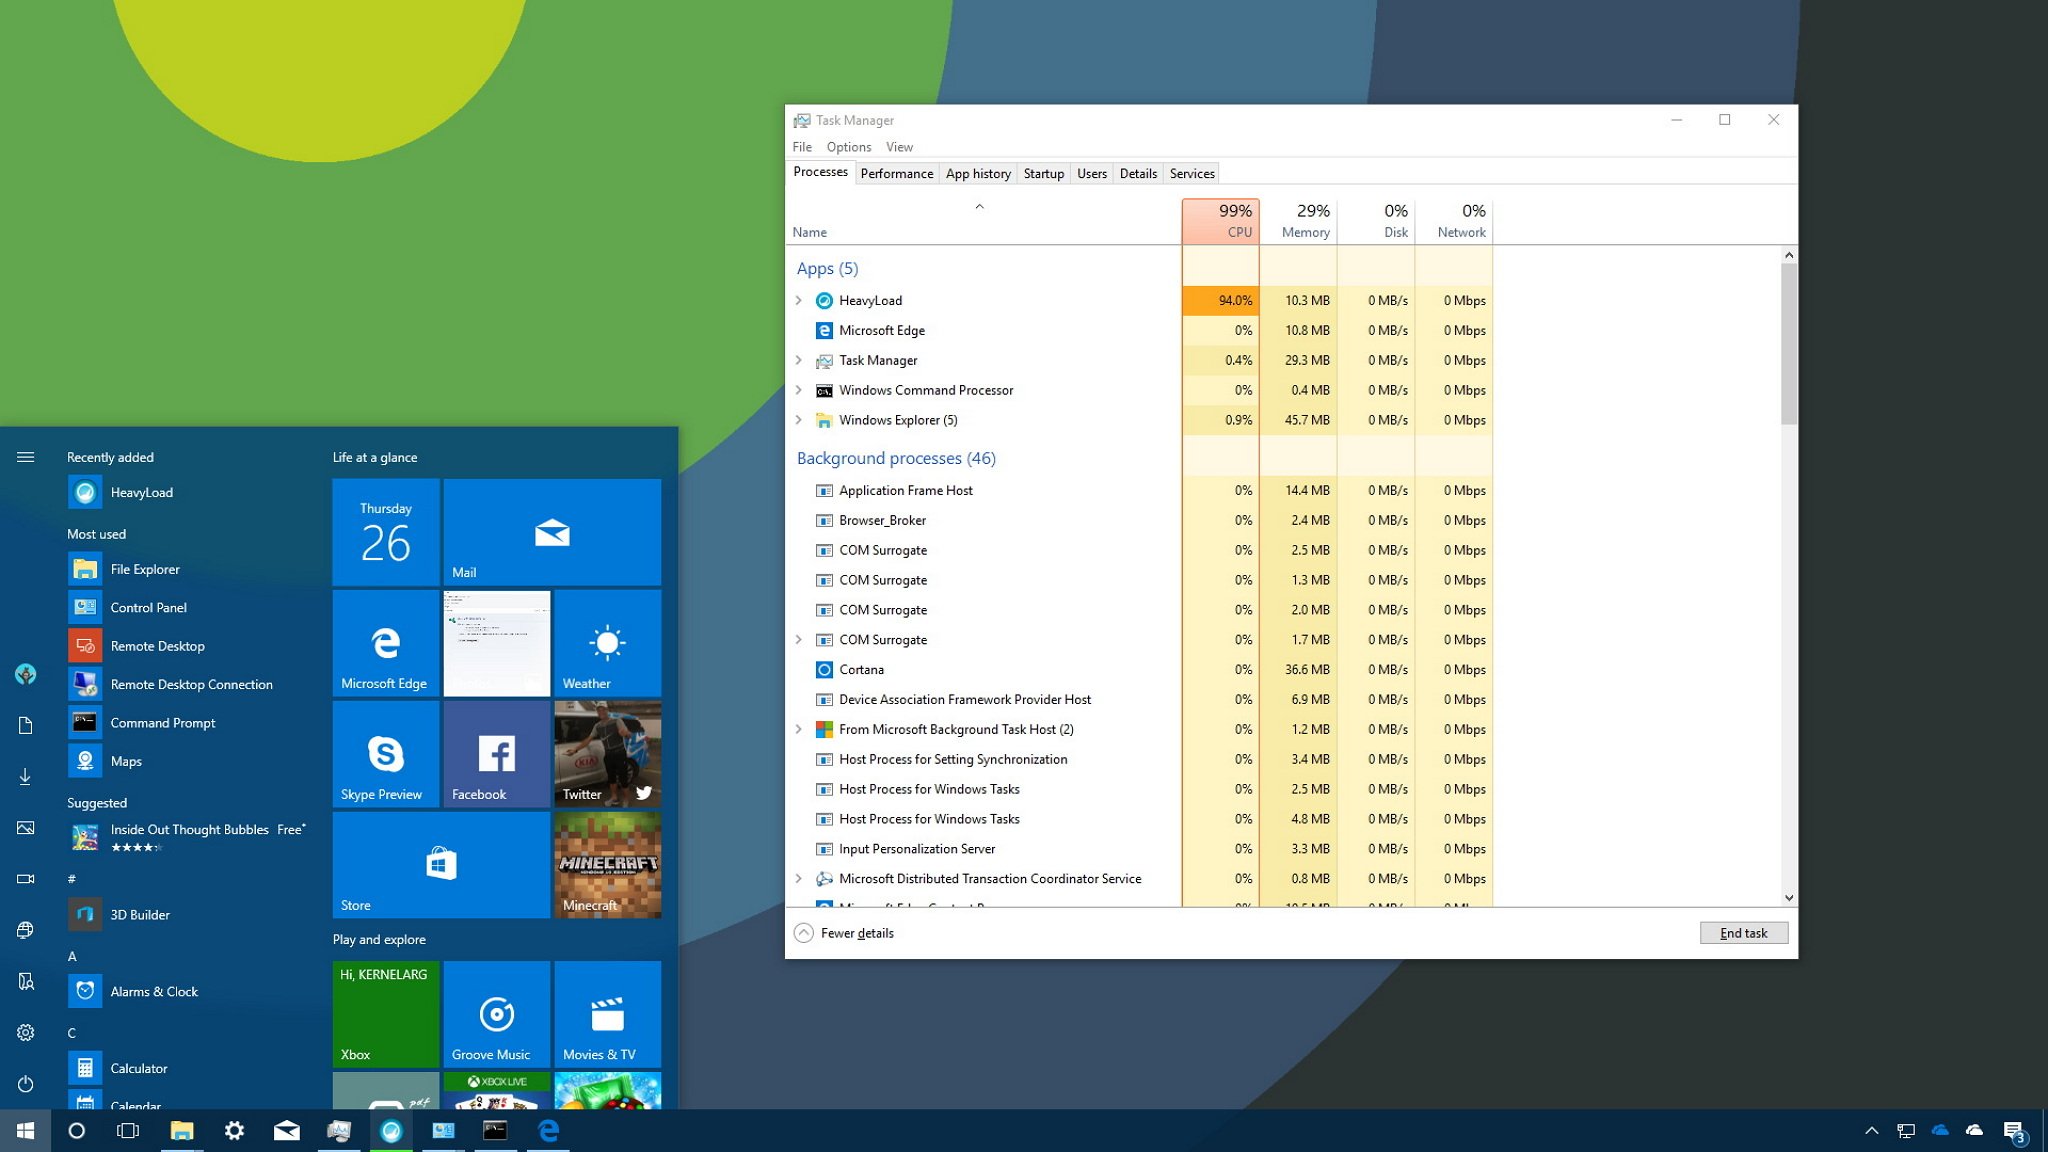
– Close any unnecessary programs or applications running in the background. Use Task Manager to easily identify and close resource-intensive tasks.
– Clean the fan and remove any dust accumulation to prevent overheating and improve performance.
– Check your WIFI connections and router for any issues that may be affecting internet speed.
– Remove any unnecessary startup items from the Startup Tab in Task Manager to improve boot times.
– Regularly clean your storage devices to clear out any unwanted files or particles that may be slowing down your system.
– If you’re experiencing screen flickering, update your display drivers and check for any physical damage to the notebook LCD screen.
– Consider disabling any unused devices, such as the microphone, to free up system resources.
python

import subprocess
def check_battery_status():
try:
output = subprocess.check_output(["acpi", "-b"]).decode()
print(output)
except FileNotFoundError:
print("The 'acpi' command is not installed.")
def check_disk_usage():
try:
output = subprocess.check_output(["df", "-h"]).decode()
print(output)
except FileNotFoundError:
print("The 'df' command is not installed.")
def check_memory_usage():
try:
output = subprocess.check_output(["free", "-h"]).decode()
print(output)
except FileNotFoundError:
print("The 'free' command is not installed.")
# Example usage
check_battery_status()
check_disk_usage()
check_memory_usage()
This code uses subprocess to execute shell commands (`acpi`, `df`, `free`) commonly available on Linux-based operating systems. It provides basic information about battery status, disk usage, and memory usage. However, please note that this code is just a starting point and may not cover all possible troubleshooting scenarios for a Dell XPS 13.
Windows Crashes, Restarts, or Blue Screen Appears
If you’re experiencing Windows crashes, restarts, or a blue screen appearing on your Dell XPS 13 laptop, there are a few troubleshooting steps you can take to resolve the issue.
First, check for any dust accumulation in your laptop’s fan or on the notebook LCD screen. Use a can of compressed air to gently clean these areas.
Next, ensure that your laptop’s software and drivers are up to date. You can do this by visiting the Dell Support website and downloading the latest updates for your specific model.
If the issue persists, try disabling any unnecessary startup programs by opening the Task Manager, navigating to the Startup tab, and disabling any programs that aren’t essential.
Finally, consider running a scan for malware or viruses using a reputable antivirus program. This can help identify and remove any potential threats causing the crashes or restarts.
Black or Hard to See LCD Screen Troubleshooting
- Check the brightness settings:
- Press the Fn and Up Arrow keys simultaneously to increase the brightness.
- Press the Fn and Down Arrow keys simultaneously to decrease the brightness.
- Ensure the power source is connected:
- Make sure the power adapter is properly plugged into the laptop and the power outlet.
- Check for any external displays connected:
- If an external display is connected, disconnect it and check if the LCD screen display improves.
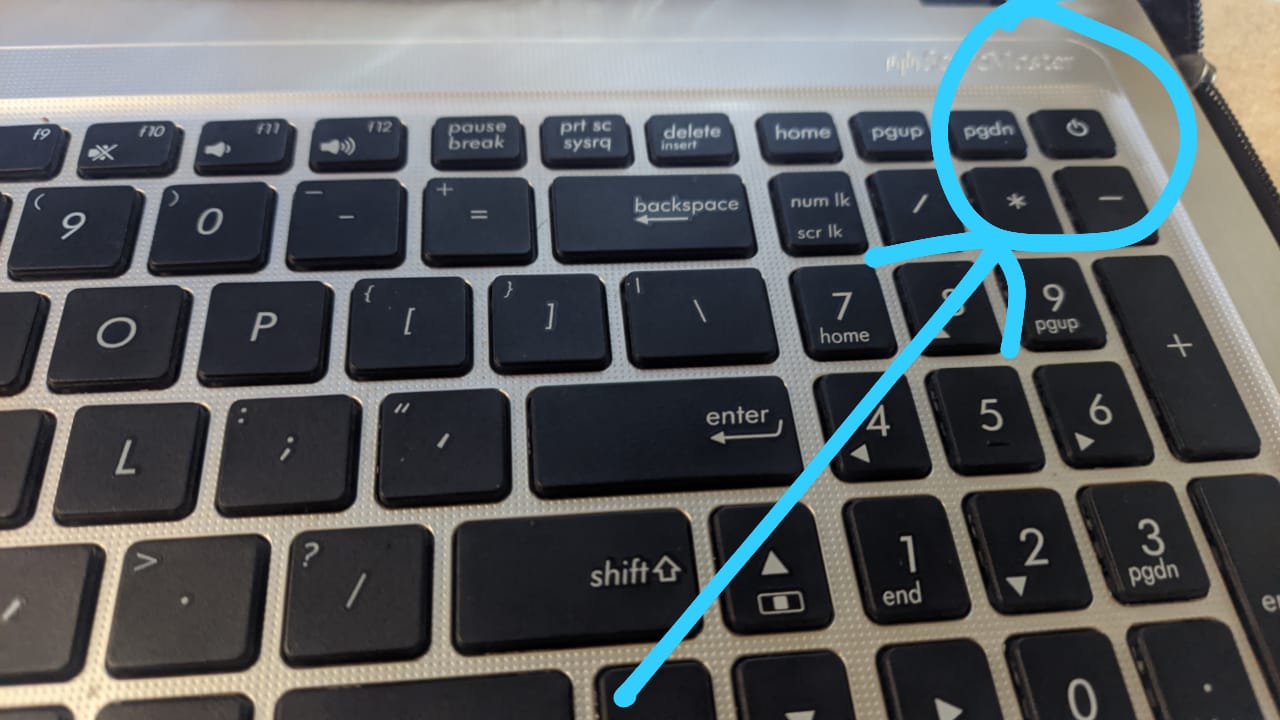
- Restart the laptop:
- Press the Start/Power button and select Restart from the options.
- Update the graphics driver:
- Open Device Manager by pressing Win+X and selecting it from the menu.
- Expand the Display adapters category and right-click on the graphics driver.
- Select Update driver and follow the on-screen instructions to update the driver.
- Run the LCD built-in self-test:
- Power off the laptop.
- Press and hold the D key.
- While holding the D key, press the Start/Power button.
- Release the D key when the screen turns on.
- Follow the on-screen prompts to complete the self-test.
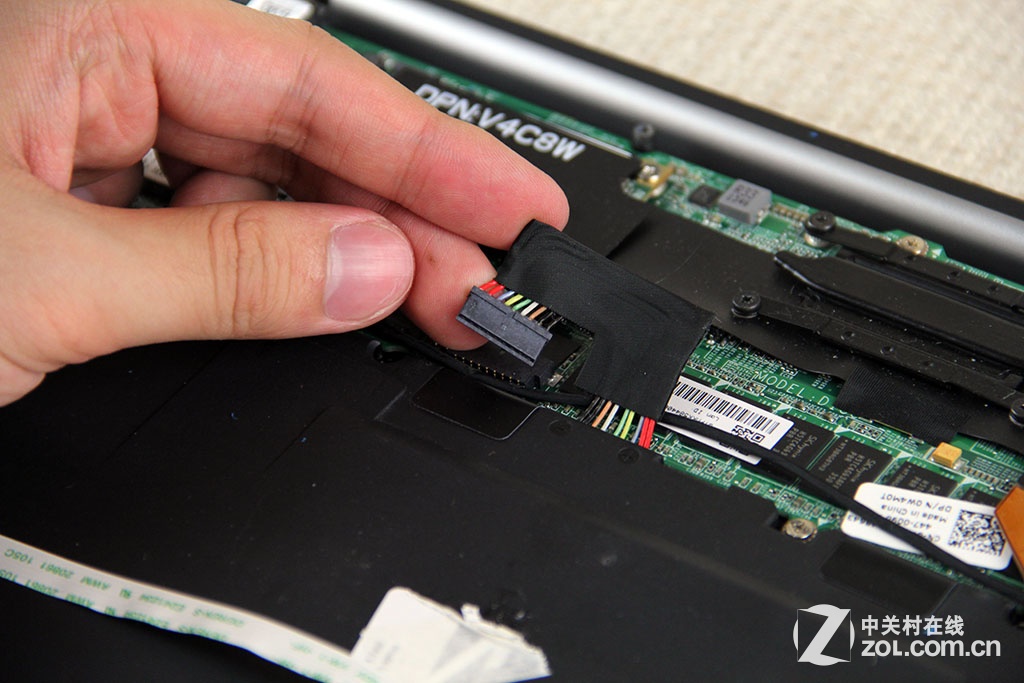
- Check the display cable connections:
- Power off the laptop.
- Remove the bottom cover of the laptop.
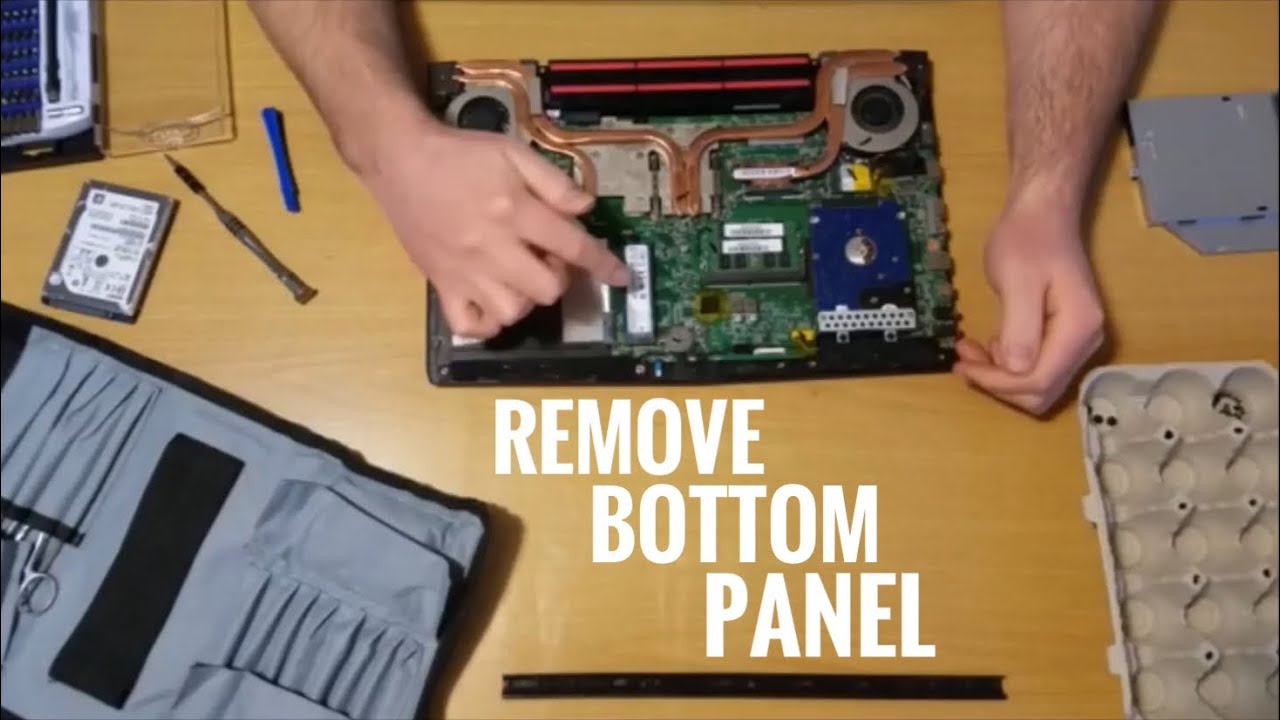
- Locate the display cable connections on the motherboard and LCD panel.
- Ensure the connections are secure and properly seated.
- Reassemble the laptop and power it on to check if the LCD screen is now visible.
- Perform a system restore:
- Open the Control Panel by pressing Win+X and selecting it from the menu.
- Select Recovery and then click on Open System Restore.
- Follow the on-screen instructions to choose a restore point and restore the system.
Wireless Antenna On and Off
If you’re experiencing connectivity issues with your Dell XPS 13, the problem might be related to the wireless antenna. Here’s how you can turn it on or off:
1. Click on the Windows 10 Start button and select “Settings.”
2. In the Settings menu, click on “Network & Internet.”
3. Under the “Status” tab, toggle the switch to turn the Wi-Fi on or off.
If the issue persists, there are a few additional steps you can take:
1. Restart your laptop. Sometimes a simple restart can resolve connectivity problems.
2. Update your wireless adapter driver. Visit the Dell Support website and search for the latest driver for your specific XPS 13 model.
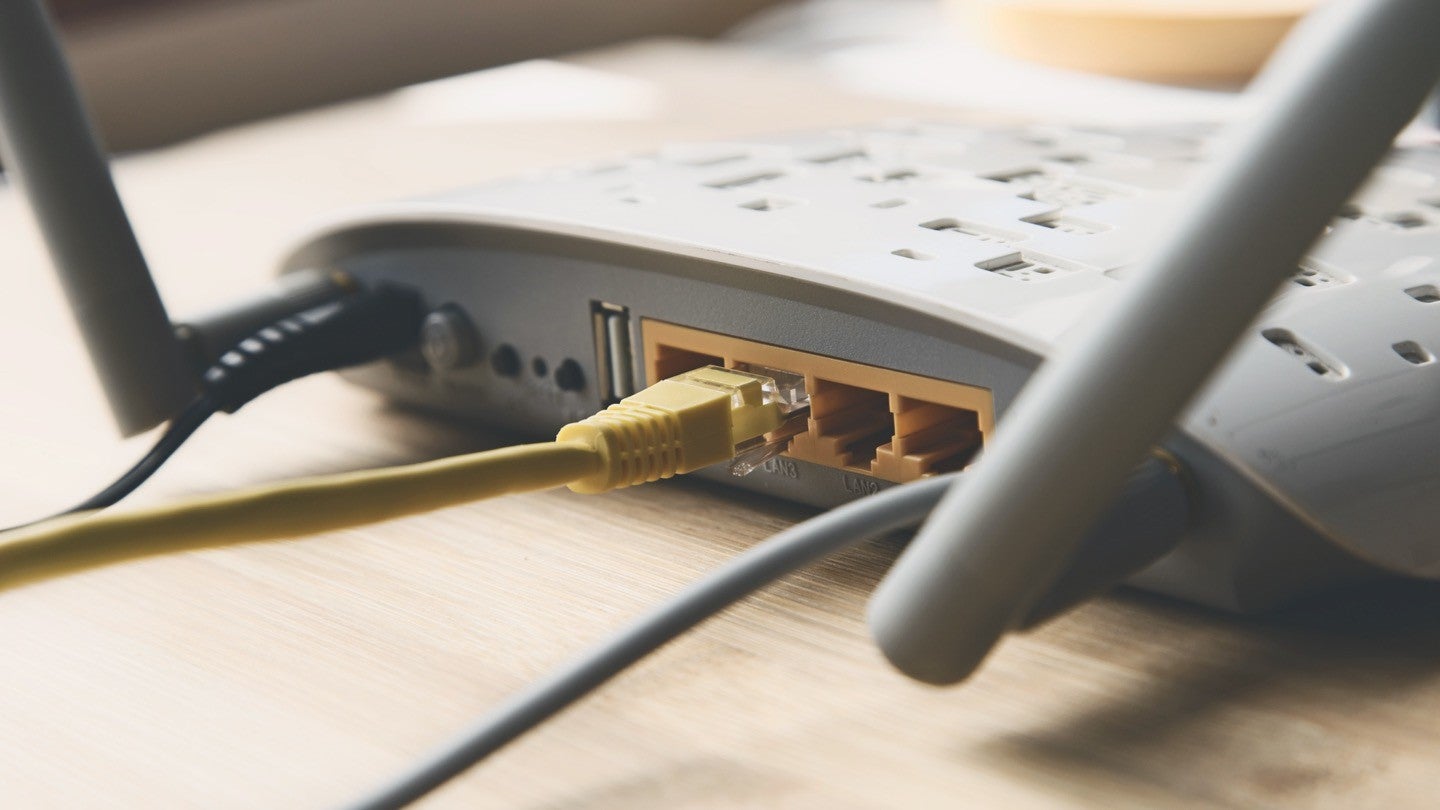
3. Reset your router. Unplug the power cord, wait for a few seconds, and then plug it back in.
Note: If you continue to experience connectivity issues, we recommend contacting Dell Support for further assistance.
XPS 13 (9350) Driver Issues
If you’re experiencing driver issues with your Dell XPS 13 (9350), we’ve got you covered. Follow these steps to troubleshoot and resolve the problem.
1. Update your drivers: Ensure that all your drivers are up to date. Visit the Dell Support website and enter your XPS 13 (9350) model number to download the latest drivers.
2. Reinstall drivers: If updating doesn’t work, try reinstalling the drivers. Go to Device Manager, locate the problematic driver, right-click on it, and select “Uninstall.” Then, restart your laptop and let Windows automatically install the drivers.
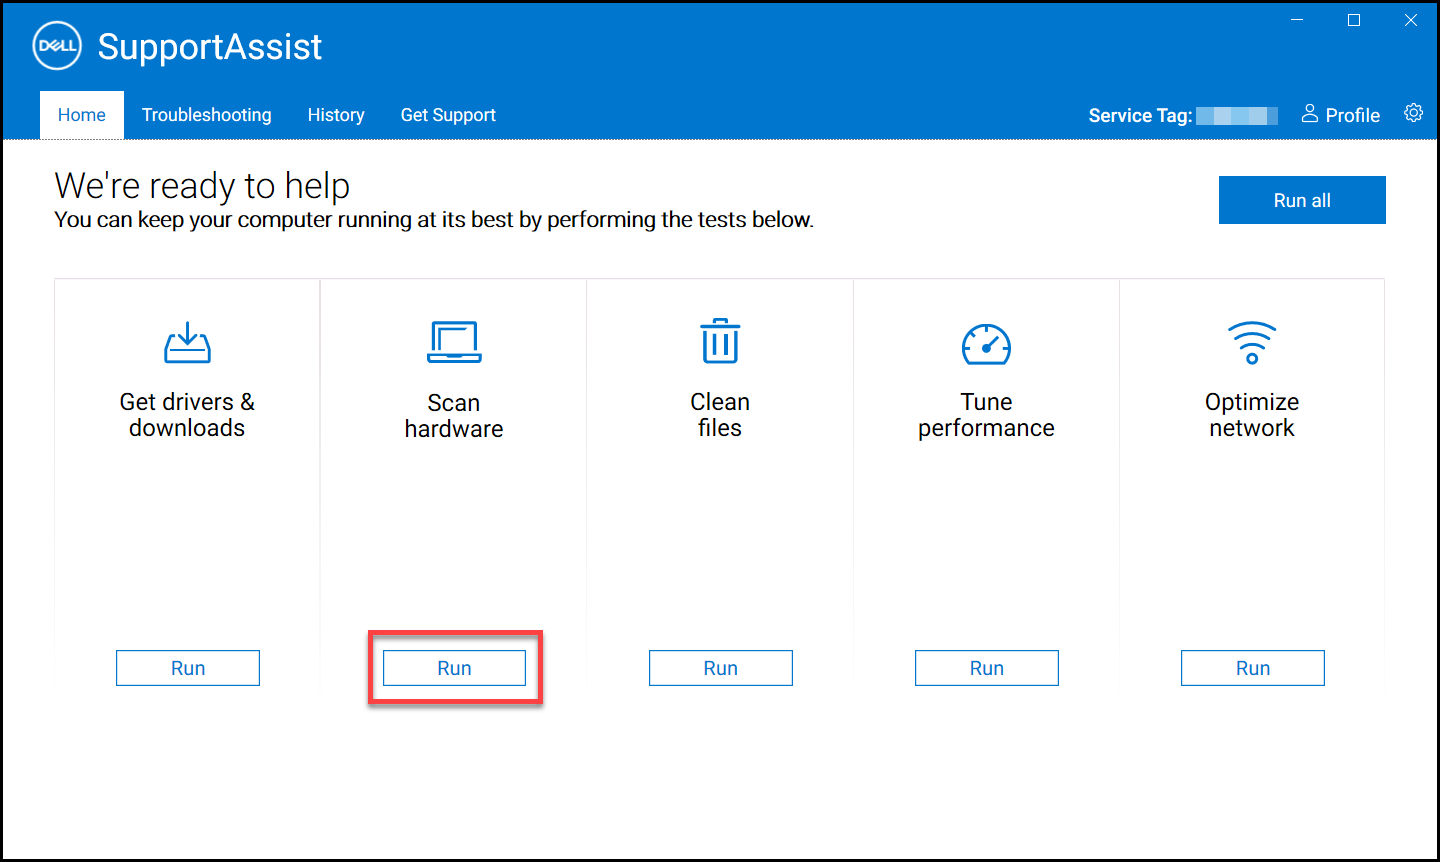
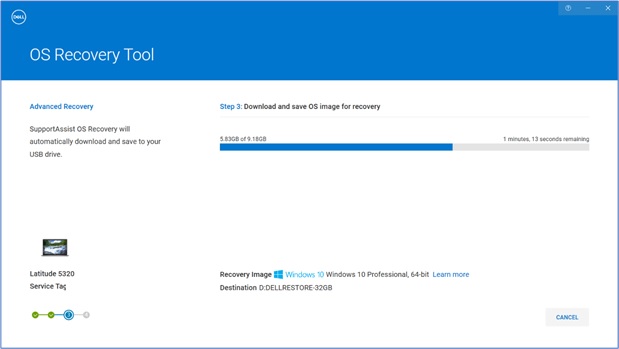
3. Use SupportAssist: Dell’s SupportAssist application is a useful tool for diagnosing and resolving driver issues. Install it from the Dell website and run a scan to identify any problematic drivers.
4. Contact Dell Support: If the issue persists, reach out to Dell Support for further assistance. They have a variety of resources and experts to help resolve driver-related problems.
Webcam Troubleshooting
- Check Privacy Settings
- Open Settings by clicking on the Windows Start button and selecting the gear icon.
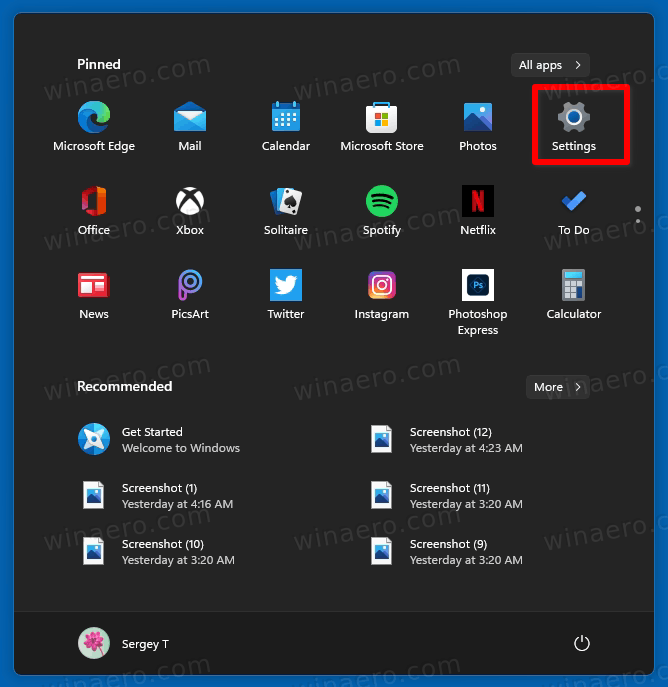
- Select Privacy from the list of options.
- Click on Camera in the left pane.
- Make sure the Allow apps to access your camera toggle switch is turned on.
- Scroll down to the Choose which Microsoft Store apps can access your camera section and confirm that the desired apps have access to the camera.

- Update Webcam Driver
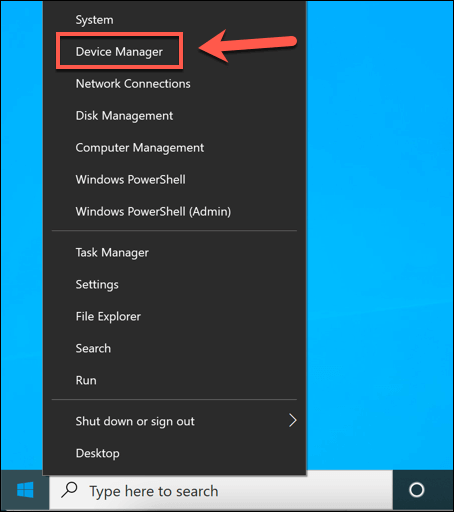
- Open Device Manager by right-clicking on the Windows Start button and selecting it from the list.
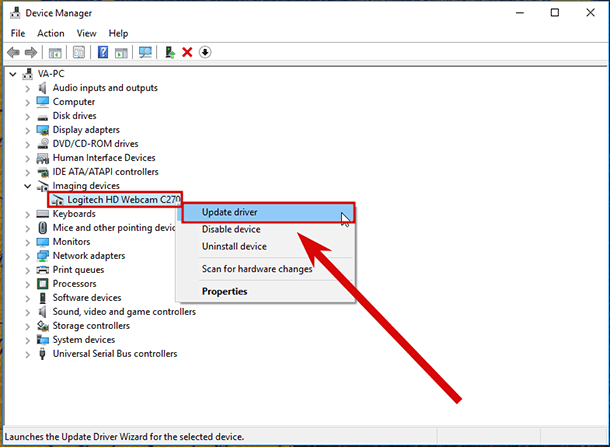
- Expand the Cameras or Imaging devices category.
- Right-click on your webcam and select Update driver.
- Choose the option to Search automatically for updated driver software.
- Follow the on-screen instructions to complete the driver update process.
- Restart Webcam Service
- Open Task Manager by pressing Ctrl+Shift+Esc.
- Click on the Services tab.
- Scroll down and locate the Webcam or Camera service.
- Right-click on the service and select Restart.
- Close Task Manager and check if the webcam is working.
- Check for Physical Damage
- Inspect the webcam for any visible signs of damage or hardware issues.
- If there is physical damage, it may be necessary to contact Dell support for further assistance or to replace the webcam.
- Run Hardware Diagnostics
- Restart the Dell XPS 13.
- During the boot process, press the F12 key repeatedly to enter the Boot Menu.
- Use the arrow keys to select Diagnostics and press Enter to start the hardware diagnostics.
- Follow the on-screen instructions to run the diagnostics on the webcam.
- Take note of any error messages or failures encountered during the diagnostics.
Disabling or Enabling the Touchpad
To disable or enable the touchpad on your Dell XPS 13, follow these steps:
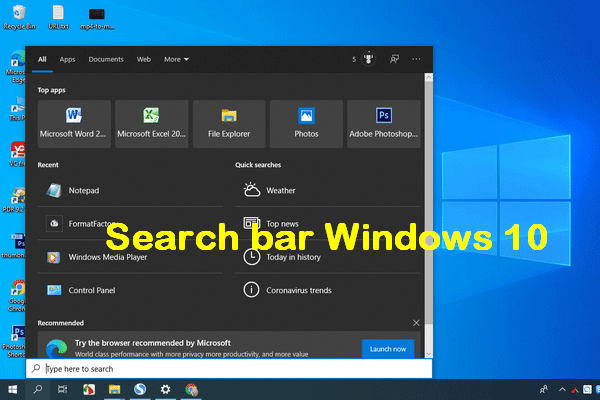
1. Press the Windows key and type “Control Panel.” Open the Control Panel from the search results.
2. In the Control Panel, click on “Hardware and Sound.”
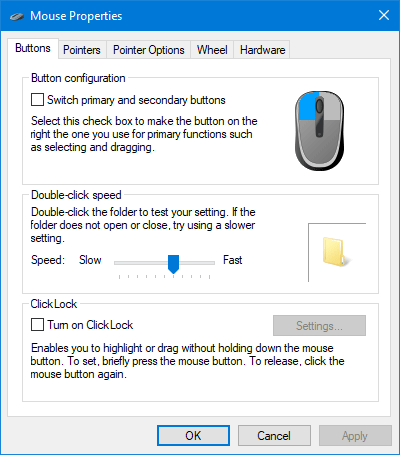
3. Under “Devices and Printers,” click on “Mouse.”
4. In the Mouse Properties window, navigate to the “Device Settings” or “Touchpad” tab.
5. Locate your touchpad device and click on “Disable” or “Enable,” depending on your desired action.
6. Click “Apply” and then “OK” to save the changes.
If you prefer using keyboard shortcuts, you can also disable or enable the touchpad by pressing the Fn key and the touchpad function key simultaneously. The touchpad function key is usually represented by an icon of a touchpad.
Startup and Video Issues
Startup Issues:
If you’re experiencing startup issues with your Dell XPS 13, follow these steps to troubleshoot the problem:
1. Check power connections: Ensure that your laptop is properly connected to a power source and the battery is charged.
2. Reset power: Disconnect the power adapter, remove the battery if possible, press and hold the power button for 10 seconds, then reconnect the battery and power adapter.
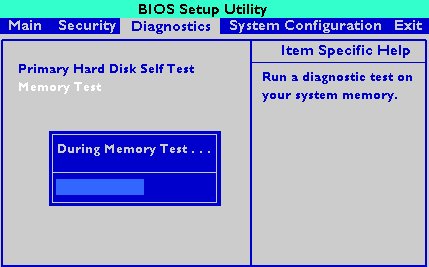
3. Run hardware diagnostics: Use the built-in Dell hardware diagnostics tool to identify any hardware problems that may be causing the startup issue.
4. Update BIOS: Visit Dell’s support website and download the latest BIOS update for your XPS 13. Install the update following the provided instructions.
5. Disable unnecessary startup programs: Open the Task Manager (Ctrl + Shift + Esc), go to the “Startup” tab, and disable any unnecessary programs that may be slowing down the startup process.
If these steps don’t resolve the issue, consider contacting Dell support for further assistance.
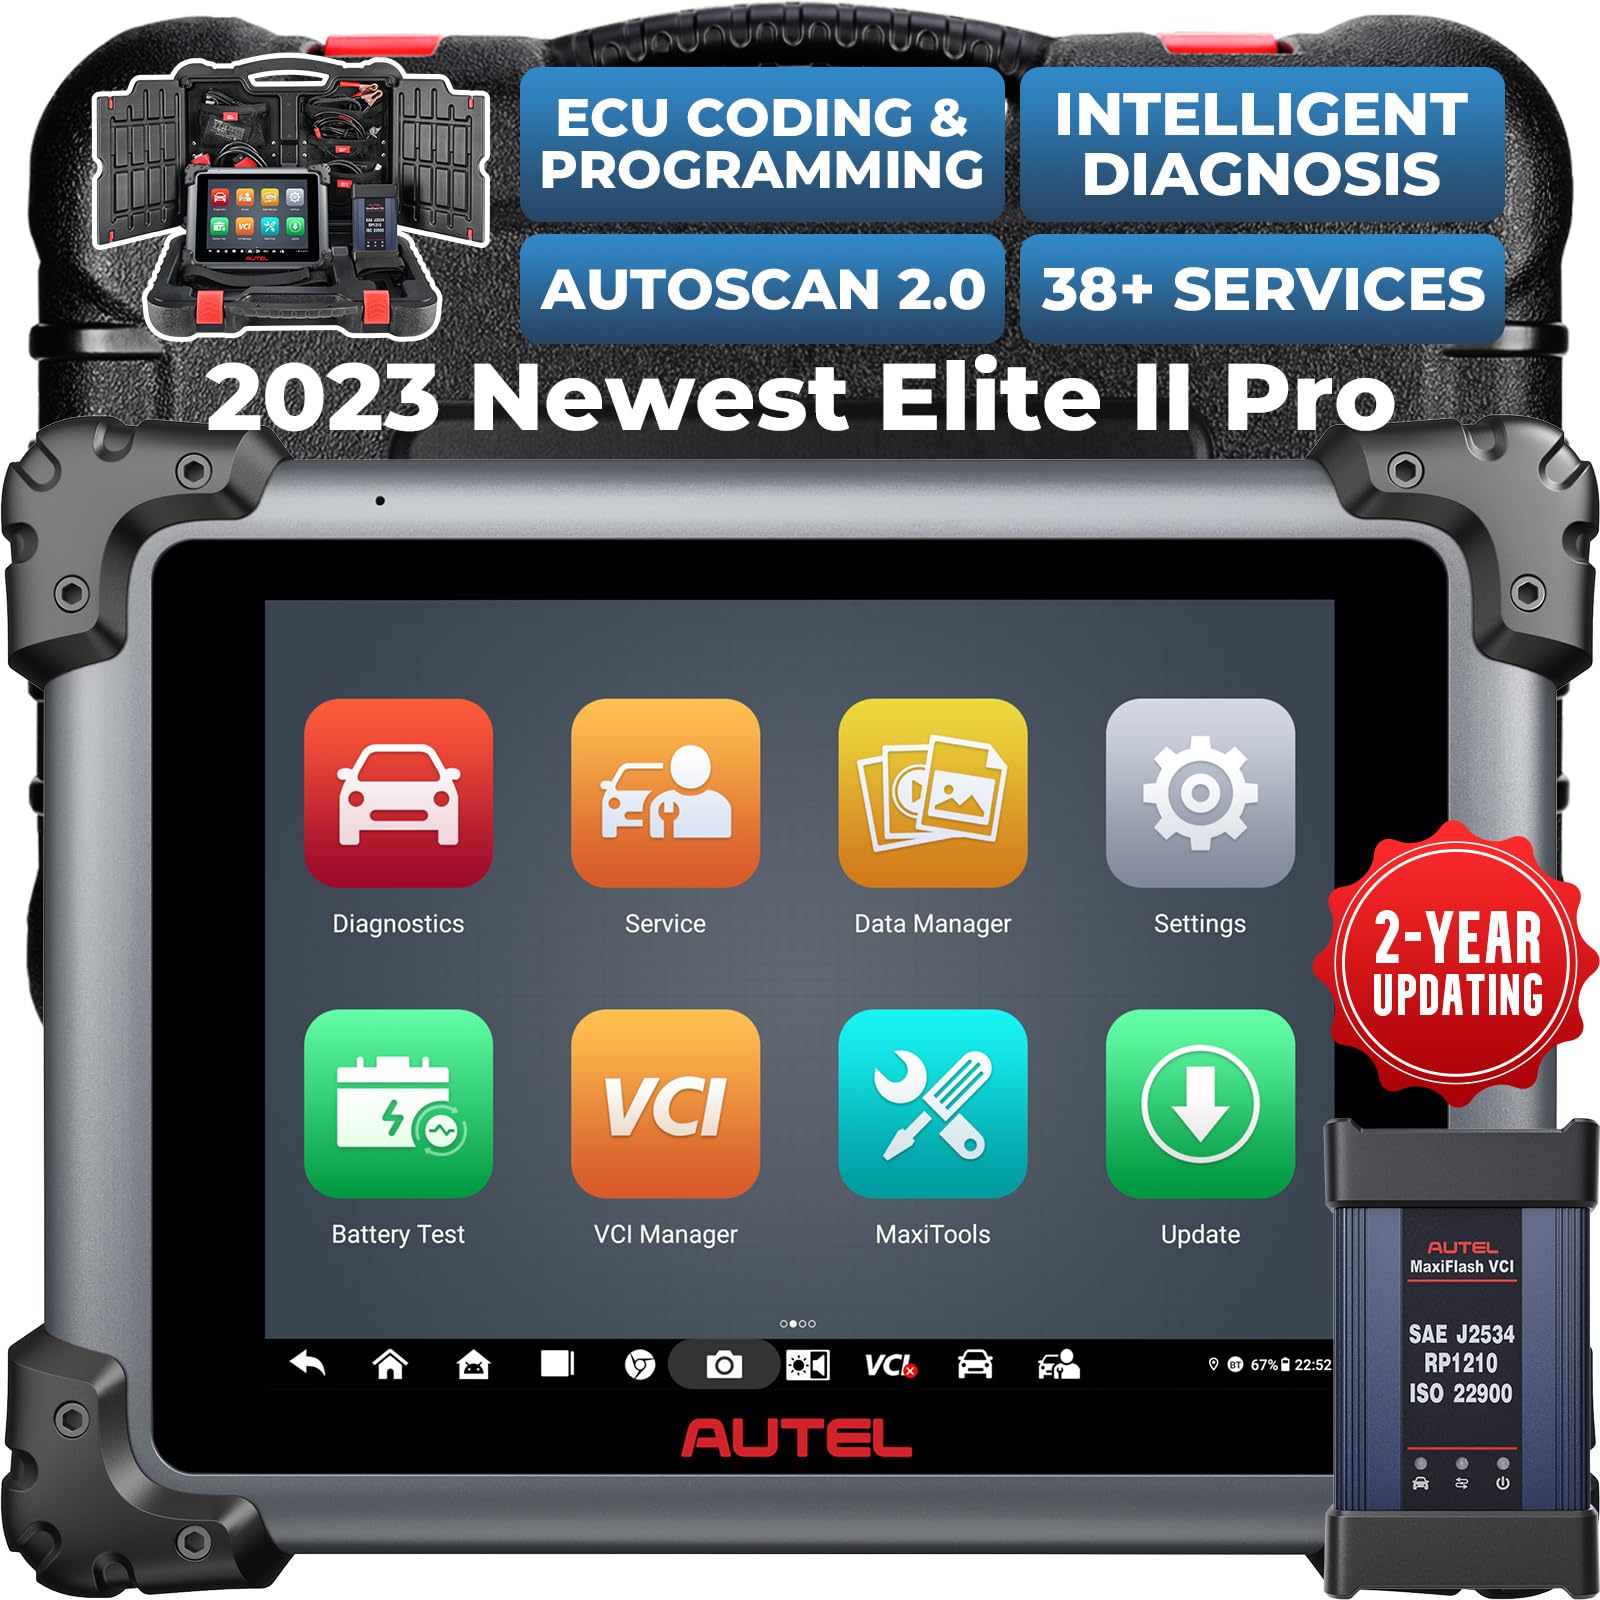
PC Diagnostics and SupportAssist
If you’re experiencing any problems with your laptop, these tools can quickly identify and diagnose the issue. Here’s how to use them effectively:
1. Open the PC Diagnostics tool by pressing the F12 key during startup. This will launch the built-in diagnostics program, which will run a thorough test of your hardware components.
2. If any issues are detected, the program will provide detailed error codes and suggestions for resolving the problem. Follow the instructions carefully to fix the issue.
3. For additional support, consider using Dell’s SupportAssist application. This program can automatically detect and troubleshoot common software problems, optimizing the performance of your laptop.
Port Locations and Specifications
| Port | Location | Specifications |
|---|---|---|
| USB Type-C | Left side | – Supports Thunderbolt 3 – Can be used for charging – Supports DisplayPort |
| USB 3.1 | Left side | – Supports PowerShare – High-speed data transfer |
| Micro SD card reader | Right side | – Supports Micro SD, Micro SDHC, and Micro SDXC cards |
| Headset jack | Right side | – Connects headphones or speakers |
| Thunderbolt 3 | Left side | – Supports USB Type-C – High-speed data transfer – Supports DisplayPort – Can be used for charging |
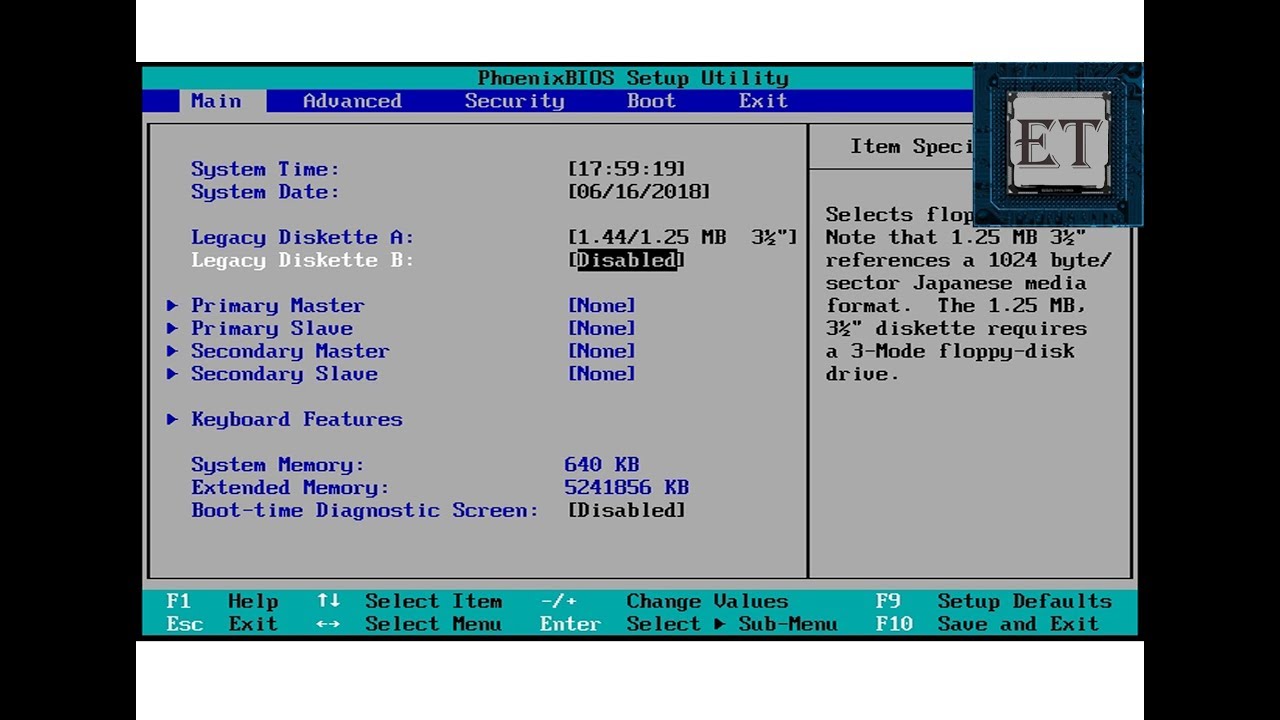
Resetting the System Setup (BIOS)
To reset the system setup (BIOS) on your Dell XPS 13, follow these steps:
1. Start by shutting down your laptop completely.
2. Press the power button to turn it on and immediately start tapping the F2 key repeatedly.
3. This will take you to the BIOS setup utility.
4. Once in the BIOS, navigate to the “Reset” or “Restore Defaults” option.
5. Select this option and confirm your choice.
6. The BIOS settings will now be reset to their original factory defaults.
7. Exit the BIOS setup utility and restart your laptop.
Please note that resetting the BIOS may change some settings, so make sure to review and adjust them as needed after the reset.
If you encounter any issues or need further assistance, refer to the Dell XPS 13 Troubleshooting Guide for more detailed instructions and solutions.
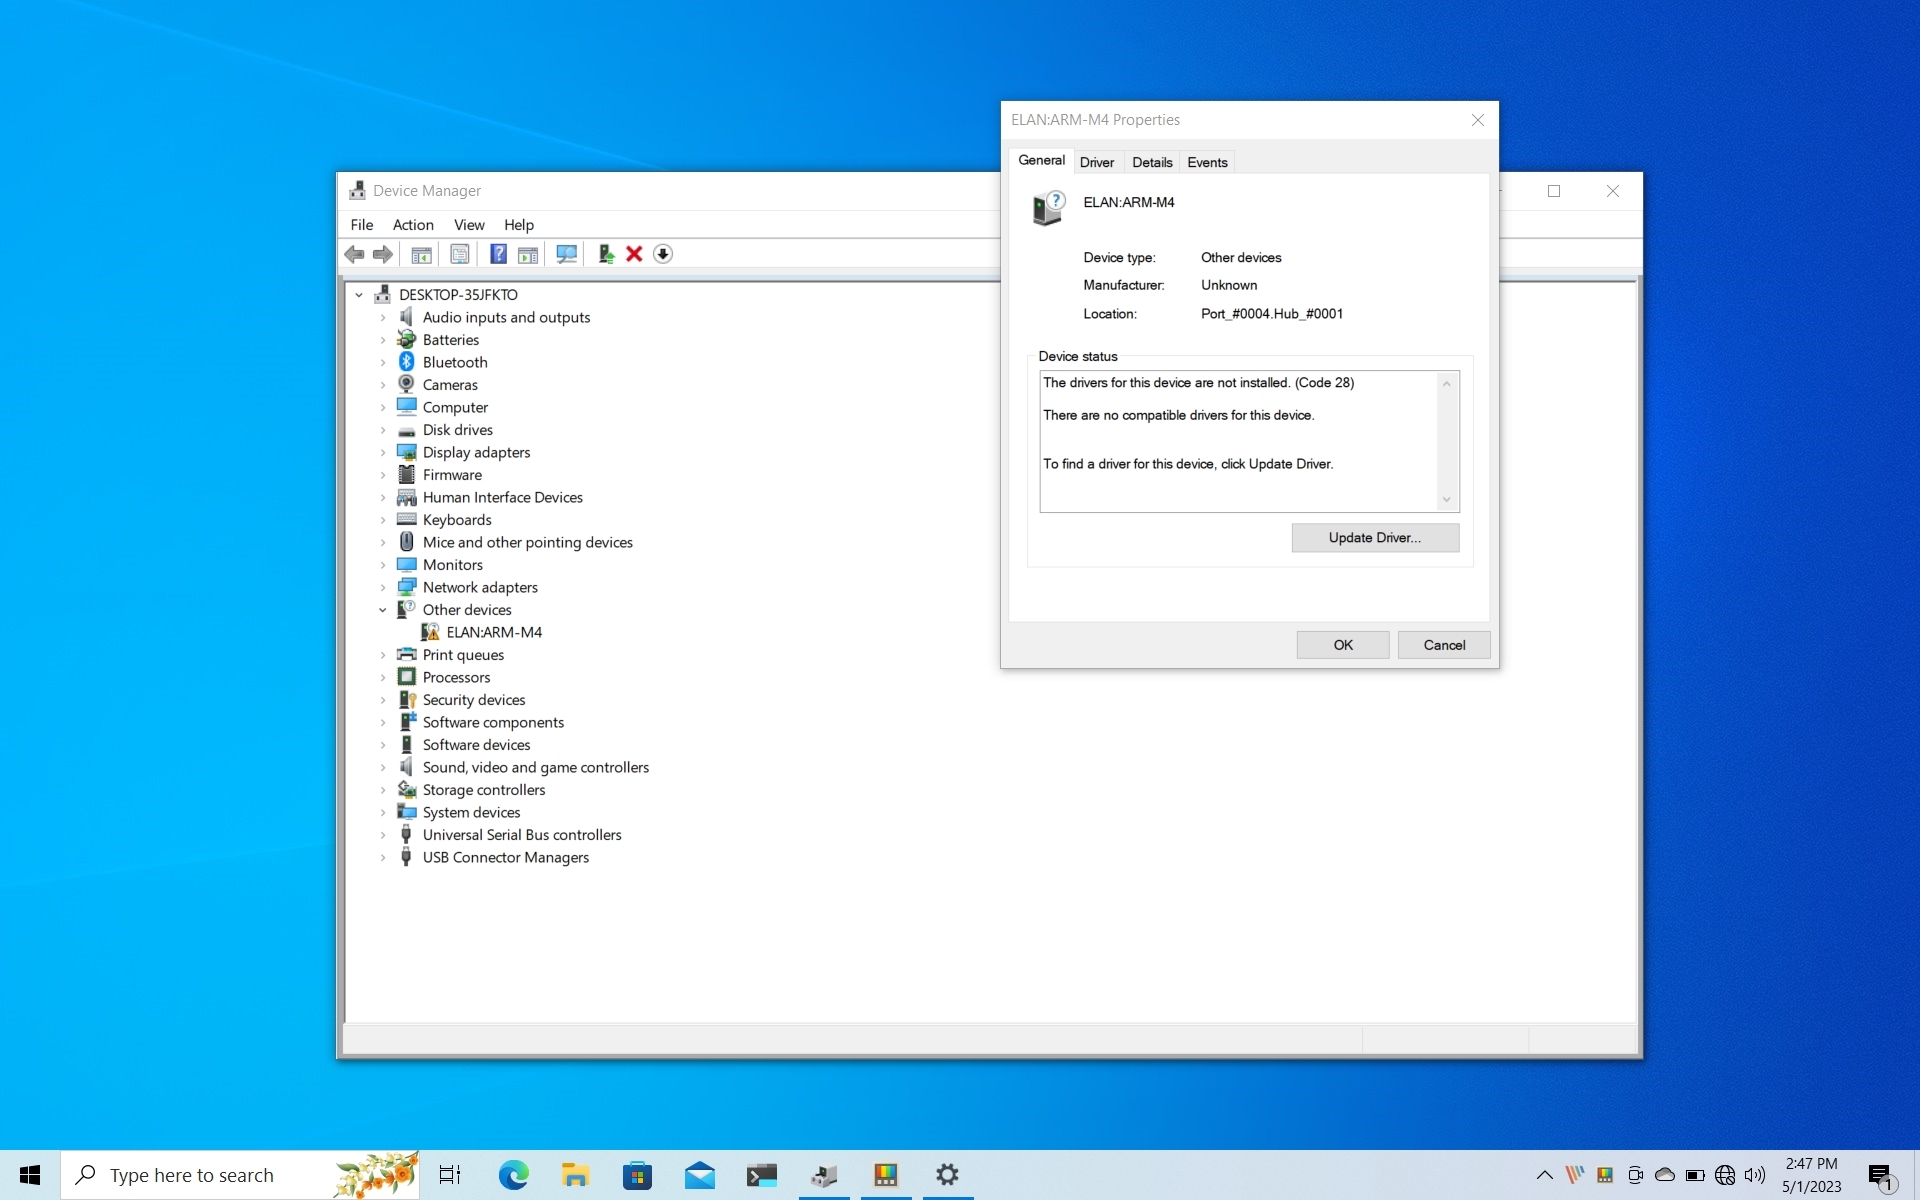
Unrecognized Computer Component
- Unrecognized Computer Component: If your Dell XPS 13 is encountering issues with an unrecognized computer component, follow these troubleshooting steps to identify and resolve the problem:
- Check for Loose Connections: Ensure that all computer components, such as RAM modules, hard drives, and cables, are securely connected to their respective slots or ports.

- Update Device Drivers: Use the Device Manager to check if any device drivers are outdated or missing. Download and install the latest drivers from the official Dell website.
- Restart the Computer: Sometimes, a simple restart can resolve issues related to unrecognized computer components. Try restarting your Dell XPS 13 and check if the problem persists.
- Run Hardware Diagnostics: Utilize the built-in Dell SupportAssist or Dell Diagnostics tools to perform a comprehensive hardware scan. This will help identify any faulty components causing the recognition issue.
- Update BIOS: Visit the Dell support website and check if a BIOS update is available for your Dell XPS 13 model. Updating the BIOS can often fix compatibility issues and improve overall system stability.
- Check for Hardware Compatibility: Ensure that the computer component in question is compatible with your Dell XPS 13 model. Cross-check the specifications and consult the official Dell support forums or customer service for assistance.
- Reset BIOS Settings: If you suspect that incorrect BIOS settings may be causing the recognition issue, reset the BIOS to its default configuration. Consult the Dell user manual or support resources for detailed instructions.
- Contact Dell Support: If all else fails, reach out to Dell customer support for further assistance. Provide them with detailed information about the unrecognized computer component and any troubleshooting steps you have already taken.
Bluetooth, Wi-Fi, and Internet Connection Problems
- Check Wi-Fi/Bluetooth Settings:
- Ensure Wi-Fi/Bluetooth is turned on in the system settings.
- Make sure the airplane mode is turned off as it disables all wireless connections.
- Verify if the Wi-Fi/Bluetooth drivers are up to date.
- Restart the Device:
- Restart the Dell XPS 13 laptop to refresh the system and connections.
- Power off the device, wait for a few seconds, and then power it back on.
- Check Wi-Fi/Bluetooth Signal Strength:
- Ensure you are within range of the Wi-Fi/Bluetooth network or device.
- Move closer to the router or Bluetooth device to improve the signal strength.
- Check for any physical obstructions that might be blocking the signal.
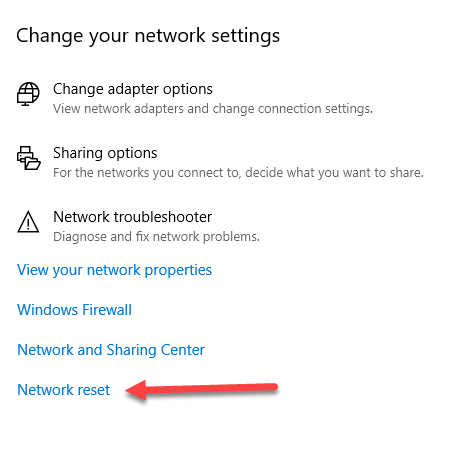
- Reset Network Settings:
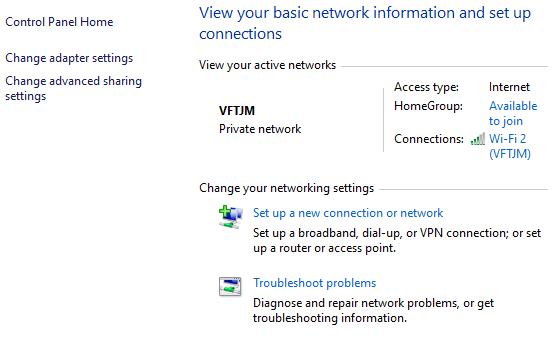
- Open the Network settings in the Windows Control Panel.
- Click on “Network and Sharing Center” and then “Change adapter settings”.
- Right-click on the Wi-Fi/Bluetooth adapter and select “Disable”.
- Wait for a few seconds and then right-click on it again and select “Enable”.
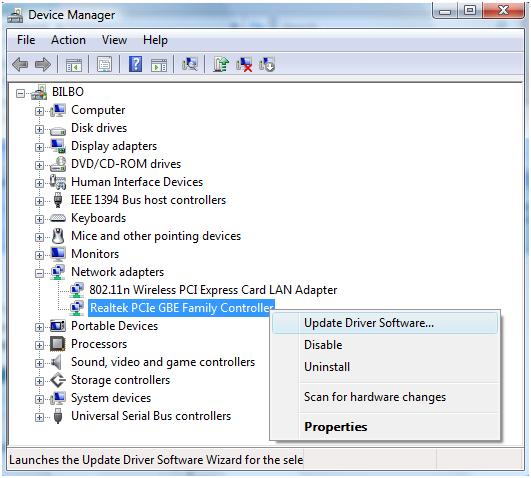
- Update Wi-Fi/Bluetooth Drivers:
- Visit the Dell support website and download the latest Wi-Fi/Bluetooth drivers for your specific model.
- Install the downloaded drivers and restart the laptop.
- Run Network Troubleshooter:
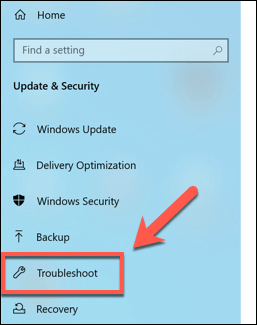
- Open the Windows Settings and navigate to “Update & Security”.
- Select “Troubleshoot” from the left-hand menu.
- Click on “Internet Connections” and then “Run the troubleshooter”.
- Follow the on-screen instructions to diagnose and fix any network-related issues.
- Disable Power Saving Mode:
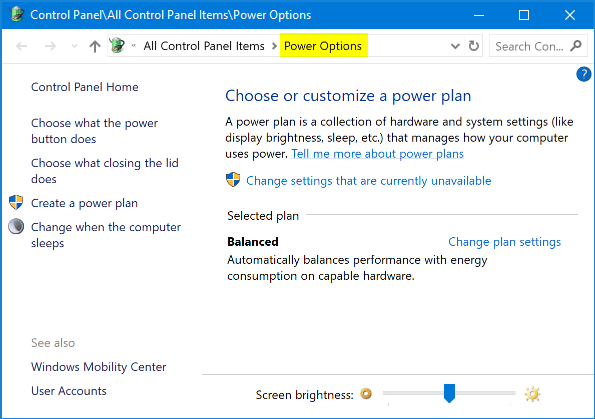
- Open the Windows Control Panel and go to “Power Options”.
- Click on “Change plan settings” next to your selected power plan.
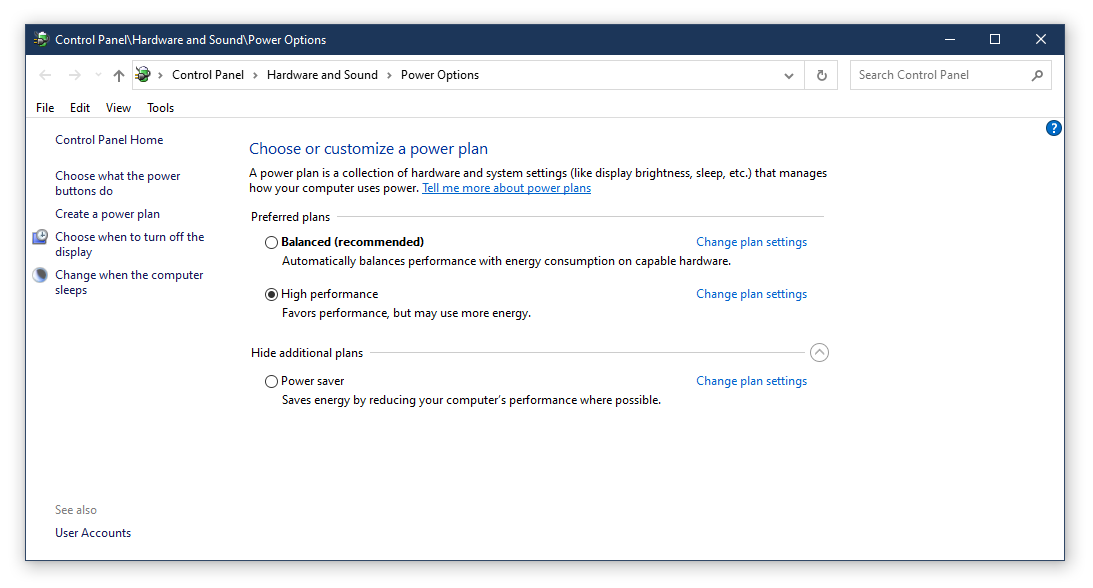
- Select “Change advanced power settings”.
- Expand the “Wireless Adapter Settings” and set the power-saving mode to “Maximum Performance”.
Camera and Headphone Detection Issues
If you’re experiencing camera and headphone detection issues with your Dell XPS 13 laptop, we’ve got you covered. Here are some troubleshooting steps to help resolve these issues.
For camera detection issues:
1. First, ensure that the camera is not physically blocked or covered.
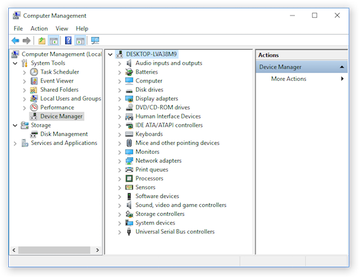
2. Open the Device Manager by pressing Windows key + X, then select “Device Manager.”
3. Expand the “Imaging devices” category and locate your camera.
4. Right-click on the camera and select “Uninstall device.”
5. Restart your laptop and let Windows automatically reinstall the camera driver.
6. If the issue persists, visit the Dell support website and download the latest camera driver for your specific model.
For headphone detection issues:
1. Start by checking if the headphones are properly connected to the audio jack.
2. Try using a different pair of headphones to rule out any potential hardware issues.
3. Right-click the volume icon in the taskbar and select “Open Sound settings.”
4. Under the “Output” section, click on the dropdown menu and select your headphones.
5. If your headphones are not listed, click on “Troubleshoot” and follow the on-screen instructions to fix the issue.
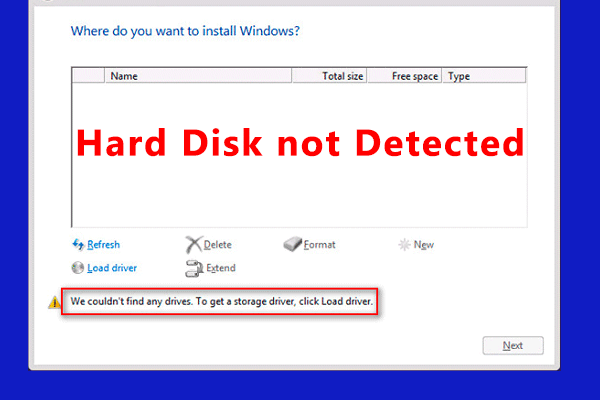
Hard Drive Recognition Issues
- Check Hard Drive Connection
- Turn off the Dell XPS 13 and disconnect the power cable.
- Open the back panel of the laptop using a screwdriver.
- Locate the hard drive and ensure that the connection cables are securely attached.
- If loose, disconnect and reconnect the cables firmly.
- Close the back panel and reattach any screws.
- Reconnect the power cable and turn on the laptop to check if the hard drive is recognized.
- Update Hard Drive Drivers
- Press Win + X and select Device Manager from the menu.
- Expand the Disk drives category.
- Right-click on the hard drive and select Update driver.
- Choose the option to automatically search for updated driver software.
- Follow the on-screen instructions to complete the driver update process.
- Restart the laptop and check if the hard drive recognition issue is resolved.
- Run Hardware Troubleshooter
- Type Troubleshoot in the Windows search bar and select Troubleshoot settings.
- Scroll down and click on Hardware and Devices.
- Click on Run the troubleshooter.
- Follow the prompts and wait for the troubleshooter to detect and fix any issues.
- Restart the laptop and check if the hard drive recognition problem is resolved.
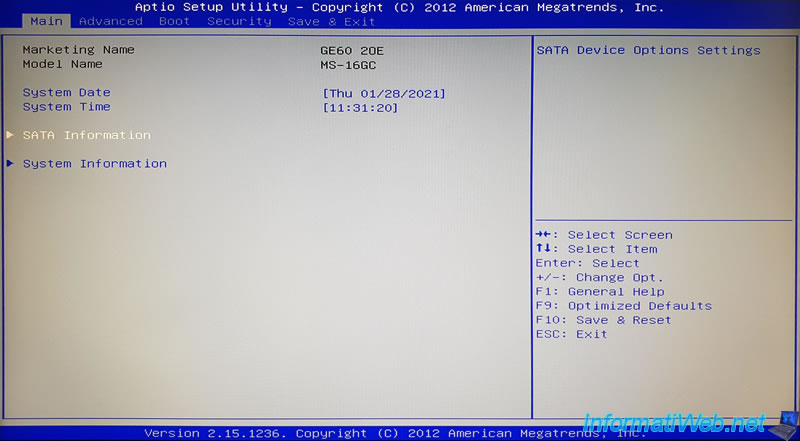
- Check BIOS Settings
- Restart the Dell XPS 13 and continuously press F2 to enter BIOS settings.
- Navigate to the System Configuration tab using the arrow keys.
- Check if the hard drive is detected under the Hard Drive or Storage section.
- If not detected, try changing the SATA operation mode to AHCI or IDE (depending on the original setting).
- Save the changes and exit BIOS.
- Restart the laptop and check if the hard drive is recognized.
Display Problems and HDMI Troubleshooting
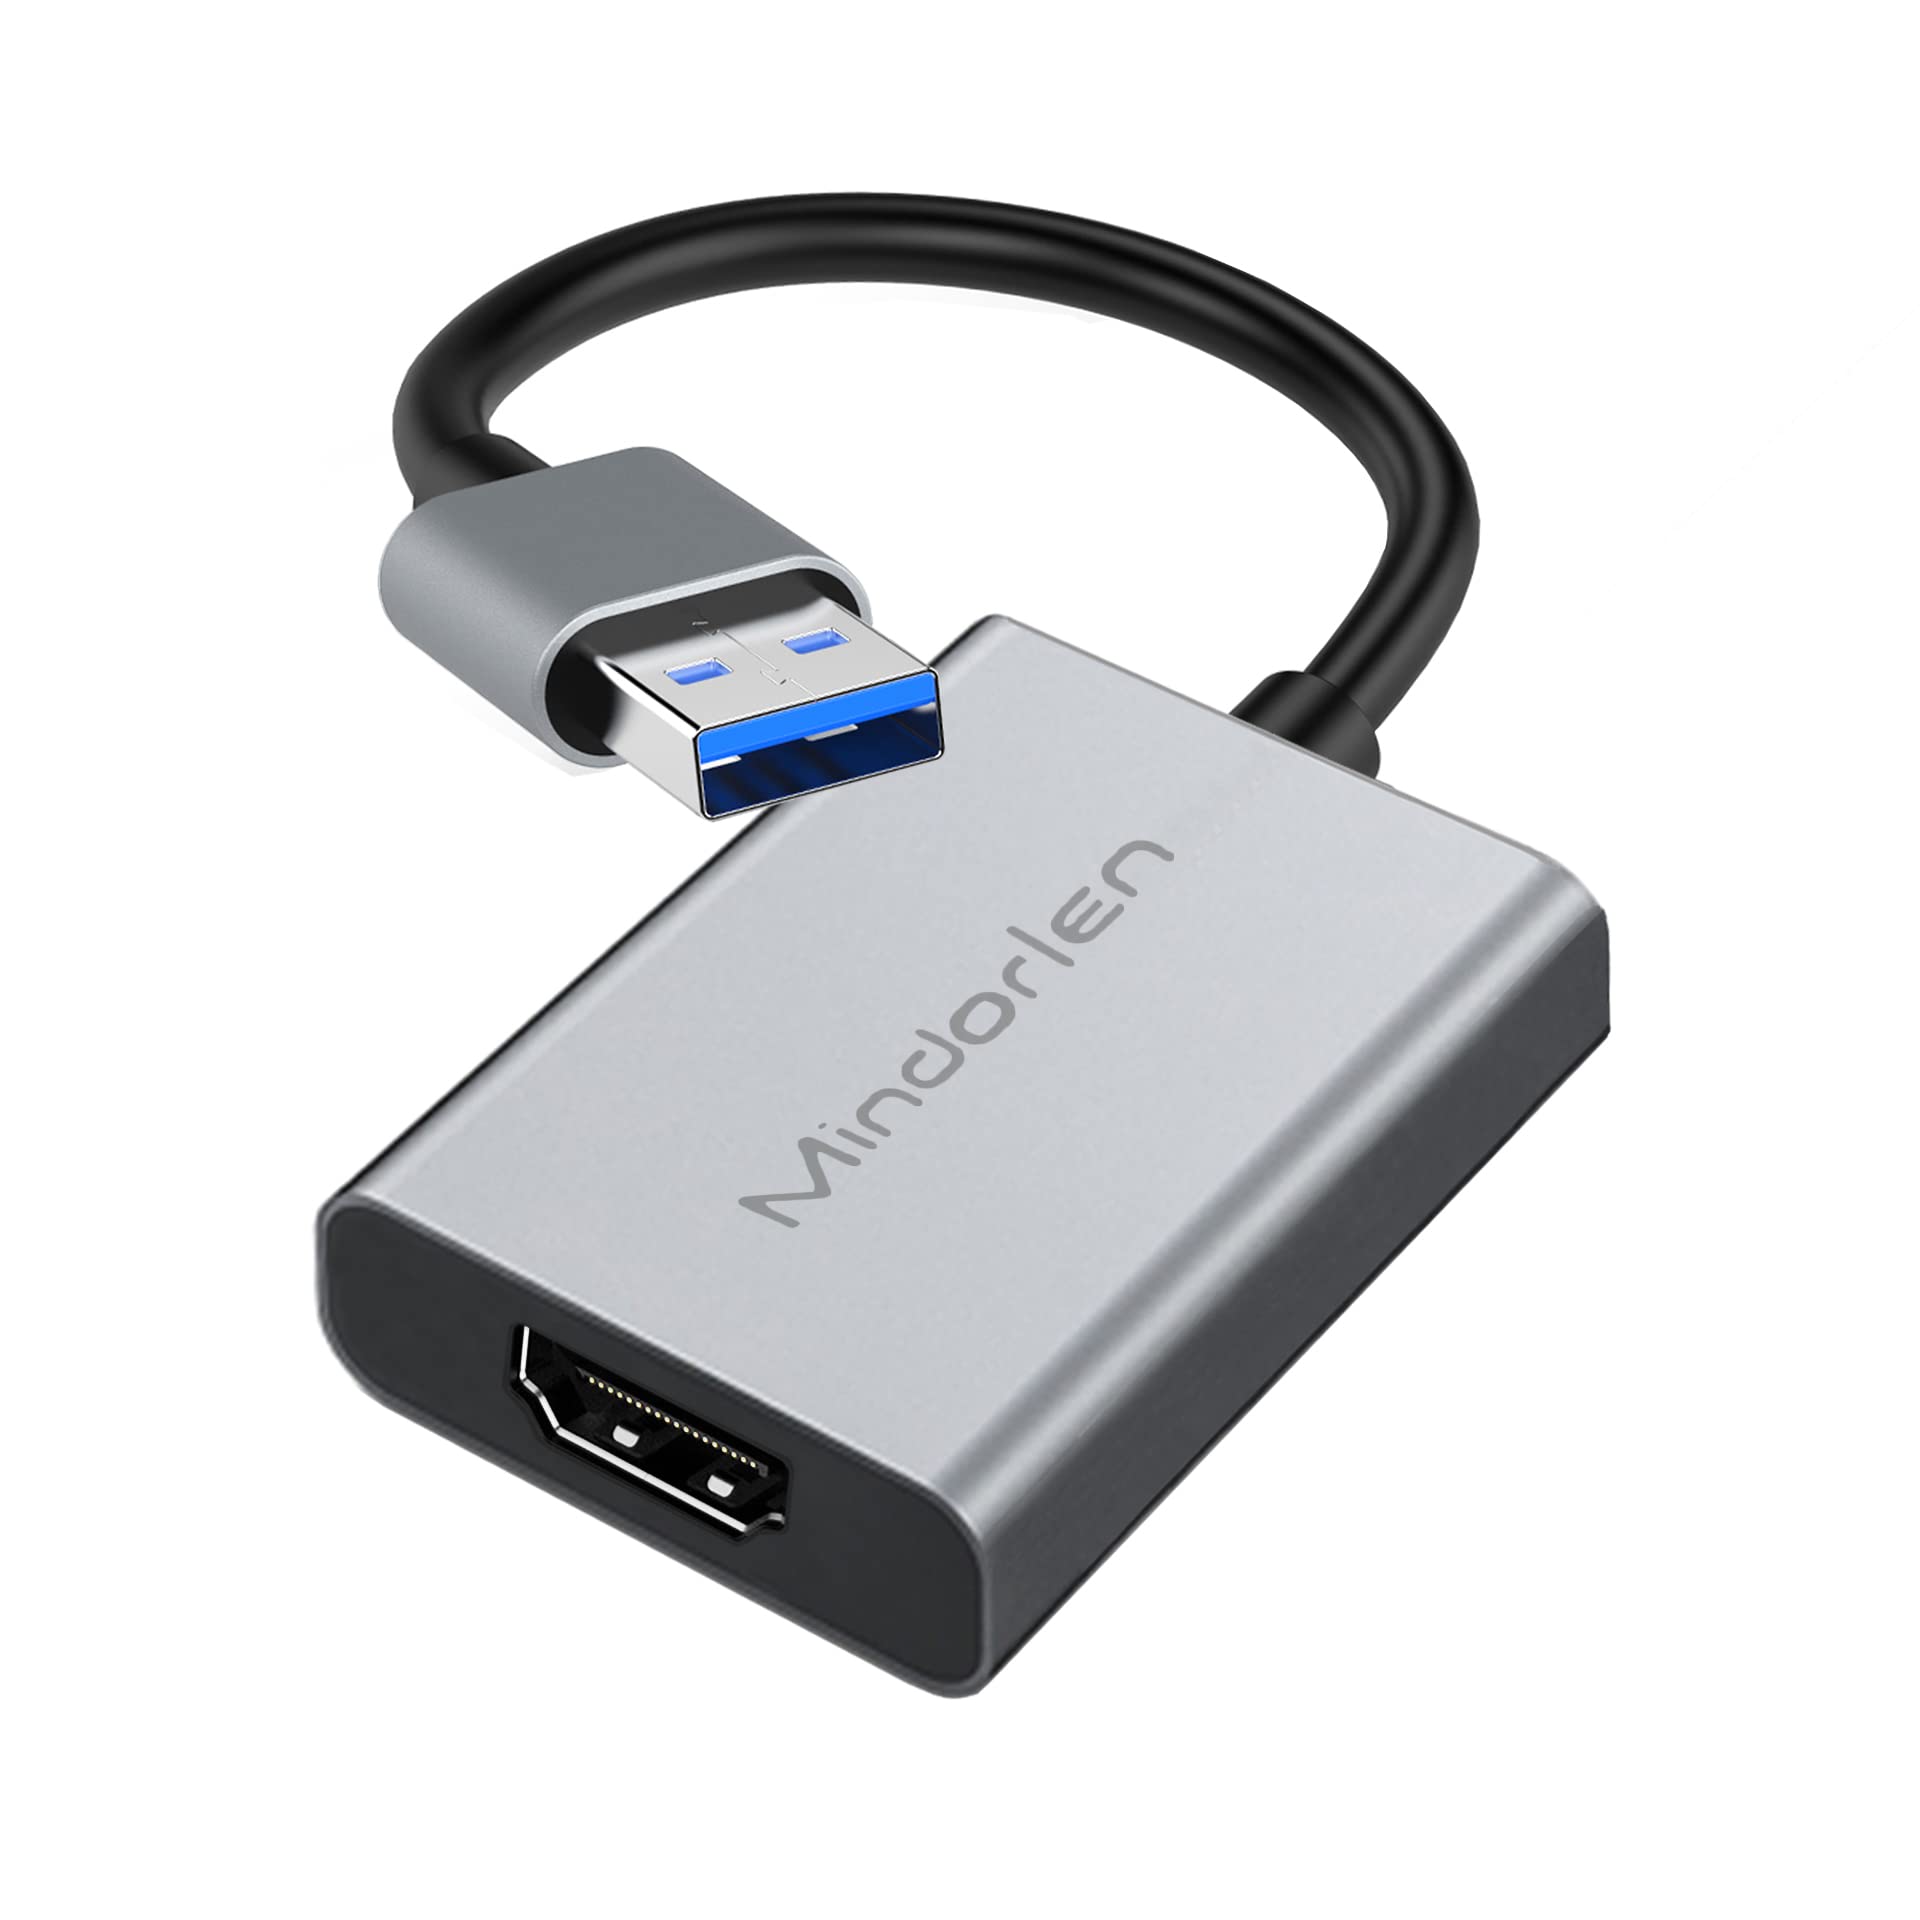
- Check the display cable connections:
- Ensure that the HDMI cable is securely connected to both the Dell XPS 13 and the external display.
- If using an adapter or converter, make sure it is properly connected as well.
- Adjust display settings:
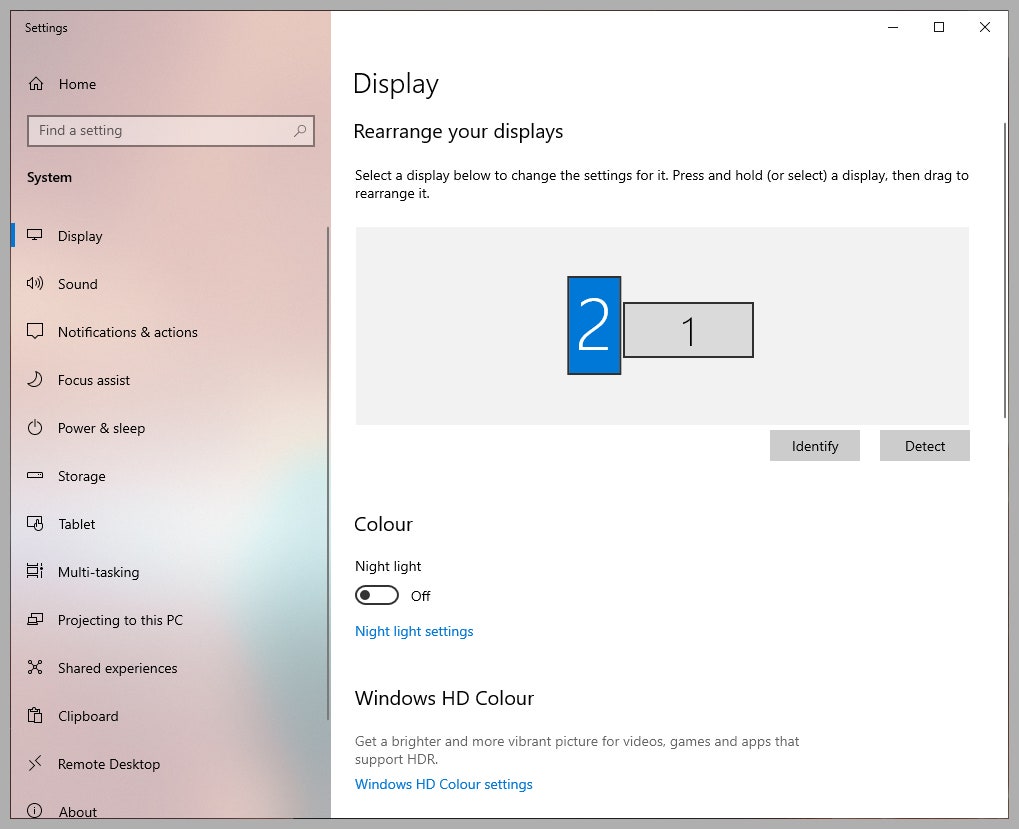
- Right-click on the desktop and select “Display Settings” from the menu.
- Verify that the correct display is selected under the “Multiple displays” section.
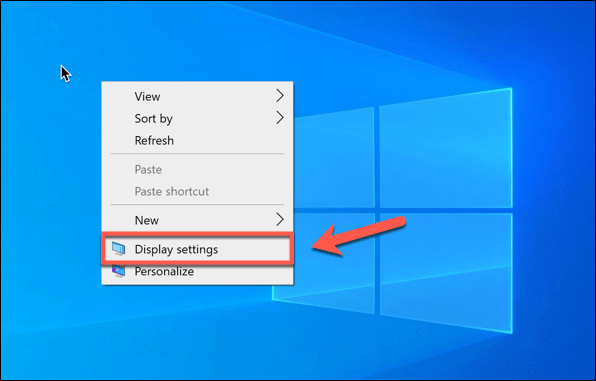
- Adjust the screen resolution and orientation if necessary.
- Update graphics drivers:
- Open the Device Manager by pressing Windows Key + X and selecting “Device Manager” from the menu.
- Expand the “Display adapters” category.
- Right-click on the graphics driver and select “Update driver.”
- Choose the option to search automatically for updated driver software.
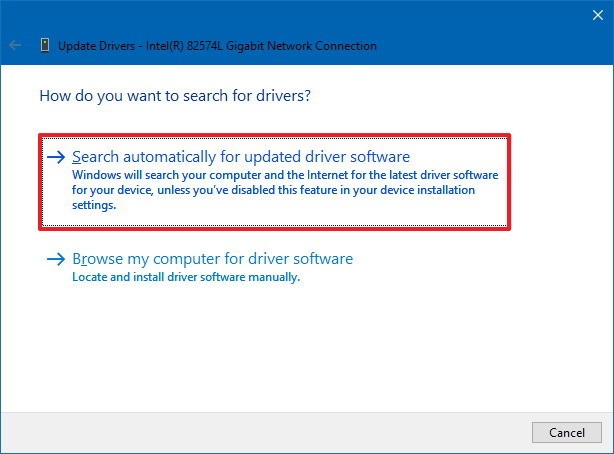
- Follow the on-screen instructions to complete the driver update.
- Try a different HDMI cable:
- If possible, test the Dell XPS 13 with a different HDMI cable to rule out any cable-related issues.
- Ensure that the cable is compatible with the Dell XPS 13 and the external display.
- Check the external display:
- Connect the external display to another device to verify if it works.
- If the external display works with another device, the issue may be with the Dell XPS 13.

- Restart and update the Dell XPS 13:
- Save any open files and restart the Dell XPS 13.
- Check for any available system updates and install them.
- Restart the Dell XPS 13 again to apply the updates.
- Perform a system restore:
- If the display issues started recently, consider performing a system restore to a previous point when the display was functioning correctly.
- Open the Control Panel and search for “System Restore.”
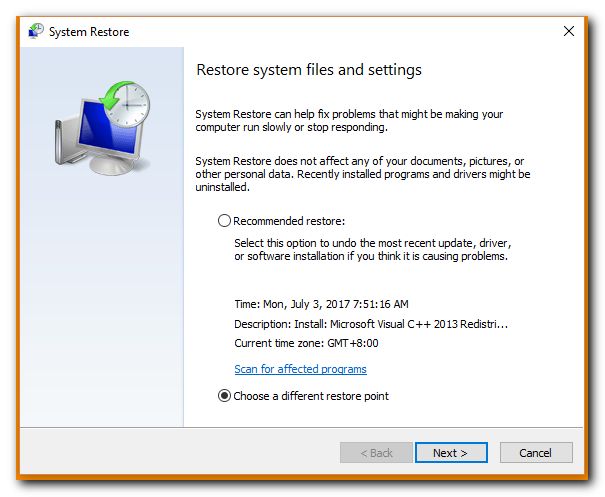
- Follow the on-screen instructions to choose a restore point and initiate the system restore process.
- Contact Dell support:
- If none of the above steps resolve the display problems, it is recommended to contact Dell support for further assistance.
- Provide them with detailed information about the issue and any troubleshooting steps already taken.
Keyboard and Mouse/Touchpad Problems
- Check for physical damage:
- Inspect the keyboard and touchpad for any visible physical damage, such as broken keys or loose connections.

- If any damage is found, consider replacing the keyboard or touchpad.
- Restart the computer:
- Click on the “Start” button in the bottom left corner of the screen.
- Select “Restart” from the power options menu.

- Wait for the computer to reboot and check if the keyboard and touchpad now work properly.
- Check the drivers:
- Open the “Device Manager” by pressing Windows key + X and selecting “Device Manager” from the menu.
- Expand the “Keyboards” and “Mice and other pointing devices” categories.
- Right-click on the keyboard and touchpad devices, one at a time, and select “Update driver.”
- Follow the on-screen instructions to update the drivers.
- Restart the computer and check if the issue is resolved.
- Disable and re-enable the devices:
- Open the “Device Manager” by pressing Windows key + X and selecting “Device Manager” from the menu.
- Expand the “Keyboards” and “Mice and other pointing devices” categories.
- Right-click on the keyboard and touchpad devices, one at a time, and select “Disable.”
- Right-click on the disabled devices again and select “Enable.”
- Check if the keyboard and touchpad now function properly.
- Check for software conflicts:
- Open the “Task Manager” by pressing Ctrl+Shift+Esc.
- Go to the “Processes” or “Details” tab (depending on your Windows version).
- Look for any processes or programs that may be causing conflicts with the keyboard and touchpad.
- Right-click on the conflicting process or program and select “End task” or “End process.”
- Test the keyboard and touchpad to see if the issue is resolved.
- Perform a system restore:
- Click on the “Start” button in the bottom left corner of the screen.
- Type “System Restore” in the search bar and select the “Create a restore point” option.
- In the “System Properties” window, click on the “System Restore” button.
- Follow the on-screen instructions to restore your computer to a previous state when the keyboard and touchpad were functioning correctly.
- Restart the computer and check if the issue is resolved.
Microphone and PEN Connection Issues
If you’re experiencing microphone or PEN connection issues on your Dell XPS 13, there are a few troubleshooting steps you can try.
First, ensure that the microphone or PEN is securely connected to the laptop. Check for any loose connections or debris in the ports.
Next, check if the microphone or PEN is enabled in the device settings. Go to the “Sound” or “Pen & Windows Ink” settings and make sure the correct device is selected and enabled.
If the issue persists, try updating the drivers for the microphone or PEN. Visit the Dell support website and download the latest drivers for your specific laptop model.
Additionally, check if there are any software conflicts causing the issue. Disable any third-party audio or pen-related software temporarily and see if the problem is resolved.
If none of these steps solve the issue, consider contacting Dell support for further assistance. They can provide more specific troubleshooting steps or arrange for a repair if needed.
USB Recognition Problems
- Check USB Device:
- Disconnect the USB device from the computer.
- Inspect the USB device for any physical damage.
- Try connecting the USB device to a different USB port on the computer.
- If the USB device works on another computer, the issue might be with the computer’s USB ports.
- Update USB Drivers:
- Open Device Manager by pressing Windows key + X and selecting Device Manager.
- Expand the Universal Serial Bus controllers section.
- Right-click on each USB driver and select Update driver.
- Follow the on-screen instructions to complete the driver update process.
- Reset USB Controller:
- Open Device Manager by pressing Windows key + X and selecting Device Manager.
- Expand the Universal Serial Bus controllers section.
- Right-click on the USB controller and select Uninstall device.
- Restart the computer to automatically reinstall the USB controller.
- Disable USB Selective Suspend:
- Open the Power Options by pressing Windows key + X and selecting Power Options.
- Click on Change plan settings next to the selected power plan.
- Click on Change advanced power settings.
- Expand USB settings and then USB selective suspend setting.
- Set both On battery and Plugged in options to Disabled.
- Click Apply and OK to save the changes.
- Perform System Restore:
- Open the Start menu and search for System Restore.
- Select Create a restore point from the search results.
- Click on System Restore and follow the on-screen instructions to restore the system to a previous working state.
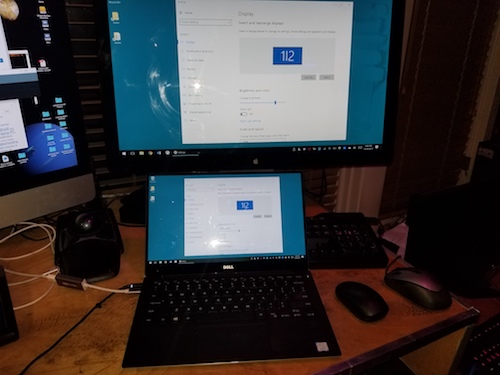
External Monitor Detection Issues
- Check the cable connections
- Update graphics drivers
- Adjust display settings
- Try a different monitor or cable
- Perform a system restart
Check the cable connections:
- Ensure the monitor cable is securely connected to both the Dell XPS 13 and the external monitor.
- If using an adapter or docking station, check the connections between the Dell XPS 13 and the adapter/docking station, and then between the adapter/docking station and the external monitor.
Update graphics drivers:
- Open Device Manager by pressing Windows Key + X and selecting Device Manager from the menu.
- Expand the Display adapters category.
- Right-click on the graphics driver and select Update driver.
- Choose the option to search automatically for updated driver software.
- Follow the on-screen instructions to complete the driver update process.
- Restart the Dell XPS 13 after the driver update is finished.
Adjust display settings:
- Right-click on the desktop and select Display settings.
- Ensure the correct external monitor is selected in the Display settings window.
- Adjust the screen resolution and orientation if necessary.
- Click Apply to save the changes.
Try a different monitor or cable:
- Connect the Dell XPS 13 to a different external monitor using a different cable.
- If the display works with the new monitor and cable, the issue may be with the original monitor or cable.
- Consider replacing the faulty monitor or cable.
Perform a system restart:
- Save any open files and close all programs.
- Click on the Start button, select Power, and choose Restart.
- Allow the Dell XPS 13 to restart and check if the external monitor is detected.
Battery Drain and Shutdown Problems
If you’re experiencing battery drain or shutdown issues with your Dell XPS 13 laptop, there are a few troubleshooting steps you can try:
1. Check for background processes: Close any unnecessary programs or applications running in the background that could be draining your battery. Open the Task Manager (Ctrl + Shift + Esc) and end any processes that are using a significant amount of resources.
2. Update drivers and firmware: Outdated drivers and firmware can cause power-related problems. Visit Dell’s support website and download the latest drivers and firmware updates for your specific XPS 13 model.
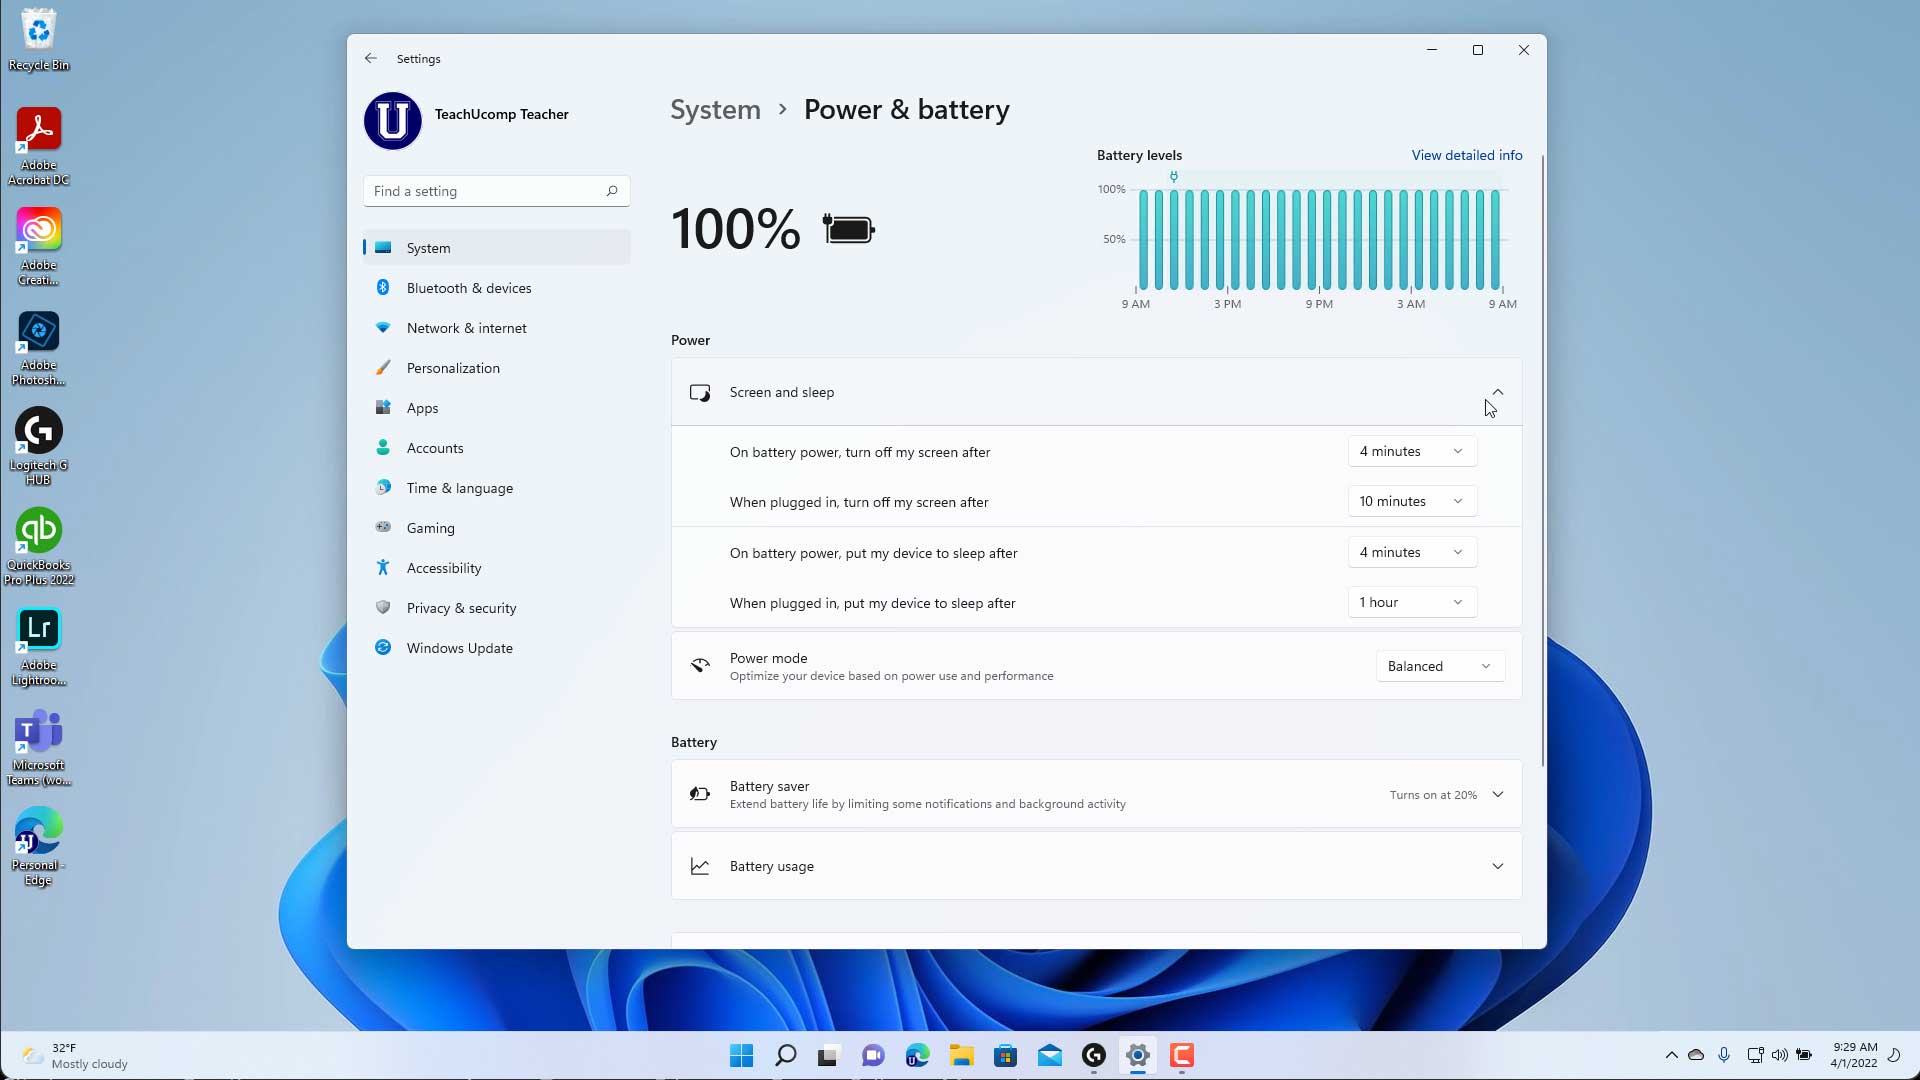
3. Adjust power settings: Optimize your power settings to conserve battery life. Go to Control Panel > Power Options and select a power plan that suits your needs. Lowering the screen brightness and setting shorter idle times can also help.
4. Check for malware: Malicious software can drain your battery. Run a thorough scan using your preferred antivirus program to ensure your system is clean.
5. Battery calibration: Performing a battery calibration can help recalibrate the battery level readings. Drain your battery completely, then fully recharge it without interruption.
Comparison between XPS and Inspiron
Dell XPS 13 Troubleshooting Guide
| Feature | Dell XPS 13 | Dell Inspiron |
|---|---|---|
| Processor | 8th Gen Intel Core i5/i7 | 8th Gen Intel Core i3/i5/i7 |
| Display | 13.3″ FHD or 4K UHD | 13.3″ FHD or 4K UHD |
| RAM | 8GB/16GB/32GB | 8GB/16GB |
| Storage | 256GB/512GB/1TB SSD | 256GB/512GB/1TB HDD or 128GB/256GB/512GB SSD |
| Graphics | Intel UHD Graphics 620 | Intel UHD Graphics 620 or NVIDIA GeForce MX150 (optional) |
| Battery Life | Up to 21 hours | Up to 14 hours |
| Weight | Starting at 2.7 lbs (1.2 kg) | Starting at 3.2 lbs (1.45 kg) |
| Price | Higher | Lower |
Battery Life and Boot Time Issues
If you’re experiencing battery life and boot time issues with your Dell XPS 13, there are a few troubleshooting steps you can take to address the problem.
First, check your power settings. Go to the Control Panel and navigate to Power Options. Make sure you’re using the Balanced or Power Saver plan to conserve battery life. Adjusting the display brightness can also help extend battery usage.
Next, update your drivers and BIOS. Visit Dell’s support website and download the latest drivers and BIOS updates for your specific model. This can often resolve compatibility issues and improve performance.
If the issue persists, try performing a power cycle. Shut down your laptop, unplug the power cord, and remove the battery (if possible). Hold down the power button for 30 seconds, then reassemble and power on the laptop. This can help reset any hardware or software glitches causing the problem.
Lastly, consider adjusting your startup programs. Open the Task Manager by pressing Ctrl+Shift+Esc and navigate to the Startup tab. Disable any unnecessary programs that launch at startup, as they can slow down the boot time.
SSD Failure and Windows Shutdown Problems
If you’re experiencing SSD failure or Windows shutdown problems on your Dell XPS 13 laptop, we’re here to help.
First, make sure you have the latest Windows updates installed. These updates often include fixes for common issues.
Next, check the health of your SSD. Open the “Device Manager” by right-clicking the Start button and selecting it from the menu. Expand the “Disk drives” category and right-click on your SSD. Select “Properties” and go to the “Policies” tab. Ensure that “Enable write caching on the device” is checked.
If the issue persists, try performing a clean boot. Press Windows key + R, type “msconfig,” and hit Enter. In the System Configuration window, go to the “Services” tab and check “Hide all Microsoft services.” Click “Disable all” and then go to the “Startup” tab and click “Open Task Manager.” Disable any unnecessary startup programs.
If these steps don’t resolve the issue, it may be necessary to contact Dell support for further assistance.
Fixes for Shut Down Problems
If you’re experiencing shut down problems with your Dell XPS 13 laptop, here are some fixes to try:
First, make sure your laptop is running the latest software updates. Updates often contain bug fixes that can resolve shutdown issues.
Next, check your power settings. Go to the Control Panel and click on “Power Options.” Make sure the settings are configured correctly for your usage.
If the problem persists, try a power cycle. Shut down your laptop, unplug the power cord, and remove the battery (if possible). Hold down the power button for 30 seconds, then reinsert the battery and plug in the power cord. Start your laptop and check if the issue is resolved.
If none of these solutions work, try performing a system restore to a point before the problem started. This can help revert any changes that may be causing the shutdown problem.
If the issue continues, it may be necessary to contact Dell support for further assistance. They can provide specialized troubleshooting steps tailored to your specific situation.
Stuck Pixels and WiFi Connectivity Issues
- Check for stuck pixels on the screen
- Perform a pixel refresh
- Use a pixel fixing tool
- Contact Dell support for further assistance

WiFi Connectivity Issues:
- Check the WiFi signal strength
- Restart the router and modem
- Update the WiFi driver
- Reset network settings
- Disable power saving mode for the WiFi adapter
- Run the Windows Network Troubleshooter
- Perform a system restart
- Contact your internet service provider for assistance
System Crash and Black Screen Troubleshooting
System crashes and black screens can be frustrating, but with the right troubleshooting steps, you can quickly get your Dell XPS 13 back up and running.
First, perform a hard reset by holding down the power button for 10 seconds until the laptop turns off. Then, unplug the power adapter and remove the battery (if possible). Wait for a few minutes before reinserting the battery and reconnecting the power adapter.
If the issue persists, try booting into Safe Mode by pressing the F8 key during startup. From there, you can troubleshoot any software conflicts or driver issues.
Another helpful step is updating your graphics driver. Visit the Dell website and download the latest driver for your XPS 13 model. Install the driver and restart your laptop.
If the problem still persists, try running a system scan using the Windows built-in tool called “sfc /scannow”. Open the Command Prompt as an administrator and enter the command.
If none of these steps resolve the issue, it may be necessary to contact Dell support for further assistance.
Screen Flickering and Charging Issues
If you’re experiencing screen flickering or charging issues with your Dell XPS 13, here are a few troubleshooting steps to try:
1. Update your graphics driver to the latest version. Visit the Dell website and search for your specific model to download and install the latest driver.
2. Check the power adapter and cable for any damage or loose connections. If necessary, try using a different charger to see if the issue persists.
3. Reset the power settings on your laptop. Go to the Control Panel, select Power Options, and choose the Balanced or High Performance plan.
4. Run a diagnostic test on your battery. Restart your laptop and press F12 repeatedly during startup to access the diagnostic menu. Select the option to run a battery test.
5. Adjust the screen refresh rate to a lower value. Right-click on the desktop, select Display Settings, and click on Advanced Display Settings. From there, choose a lower refresh rate.
If these steps don’t resolve the issue, it may be necessary to contact Dell support for further assistance.
Virus Infection and Fan Noise Issues
If you’re experiencing virus infections or fan noise issues on your Dell XPS 13, there are a few steps you can take to troubleshoot and resolve these problems.
For virus infections, start by running a full scan with your antivirus software to detect and remove any malicious files. If the issue persists, you can try resetting your laptop to its factory settings to eliminate any persistent infections.
To address fan noise issues, first make sure your laptop’s vents are clear of any dust or debris that may be obstructing airflow. You can use compressed air or a soft brush to carefully clean the vents. If the noise continues, you can adjust the fan settings in the BIOS. To access the BIOS, restart your laptop and press the F2 key repeatedly until the BIOS screen appears. From there, navigate to the fan settings and adjust them as needed.
These troubleshooting steps should help resolve virus infections and fan noise issues on your Dell XPS 13.