Xbox Controller D-Pad Troubleshooting Guide
Are you experiencing issues with your Xbox controller’s D-pad? This troubleshooting guide will help you resolve common problems quickly and effectively.
DIY Fix for Xbox Controller D-pad Issues

If you’re experiencing issues with your Xbox controller’s D-pad, there are a few DIY fixes you can try before considering a replacement. First, ensure that your controller is fully updated by connecting it to your Xbox or PC and checking for any available updates. If the issue persists, try cleaning the D-pad using a small vacuum or compressed air to remove any dust or debris. If the D-pad doesn’t respond properly, you can try recalibrating it by pressing and holding the Xbox button, then selecting “restart console” > “restart.”
Troubleshooting Xbox Controller D-pad Problems
If you’re experiencing issues with the D-pad on your Xbox Controller, there are a few troubleshooting steps you can try. Firstly, ensure that the controller is properly connected to your Xbox One or PC. If it’s a wireless controller, make sure it’s paired correctly.
Next, check for any physical damage or debris that may be affecting the D-pad’s functionality. Clean the D-pad using a soft cloth or cotton swab. Avoid using any liquids or harsh cleaning agents.
If the issue persists, try recalibrating the D-pad. Press and hold the Xbox button on your controller to open the guide, navigate to Settings, then Devices & connections, and finally, Accessories. Select your controller and choose the “Calibrate” option.
Steps to Repair the Xbox Controller D-pad
- Turn off the Xbox controller and remove the batteries.
- Use a small screwdriver or a plastic opening tool to carefully pry open the controller casing.
- Gently lift the D-pad module out of the controller.
- Use a can of compressed air to blow away any dust or debris that may be stuck around the D-pad buttons.
- If the D-pad buttons are sticky or unresponsive, dampen a cotton swab with isopropyl alcohol and clean the buttons individually.
- Allow the controller and D-pad module to dry completely before reassembling.
- Put the D-pad module back into place and snap the controller casing back together.
- Insert the batteries and turn on the Xbox controller to test the D-pad functionality.
Repair Method 2: Adjust the D-Pad Contacts
- Turn off the Xbox controller and remove the batteries.
- Open the controller casing using a small screwdriver or plastic opening tool.
- Locate the rubber contacts beneath the D-pad buttons.
- Using a clean microfiber cloth or cotton swab, gently wipe the rubber contacts to remove any dirt or residue.
- If the rubber contacts appear worn or damaged, consider replacing them with new ones.
- Reassemble the controller casing and insert the batteries.
- Turn on the Xbox controller and test the D-pad to see if the issue has been resolved.
Repair Method 3: Replace the D-Pad
- Turn off the Xbox controller and remove the batteries.
- Open the controller casing by prying it apart with a small screwdriver or plastic opening tool.
- Disconnect the ribbon cable that connects the D-pad module to the controller’s circuit board.
- Remove the screws securing the D-pad module to the controller.
- Take out the old D-pad and replace it with a new one compatible with your Xbox controller model.
- Secure the new D-pad in place with the screws and reconnect the ribbon cable.
- Reassemble the controller casing and insert the batteries.
- Turn on the Xbox controller and test the D-pad to ensure it is functioning properly.
A Brief History and Evolution of D-pads in Gaming
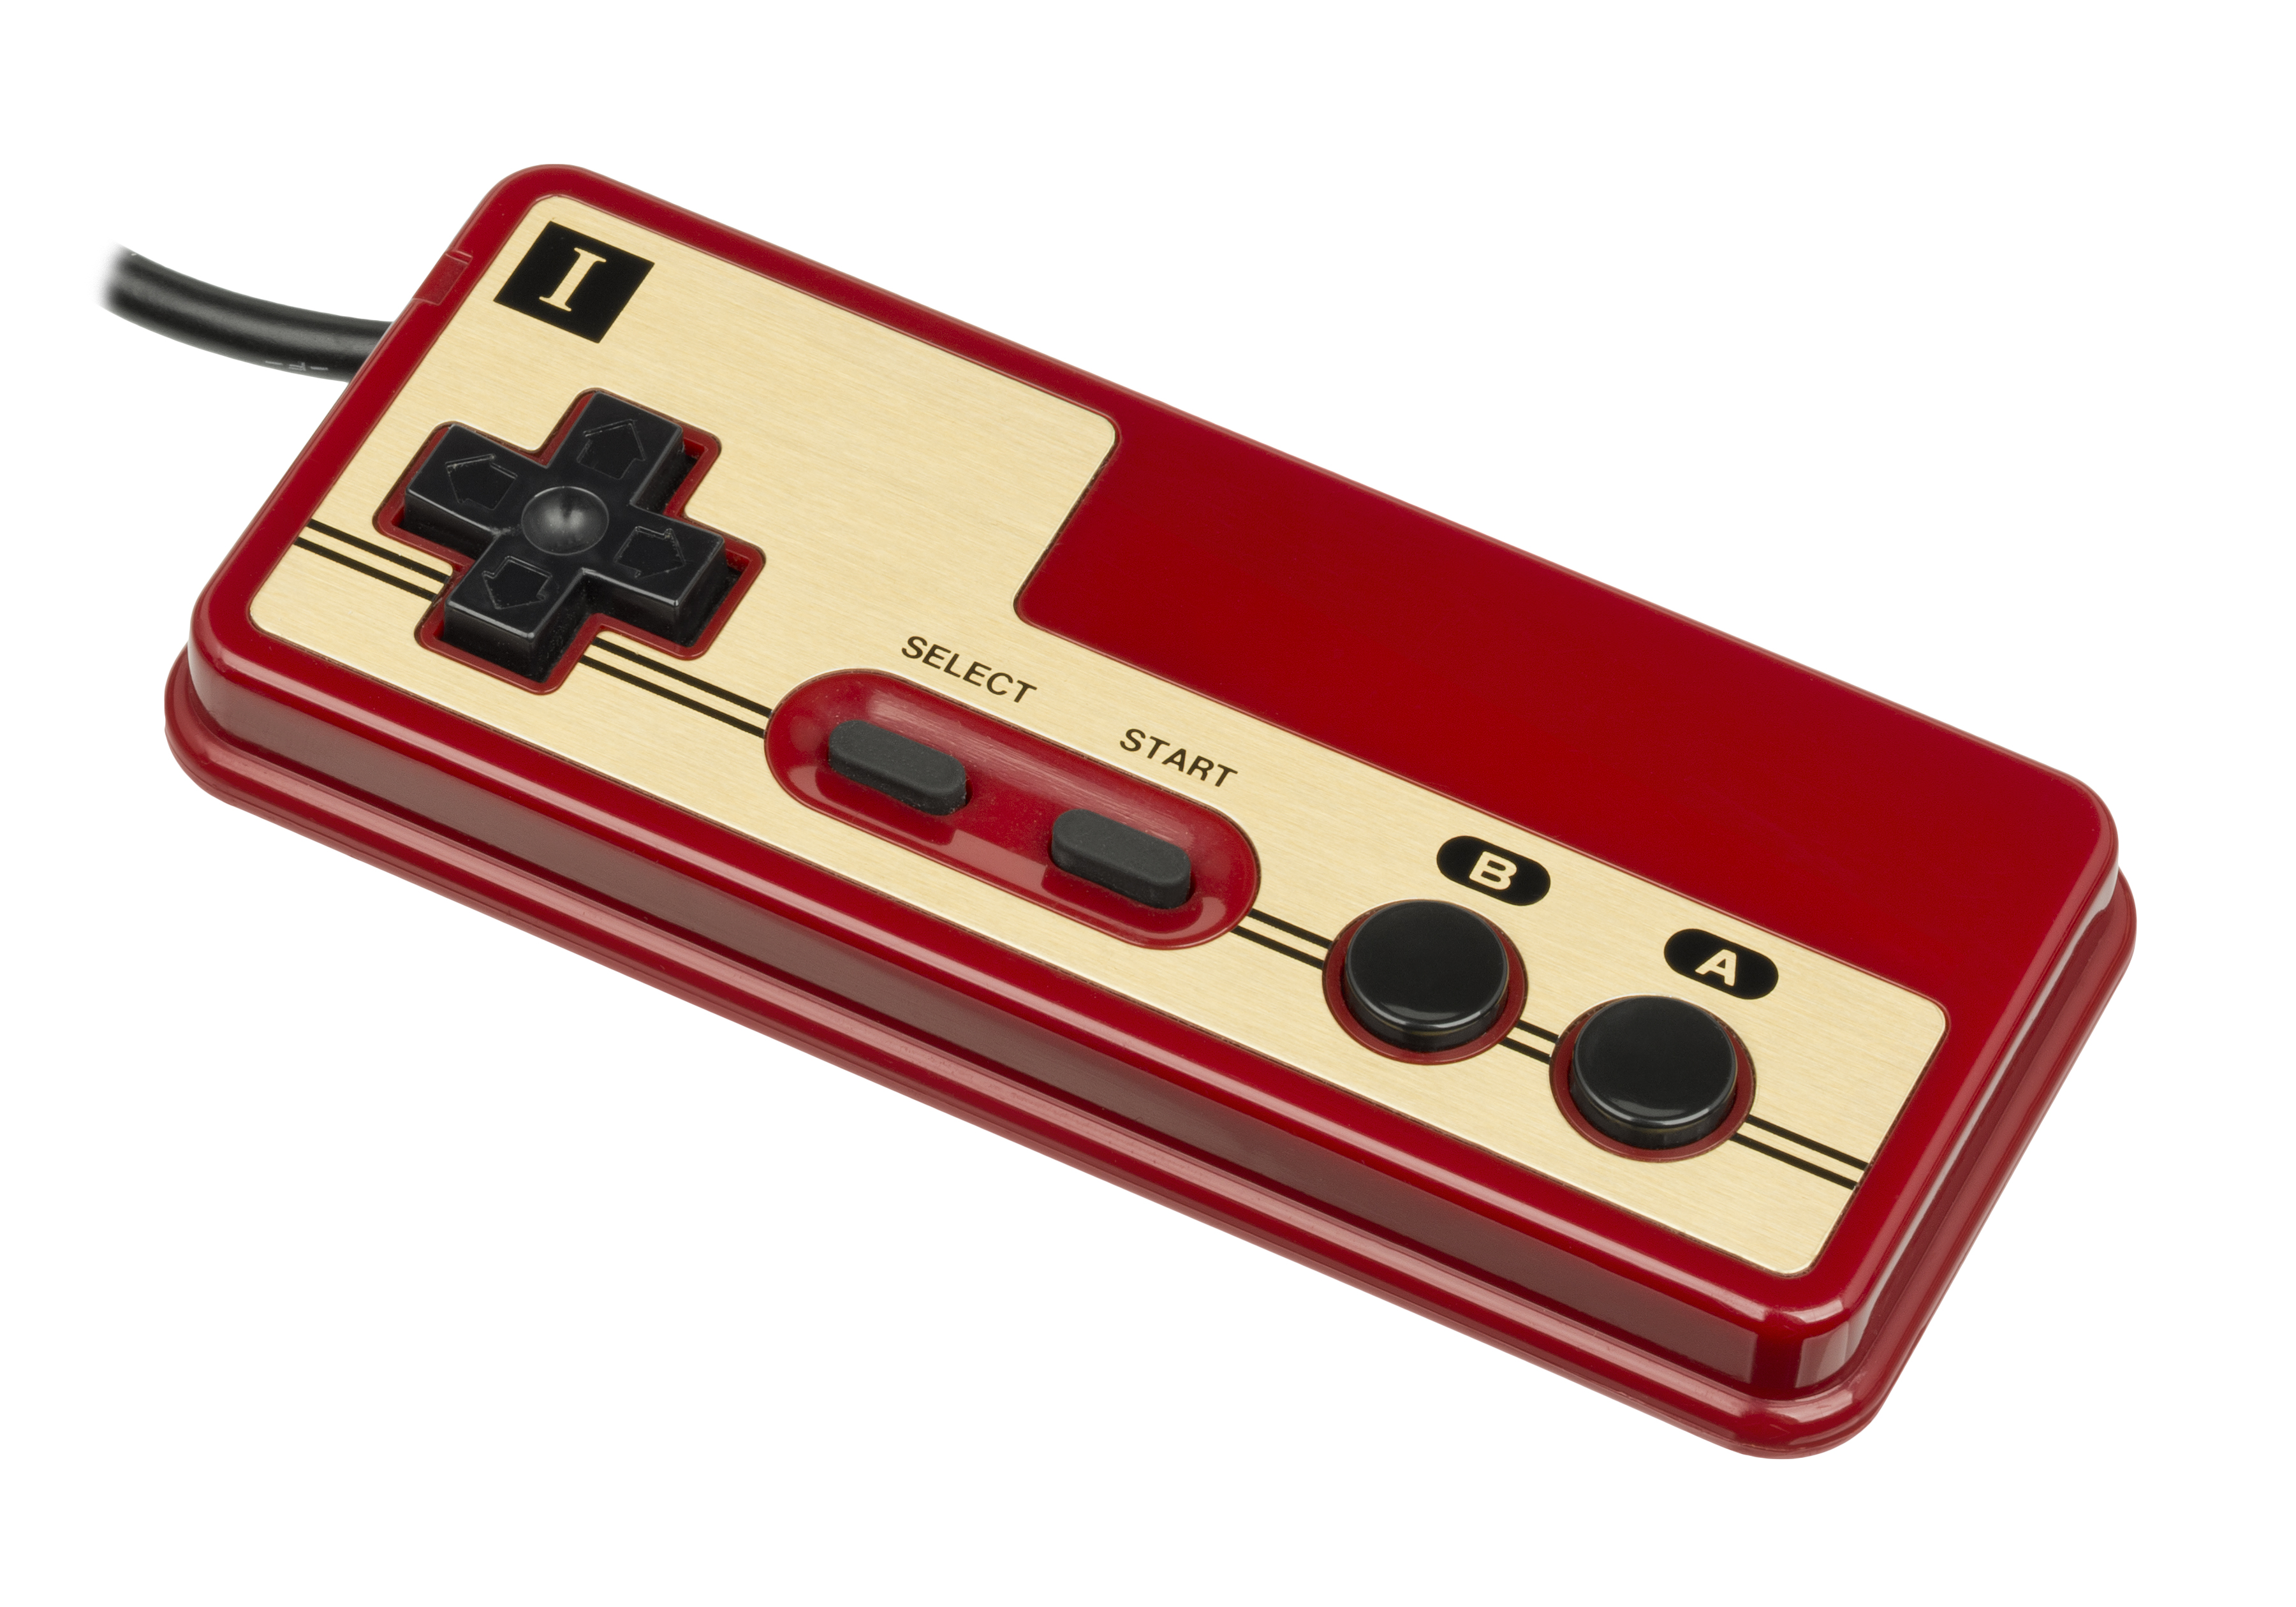
The D-pad, short for directional pad, has been a key feature in gaming controllers since its inception. Originally introduced on the Nintendo Entertainment System (NES) in the 1980s, the D-pad has evolved over time to meet the changing needs of gamers.
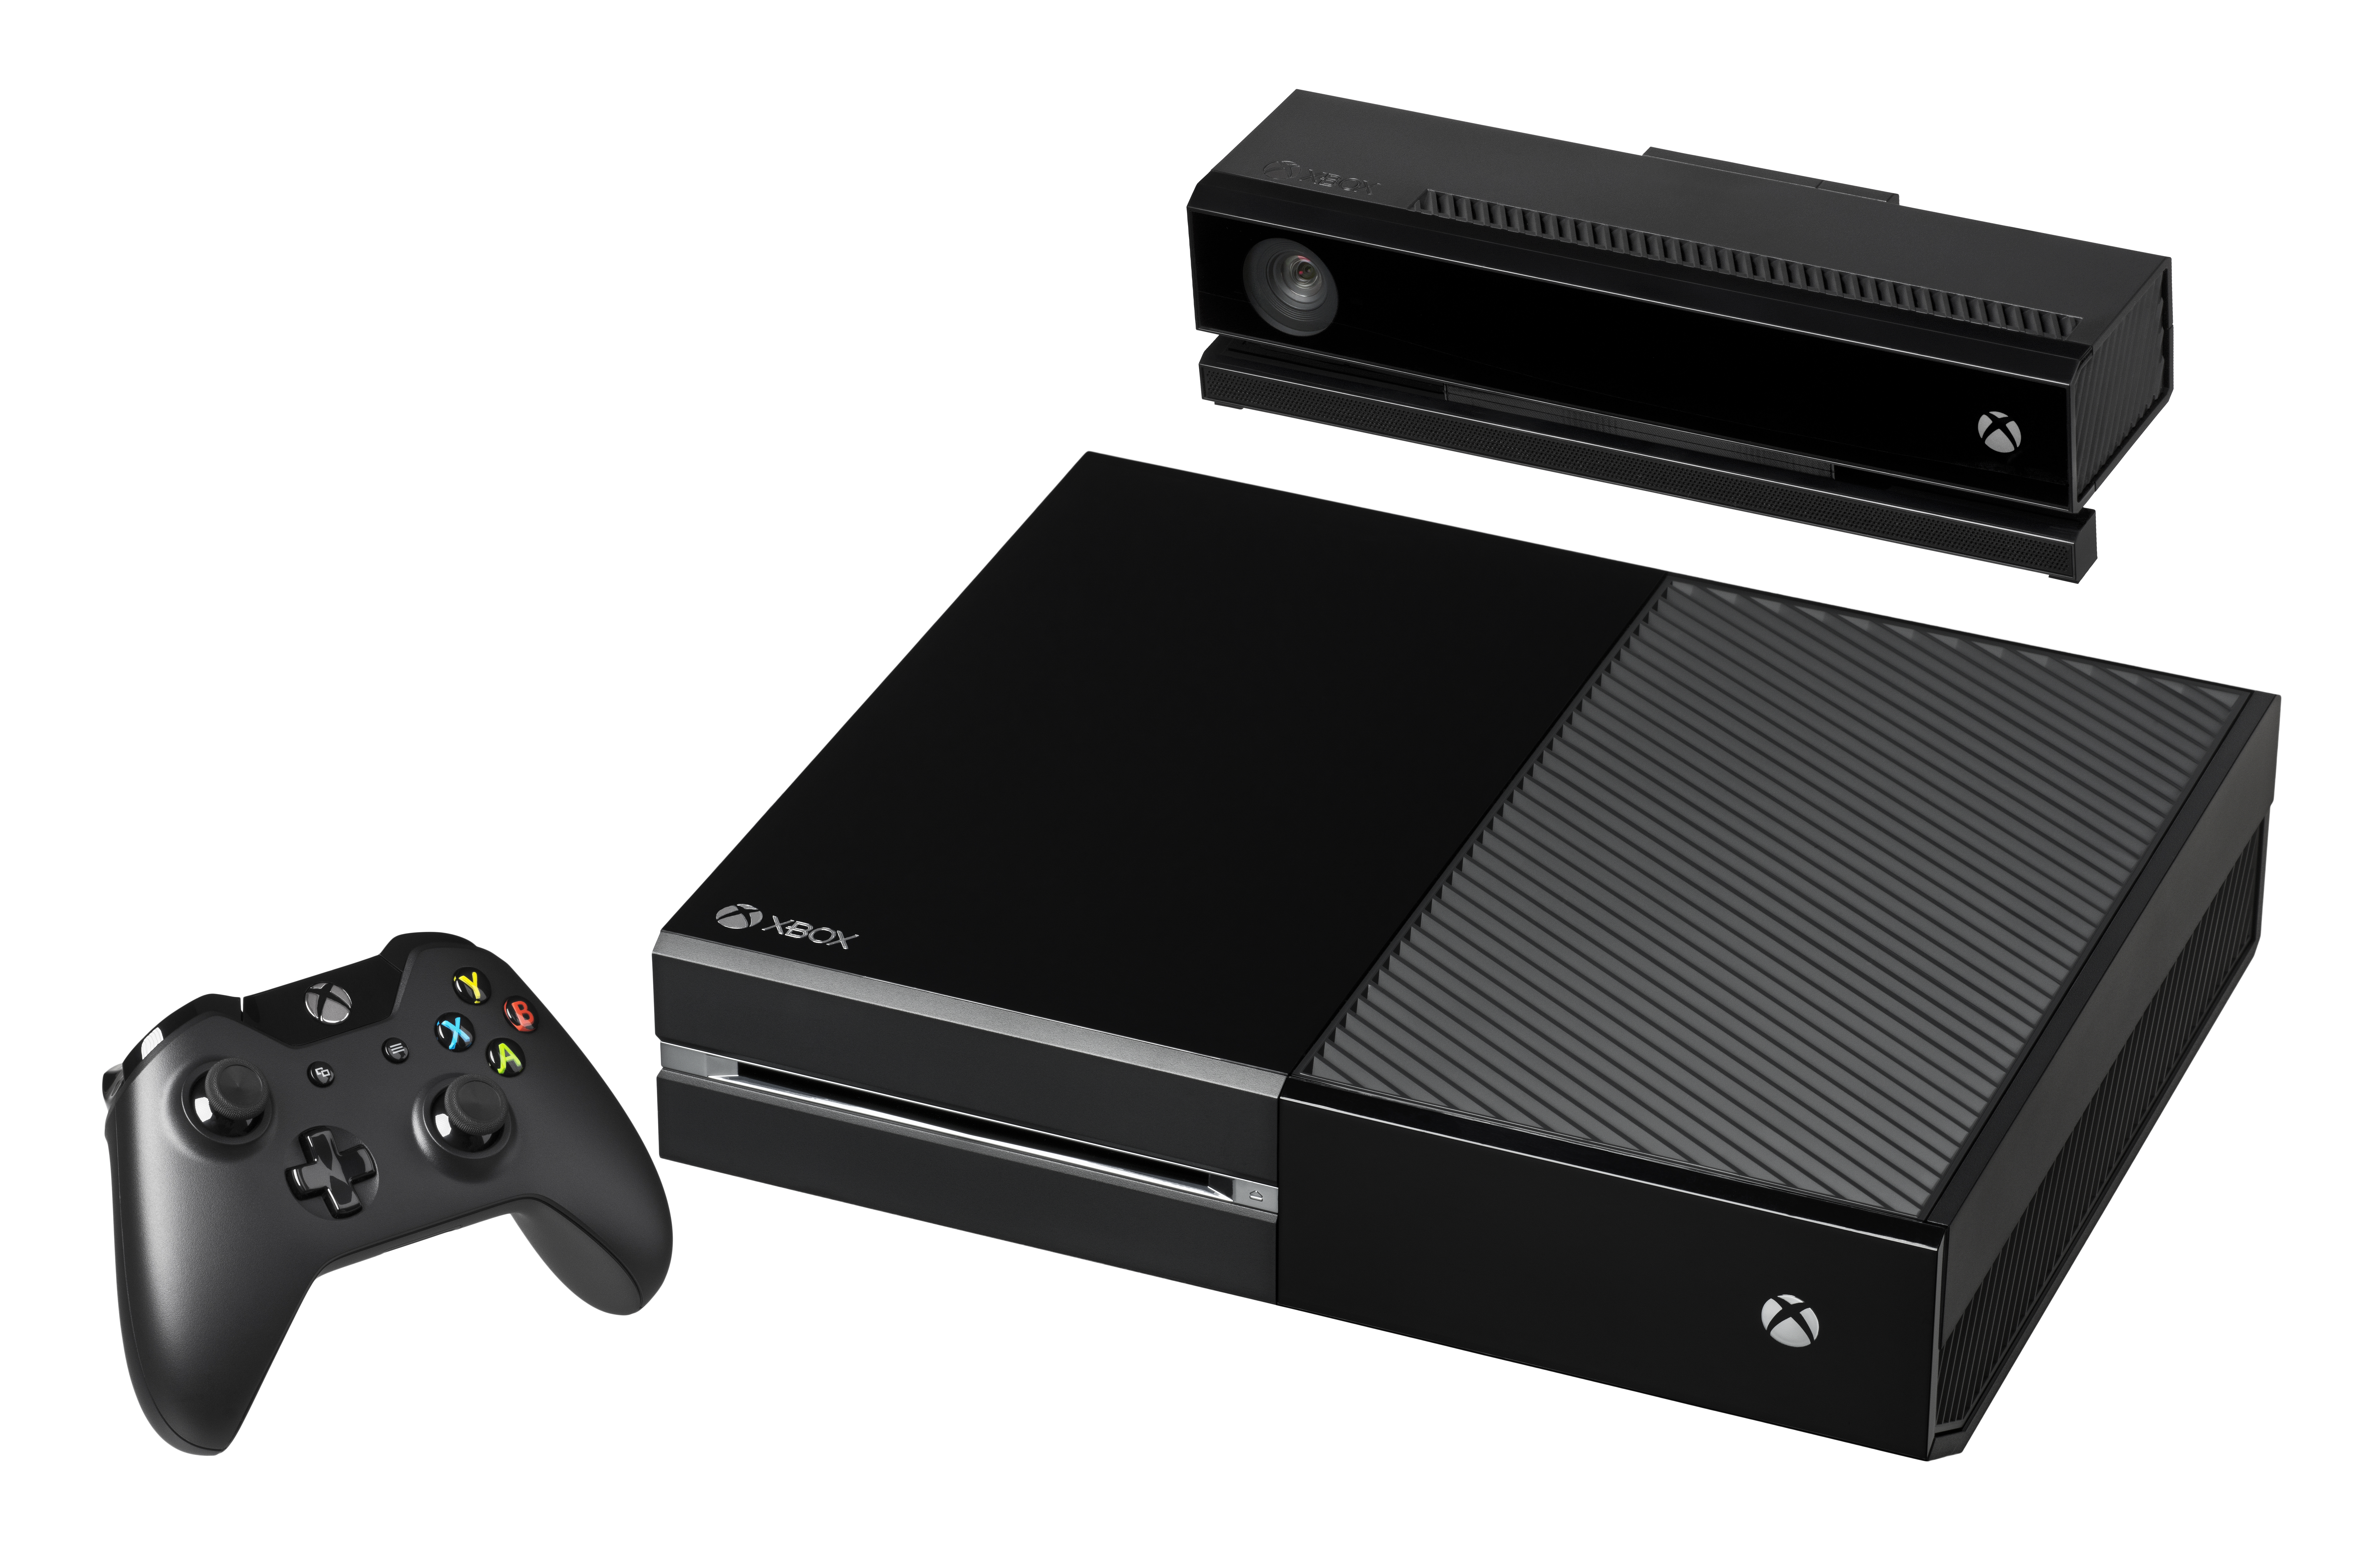
Early D-pads were made of hard plastic and had a cross-shaped design. However, the Xbox Wireless Controller, introduced with the Xbox One, brought a new twist to the D-pad. It featured a circular design, allowing for more precise inputs.
If you’re experiencing issues with your Xbox controller’s D-pad, there are a few troubleshooting steps you can try. First, ensure that your controller is properly connected to your Xbox or PC. If the issue persists, try cleaning the D-pad with a dry cloth to remove any dirt or debris that may be interfering with its functionality.
If cleaning doesn’t solve the problem, you can try using a small amount of isopropyl alcohol on a cotton swab to gently clean the contacts beneath the D-pad. Be sure to let it dry completely before reconnecting the controller.
If none of these steps work, it may be necessary to replace the D-pad. You can find replacement D-pads online or at gaming stores.