Fixing Bad Pool Header and New RAM Issues on Windows 10
If you’re experiencing issues with your Windows 10 computer related to Bad Pool Header or new RAM installation, this article provides some helpful solutions to fix them.
Understanding the Bad Pool Header Error
The BAD_POOL_HEADER error is caused by memory allocation issues on Windows 10. If you have recently installed new RAM, it could be the reason for the error. One solution is to check your RAM for any damage or incompatibilities. If the issue persists, try booting your computer in Safe Mode and see if the problem still occurs. Another method is to repair your file system using the DiskInternals Partition Recovery software or MiniTool Power Data Recovery Bootable Edition. If these solutions don’t work, you can try disabling your antivirus or updating your drivers. In some cases, the error could be caused by a damaged registry or program, so using the Recovery Wizard feature or performing a clean install of Windows may be necessary.
Uninstalling Recently Installed Software and Hardware
If you suspect that a recently installed software or hardware is causing the BAD_POOL_HEADER stop error or new RAM issues on Windows 10, try uninstalling it to see if it resolves the problem. To do this, follow these steps:
1. Press the Windows key + X and select “Device Manager” from the menu that appears.
2. Locate the device or software that you suspect is causing the issue and right-click on it.
3. Select “Uninstall device” or “Uninstall program” from the context menu.
4. Follow the on-screen instructions to complete the uninstallation process.
5. Restart your machine and see if the issue persists.
If uninstalling the software or hardware doesn’t resolve the issue, try using a recovery wizard or disk recovery tool like DiskInternals Partition Recovery or MiniTool Power Data Recovery Bootable Edition to recover any lost data and fix any disk write issues that may be causing the problem.
Disconnecting External Devices and Turning off Fast Startup
To fix issues with BAD POOL HEADER and new RAM on Windows 10, it’s important to disconnect any external devices from your machine. This includes your computer mouse, printers, and any other peripherals that may be connected. Additionally, turning off Fast Startup can help resolve the issue. To do so, follow these steps:
1. Open the Control Panel and navigate to Power Options.
2. Select ‘Choose what the power buttons do’.
3. Click on ‘Change settings that are currently unavailable’ and uncheck ‘Turn on fast startup’.
4. Save your changes and restart your PC.
If these steps don’t resolve the issue, try booting in Safe Mode and running a virus scan or updating your drivers. Remember to always backup your files before making any changes to your system.
Updating Device Drivers and System Drivers
Updating device drivers and system drivers can be a solution for fixing BAD POOL HEADER and new RAM issues on Windows 10. To update device drivers, go to Device Manager and right-click on the device you want to update. Select “Update driver” and follow the prompts. To update system drivers, go to the manufacturer’s website and download the latest drivers. Once downloaded, run the installation program and follow the prompts. This can fix issues caused by outdated or incompatible drivers. Another solution is to run a system file check by opening Command Prompt as an administrator and typing “sfc /scannow”. This will check for and repair any corrupt system files. Updating drivers and running a system file check can help resolve BAD_POOL_HEADER stop errors and other pool header issues.
Performing a Clean Boot and Turning off Indexing Service
Performing a Clean Boot and Turning off Indexing Service can help resolve BAD_POOL_HEADER Stop Error and New RAM Issues on Windows 10. To perform a clean boot, press the Windows key + R and type “msconfig” in the Run dialog box. In the System Configuration window, select the Services tab and check the box for “Hide all Microsoft services”. Then, click “Disable all” and OK. To turn off Indexing Service, press the Windows key + R and type “services.msc” in the Run dialog box. In the Services window, scroll down to “Windows Search” and double-click it. Set the Startup type to “Disabled” and click OK. Restart your PC and test to see if the issue persists. These methods can help identify the root cause of the issue and prevent further damage to your computer.
Testing RAM and Performing a Hardware Clean Boot
- Download and install a RAM testing software such as Memtest86+
- Create a bootable USB drive with the RAM testing software
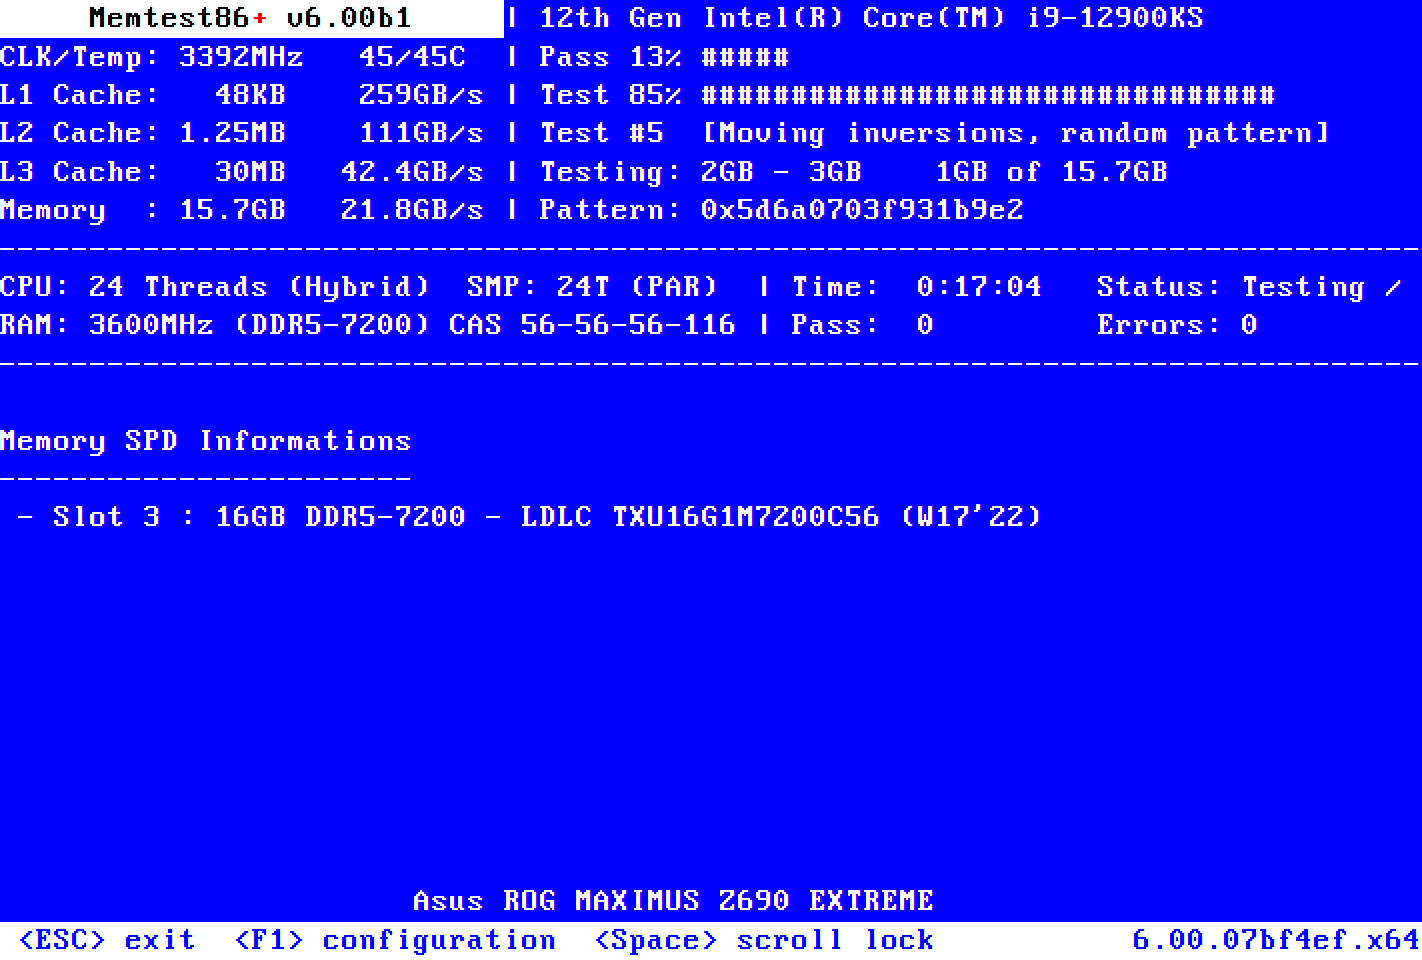
- Restart your computer and press the key that opens the boot menu
- Select the USB drive with the RAM testing software
- Run the RAM test and wait for it to complete
- Check for any errors in the test results
- Remove any faulty RAM sticks
Performing a Hardware Clean Boot
- Open Task Manager by pressing Ctrl+Shift+Esc
- Click on the “Startup” tab
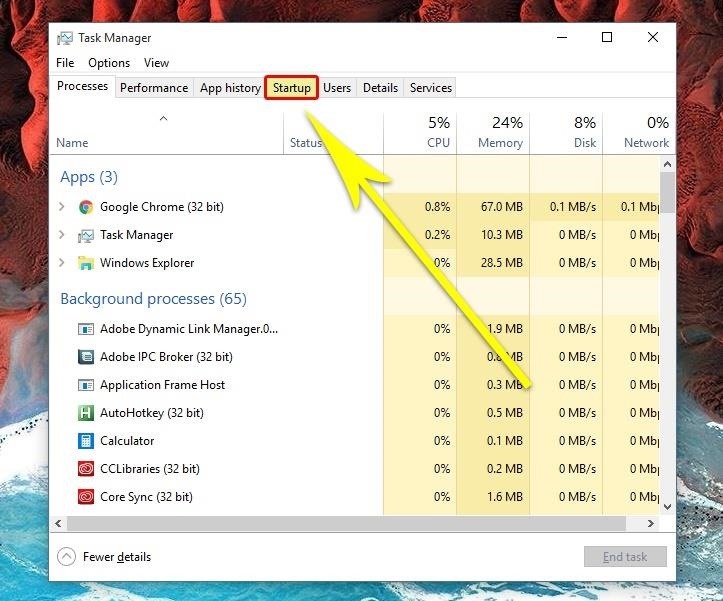
- Disable all startup programs by selecting each program and clicking “Disable”
- Restart your computer and check if the problem is resolved
- If the problem is resolved, enable the startup programs one by one to identify the problematic program
- If the problem persists, try disabling non-Microsoft services in the “Services” tab of Task Manager
Reinstalling Windows and Removing Malicious Programs
Reinstalling Windows and removing malicious programs are two effective ways to fix bad pool header and new RAM issues on Windows 10.
To reinstall Windows, you can use the built-in reset feature or create a bootable USB drive with the Windows installation media. Make sure to back up your important files before proceeding.
Removing malicious programs can be done by running a full system scan with a reliable antivirus software or using Windows Defender. Disabling your antivirus temporarily during the process can help ensure that all threats are detected and removed.
If the issue persists after these methods, it may be due to a hardware problem. Check your RAM sticks for any physical damage or try swapping them out with new ones.
In order to prevent bad pool header and other errors in the future, make sure to keep your system updated, run regular scans for malware, and avoid installing suspicious applications or files.
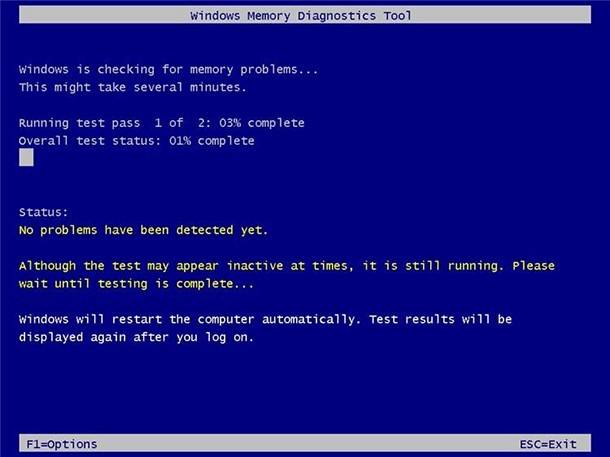
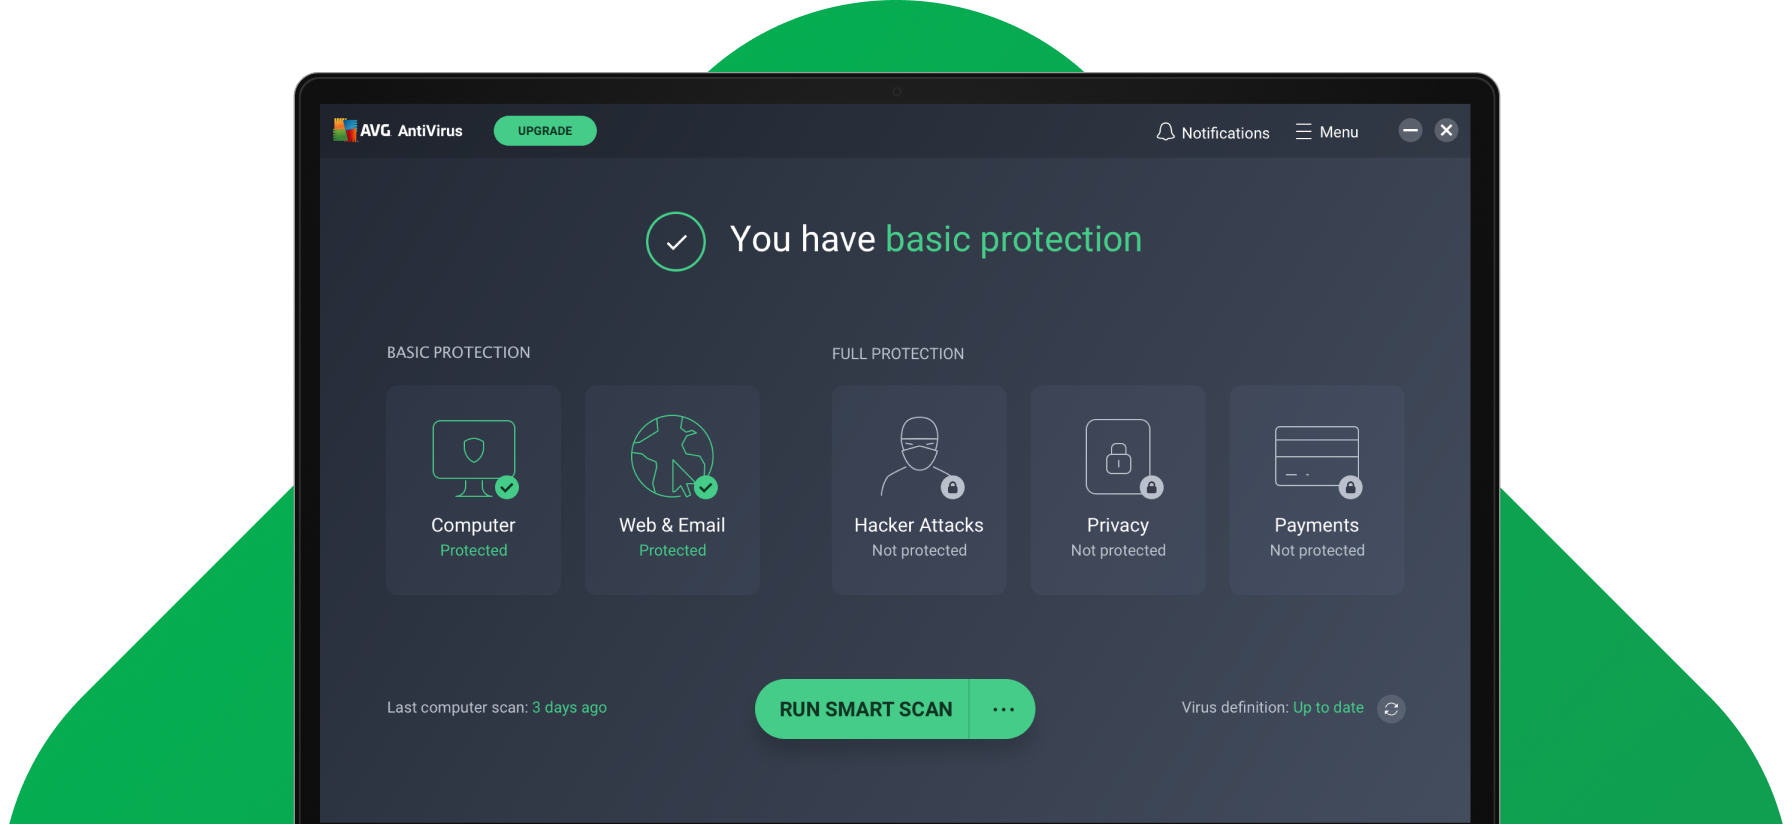
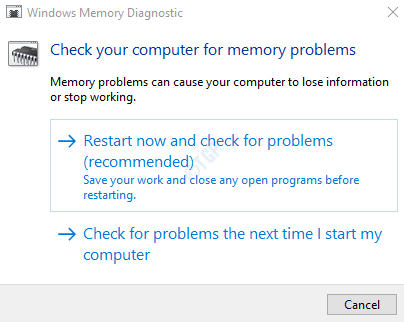
Using a Compatible Antivirus Tool and Running Windows Memory Diagnostics Tool
| Tool | Description | How to Use |
|---|---|---|
| Compatible Antivirus Tool | An antivirus tool that is compatible with Windows 10 and can scan and remove any malware or viruses that may be causing the bad pool header error or RAM issues. |
|
| Windows Memory Diagnostics Tool | A tool provided by Windows 10 that can diagnose and fix any memory-related issues that may be causing the bad pool header error or RAM issues. |
|
Avoiding Bad Pool Header Error: Recommendations and Conclusion
To avoid the Bad Pool Header error, ensure your computer’s drivers are up-to-date, and disable any antivirus programs temporarily to see if they are the root cause. Run a memory diagnostic test to check for any RAM issues. If the issue persists, check for disk write issues and file system errors. If all else fails, reinstall Windows 10. In conclusion, the Bad Pool Header error can be caused by a variety of reasons, but by following these recommendations in order, you can hopefully resolve the issue and avoid the Blue Screen of Death.