Print Spooler Service Terminated Unexpectedly – Event ID 7031
Discover the cause behind the sudden termination of the Print Spooler Service with Event ID 7031.
Understanding Event ID 7031 and Print Spooler Service Issues
Event ID 7031 occurs when the Print Spooler service stops unexpectedly. This issue can cause problems with printers and print jobs. To troubleshoot this issue, you need to check the Event Viewer and look for the error message. You can also try to restart the Print Spooler service if it keeps stopping. To do this, go to Services and find the Print Spooler service. Right-click and select Restart. If this doesn’t work, try to delete the printer drivers and reinstall them. You can also try to repair the system using the registry editor. Go to HKEY_LOCAL_MACHINESYSTEMCurrentControlSetControlPrintEnvironments and delete any sub-keys. Then restart the Print Spooler service. If all else fails, you can use a system repair tool like Restoro to fix the issue.
Restarting the Printer Spooler Service to Resolve the Error
To resolve the “Print Spooler Service Terminated Unexpectedly – Event ID 7031” error, restarting the Printer Spooler Service is recommended. Follow these steps:
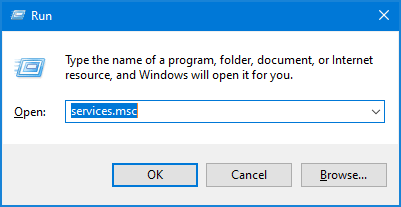
1. Open the Services window by typing “services.msc” in the Run dialog box.
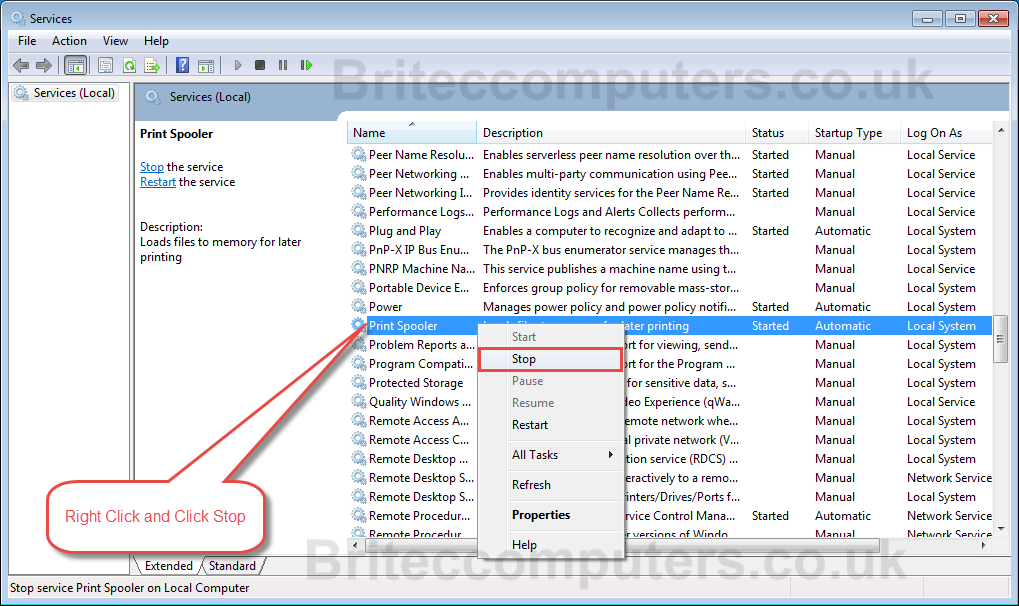
2. Scroll down to the Printer Spooler service and right-click on it.
3. Select “Stop” from the dropdown menu.
4. Right-click on the Printer Spooler service again and select “Start”.
5. Test printing to see if the issue has been resolved.
If the issue persists, check the Event Viewer for any further details on the error. Other corrective actions may be necessary, such as updating drivers or performing a system repair.
Updating Printer Drivers and Clearing Print Jobs to Fix the Problem
To fix the “Print Spooler Service Terminated Unexpectedly – Event ID 7031” error, you can update your printer drivers and clear print jobs. First, download the latest driver software for your printer from the manufacturer’s website. Then, open the Device Manager, locate your printer, right-click it, and select “Update Driver Software”. Alternatively, you can use a driver updater tool like Restoro to automate the process.
Next, clear the print jobs by stopping the Print Spooler service. Open the Services app, find the Print Spooler service, and click “Stop”. Then, navigate to the C:ProgramDataMicrosoftWindowsSpoolPrinters folder and delete all the files in it. Finally, restart the Print Spooler service and try test printing.
If the issue persists, check the Event Viewer for related system events. Look for Event ID 7034 or similar events from the Service Control Manager. You may also need to check the registry for any PnPDriverImportError keys and delete them. If you’re still having issues, seek assistance from a technology expert or consult Q&A forums like FarmhouseNetworking.
Exploring Additional Solutions for Event ID 7031 Print Spooler Errors
- Restart the Print Spooler Service
- Open the Services window by pressing Win+R and typing services.msc
- Locate the Print Spooler service
- Right-click on the service and select Restart
- Delete Print Jobs from the Queue
- Open the Services window by pressing Win+R and typing services.msc
- Locate the Print Spooler service and stop it
- Navigate to the following folder: C:WindowsSystem32spoolPRINTERS
- Delete all the files in the folder
- Restart the Print Spooler service
- Update Printer Drivers
- Open the Device Manager by pressing Win+X and selecting Device Manager
- Locate your printer driver in the list
- Right-click on the driver and select Update Driver Software
- Follow the on-screen instructions to update the driver
- Run System File Checker (SFC) Scan
- Open the Command Prompt as an administrator by pressing Win+X and selecting Command Prompt (Admin)
- Type sfc /scannow and press Enter
- Wait for the scan to complete
- Restart your computer
- Clean Boot Your Computer
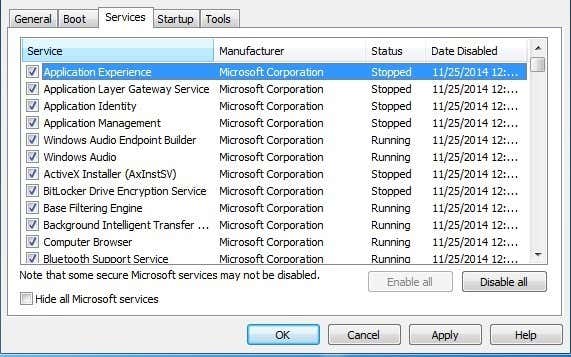
- Open the System Configuration window by pressing Win+R and typing msconfig
- Select the Services tab
- Check the box next to Hide all Microsoft services
- Click on Disable all to disable all the non-Microsoft services
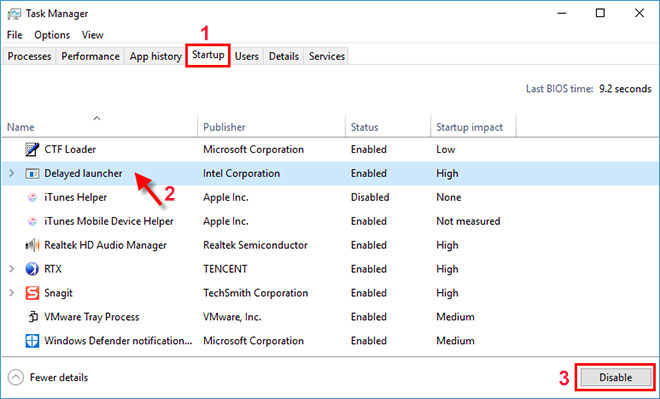
- Select the Startup tab
- Click on Open Task Manager
- Select each Startup item and click on Disable
- Close the Task Manager
- Click on OK to save the changes
- Restart your computer
- Perform a Clean Install of Windows
- Backup all your important files and data
- Insert the Windows installation media and restart your computer
- Boot from the installation media
- Follow the on-screen instructions to perform a clean install of Windows
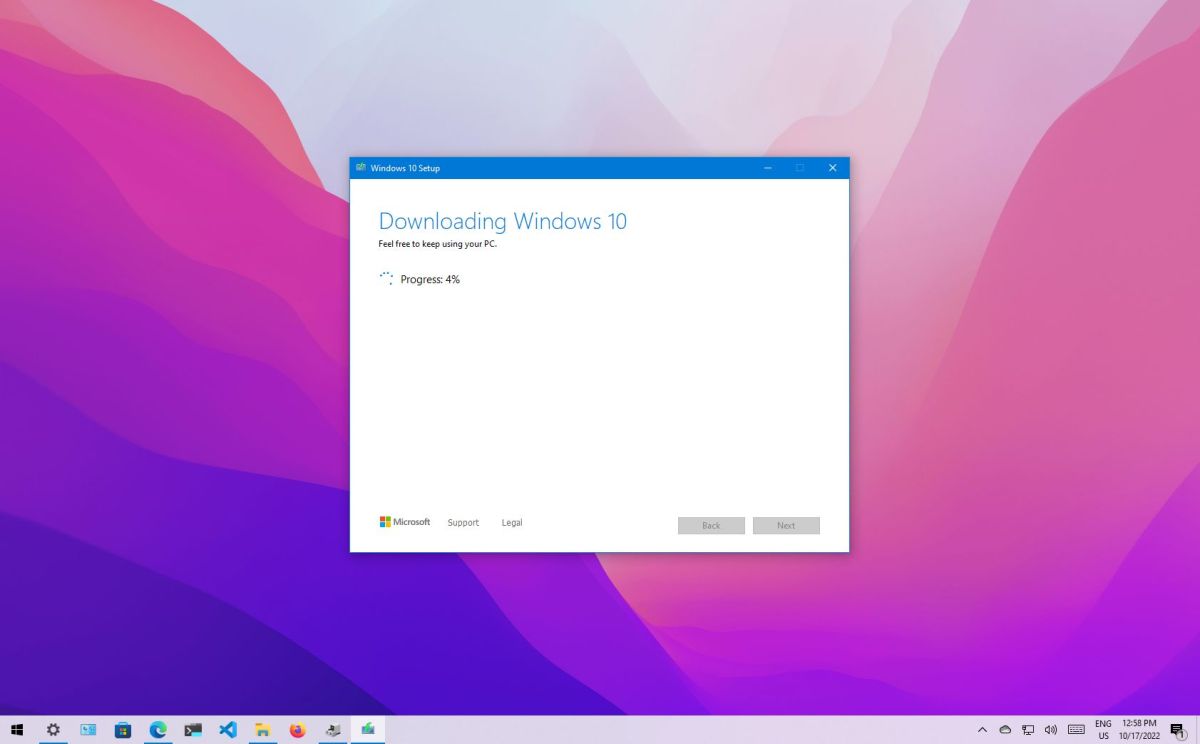
- Reinstall all necessary drivers and software