Fixing Disk Errors on Windows 10
Unleashing the Power of Optimization: Fixing Disk Errors on Windows 10
How to Fix Disk Errors Using Chkdsk
To fix disk errors on Windows 10, you can use the Chkdsk tool. Here’s how:
1. Press the Windows key + X and select “Command Prompt (Admin)” from the menu.
2. In the Command Prompt window, type “chkdsk C:” and press Enter. Replace “C:” with the drive letter of the disk you want to check.
3. Chkdsk will scan the disk for errors and fix them if possible. This process may take some time.
4. Once the scan is complete, you will see a summary of the results. If any errors were found and fixed, it’s recommended to restart your computer.
Quick Fixes for Disk Errors
-
Perform a Disk Check:
- Open File Explorer by pressing Win+E.
- Right-click on the disk you want to check and select Properties.
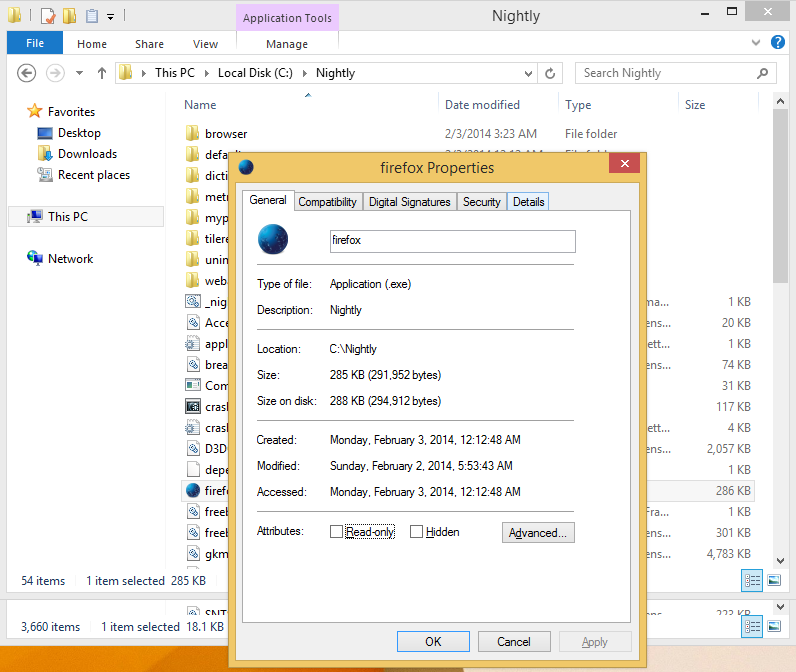
- In the Tools tab, click on Check under the “Error checking” section.
- Click on Scan drive to start the disk check process.
- Wait for the scan to complete and follow any prompts to fix the errors found.
-
Run System File Checker (SFC) Tool:
- Press Win+X and select Command Prompt (Admin) or Windows PowerShell (Admin).
- Type sfc /scannow and press Enter to start the scan.
- Wait for the scan to complete. If any errors are found, the tool will attempt to fix them automatically.
- Restart your computer once the process is finished.
-
Use Check Disk Utility (CHKDSK):
- Open Command Prompt as an administrator.
- Type chkdsk C: (replace “C:” with the appropriate drive letter) and press Enter.
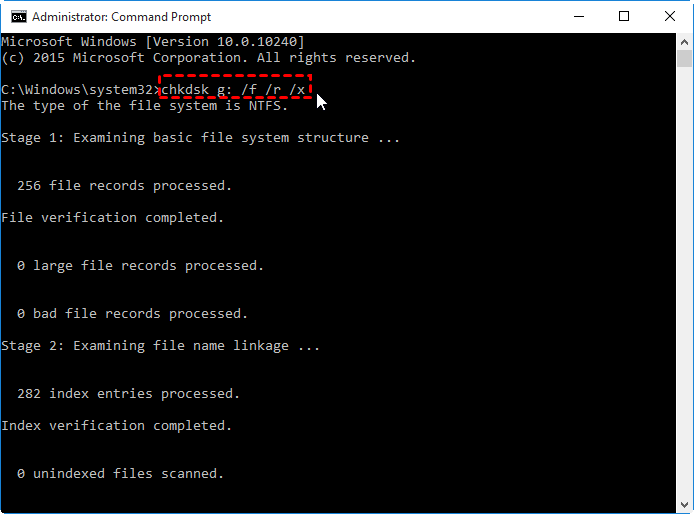
- Wait for the utility to scan your disk for errors and fix them if found.
- Restart your computer once the process is finished.
-
Disable and Re-enable the Disk:
- Press Win+X and select Device Manager.
- Expand the Disk drives category.
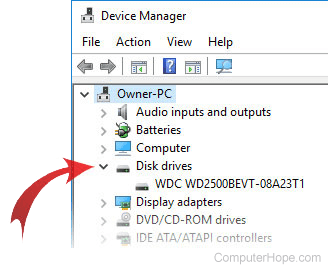
- Right-click on the disk causing issues and select Disable device.
- Wait for a few seconds, then right-click on the disk again and select Enable device.
- Restart your computer and check if the disk errors are resolved.
6 Ways to Resolve Repairing Disk Errors
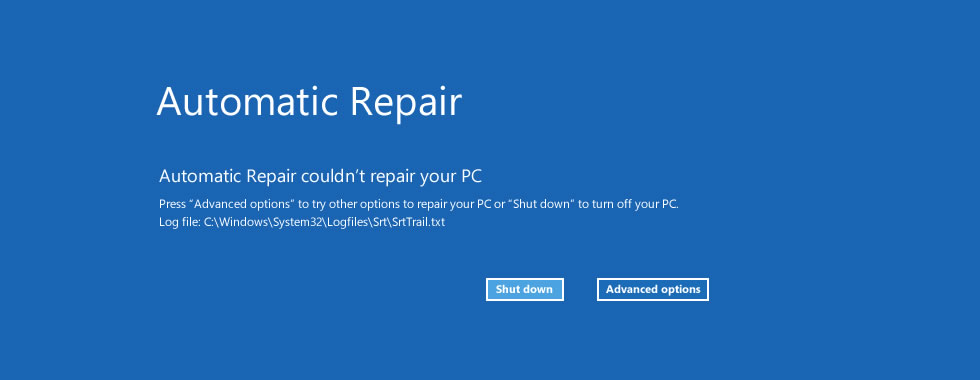
1. Run Startup Repair: Start your Windows 10 computer and press the F8 key repeatedly until the Advanced Boot Options menu appears. Choose “Repair Your Computer” and select “Startup Repair” to fix any hard disk errors.
2. Check Disk Options: Press the Windows key and type “cmd” in the search bar. Right-click on the Command Prompt and select “Run as administrator.” In the command prompt window, type “chkdsk C: /f /r” and hit Enter to scan and repair any disk errors on your C drive.
3. Error-checking: Open File Explorer and right-click on the hard disk you want to check. Select “Properties” and go to the “Tools” tab. Click on “Check” under the Error-checking section to scan and fix any file system errors.
4. Event Viewer: Press the Windows key and type “Event Viewer” in the search bar. Open the Event Viewer and navigate to “Windows Logs” > “System.” Look for any error messages related to hard disk or disk failures. Use this information to troubleshoot and resolve the issue.
5. Check Hard Disk Health: Download and install a reliable third-party diagnostic tool like CrystalDiskInfo or HD Tune to check the health and SMART firmware status of your hard disk. If there are any issues reported, consider replacing the hard drive as it may be a hardware problem.
6. Format and Reinstall Windows: If all else fails and you have a backup of your important files, you can format your hard drive and reinstall Windows 10. This can help resolve any persistent disk errors that cannot be fixed through other means.
Bonus Tip: Prevent Data Loss by Backing Up Your Hard Disk
To prevent data loss and safeguard your files, it’s crucial to regularly back up your hard disk. This step-by-step guide will show you how to do it on Windows 10.
1. Connect an external hard drive or USB storage device to your computer.
2. Press the Windows key and type “Control Panel” to open it.
3. In Control Panel, select “Backup and Restore (Windows 7)”.
4. Click on “Set up backup” and choose your external storage device as the backup location.
5. Select the files and folders you want to back up or choose the recommended settings.
6. Click “Next” and then “Save settings and run backup” to start the backup process.
Remember to regularly perform this backup to ensure your data is safe in case of any hard disk errors or failures.
[End of content]