Fix Email Not Working on Android
Discover effective solutions to resolve issues with email not working on your Android device. Whether you’re struggling with sending, receiving, or syncing emails, this article provides practical tips to get your email back up and running smoothly. Explore the troubleshooting methods below to regain control of your inbox effortlessly.
Troubleshooting Steps for Email Issues on Android
- Check Internet Connection
- Ensure that your device is connected to a stable Wi-Fi or mobile data network.
- If needed, toggle the Wi-Fi or mobile data switch off and on.
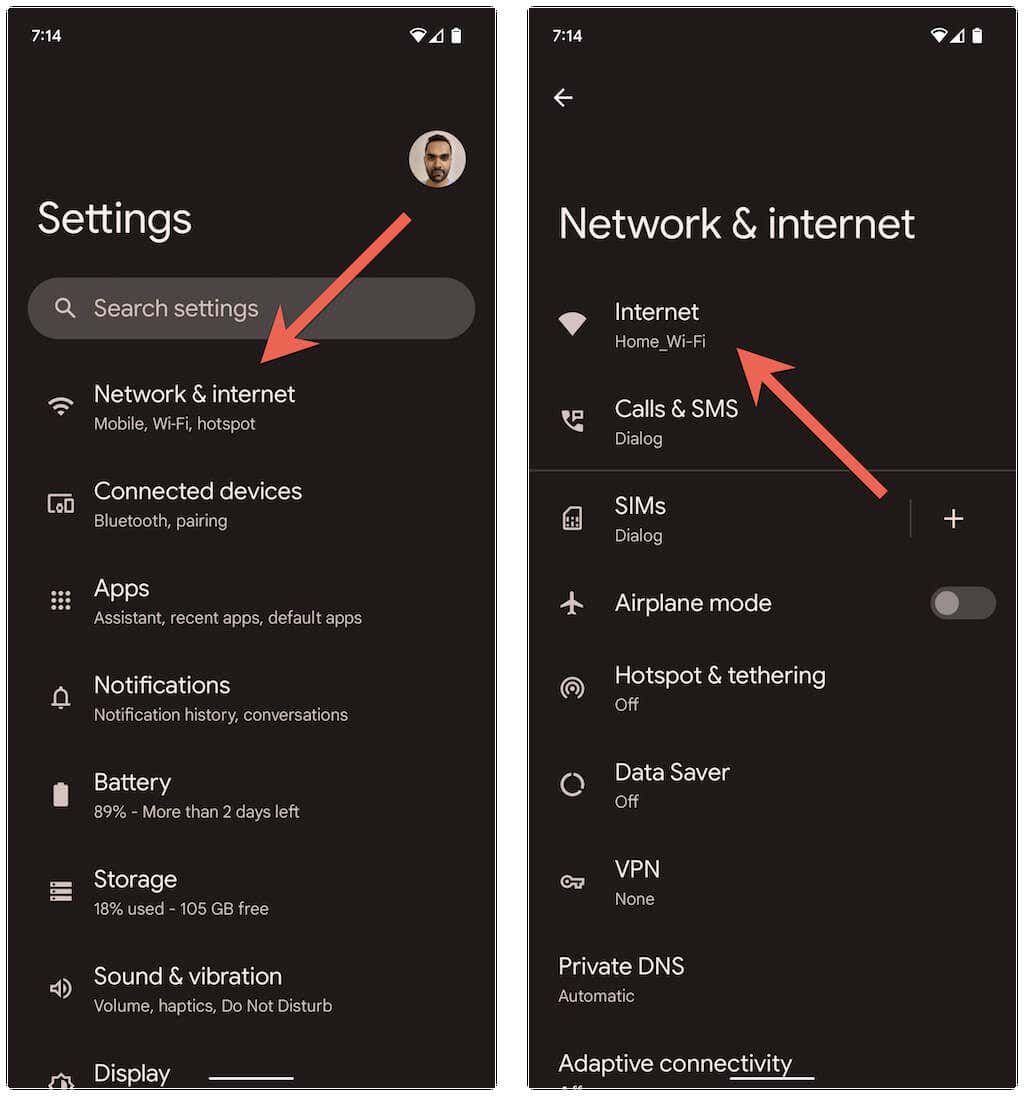
- Try opening a web page or using another app to verify the internet connection.
- Restart Email App
- Close the email app completely.
- Swipe up from the home screen to access the App Switcher and swipe away the email app.
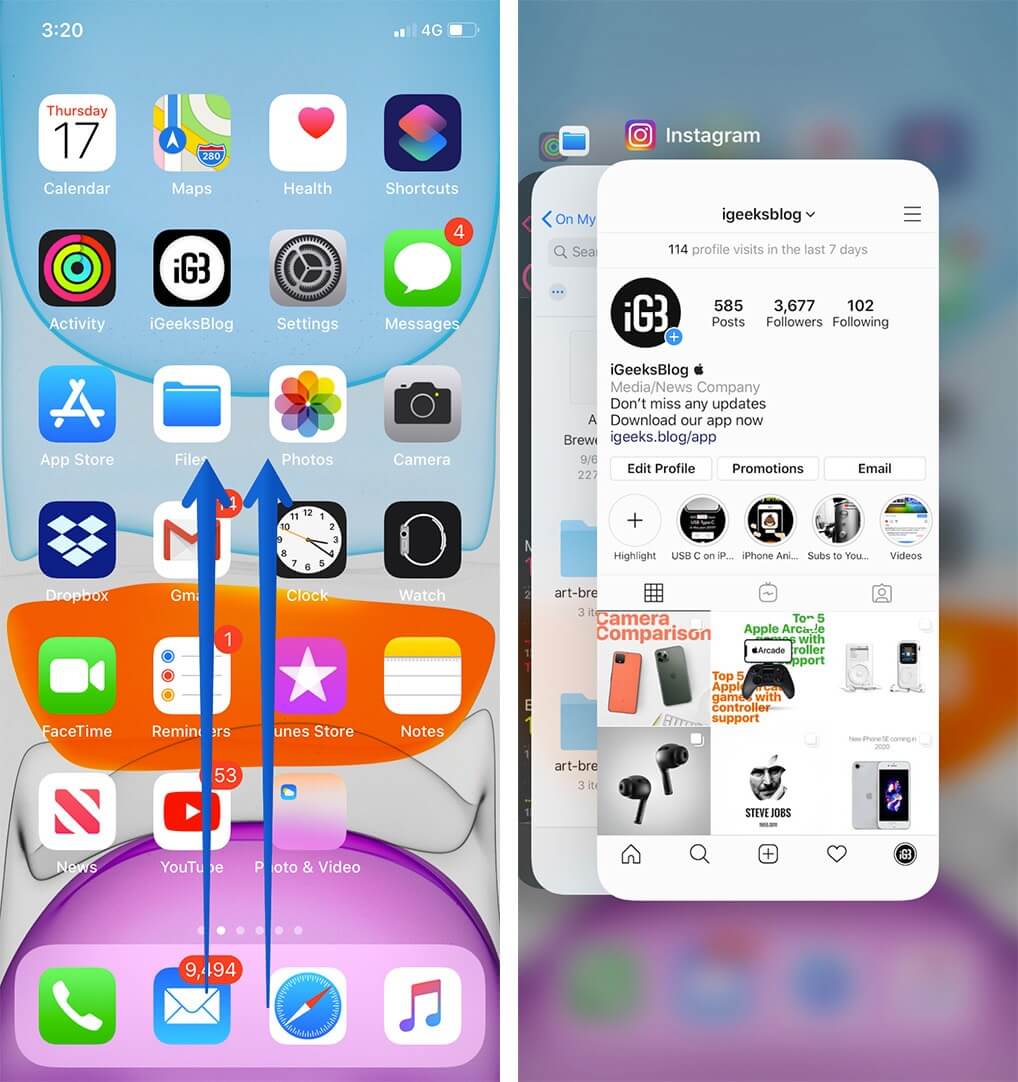
- After a few seconds, reopen the email app.
- Clear Cache and Data
- Go to the Settings on your Android device.
- Select Apps or Application Manager.
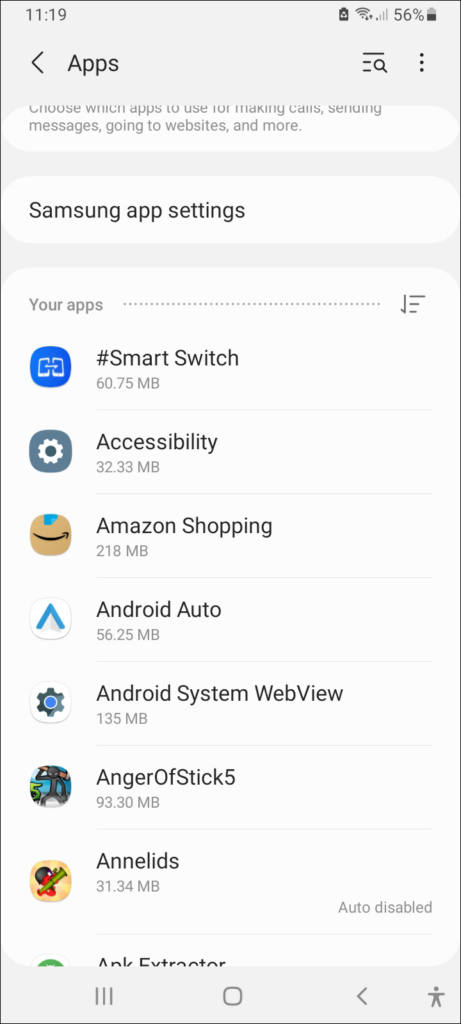
- Scroll and find your email app.
- Tap on the email app and select Storage.
- Click on Clear Cache and Clear Data.
- Restart the email app.
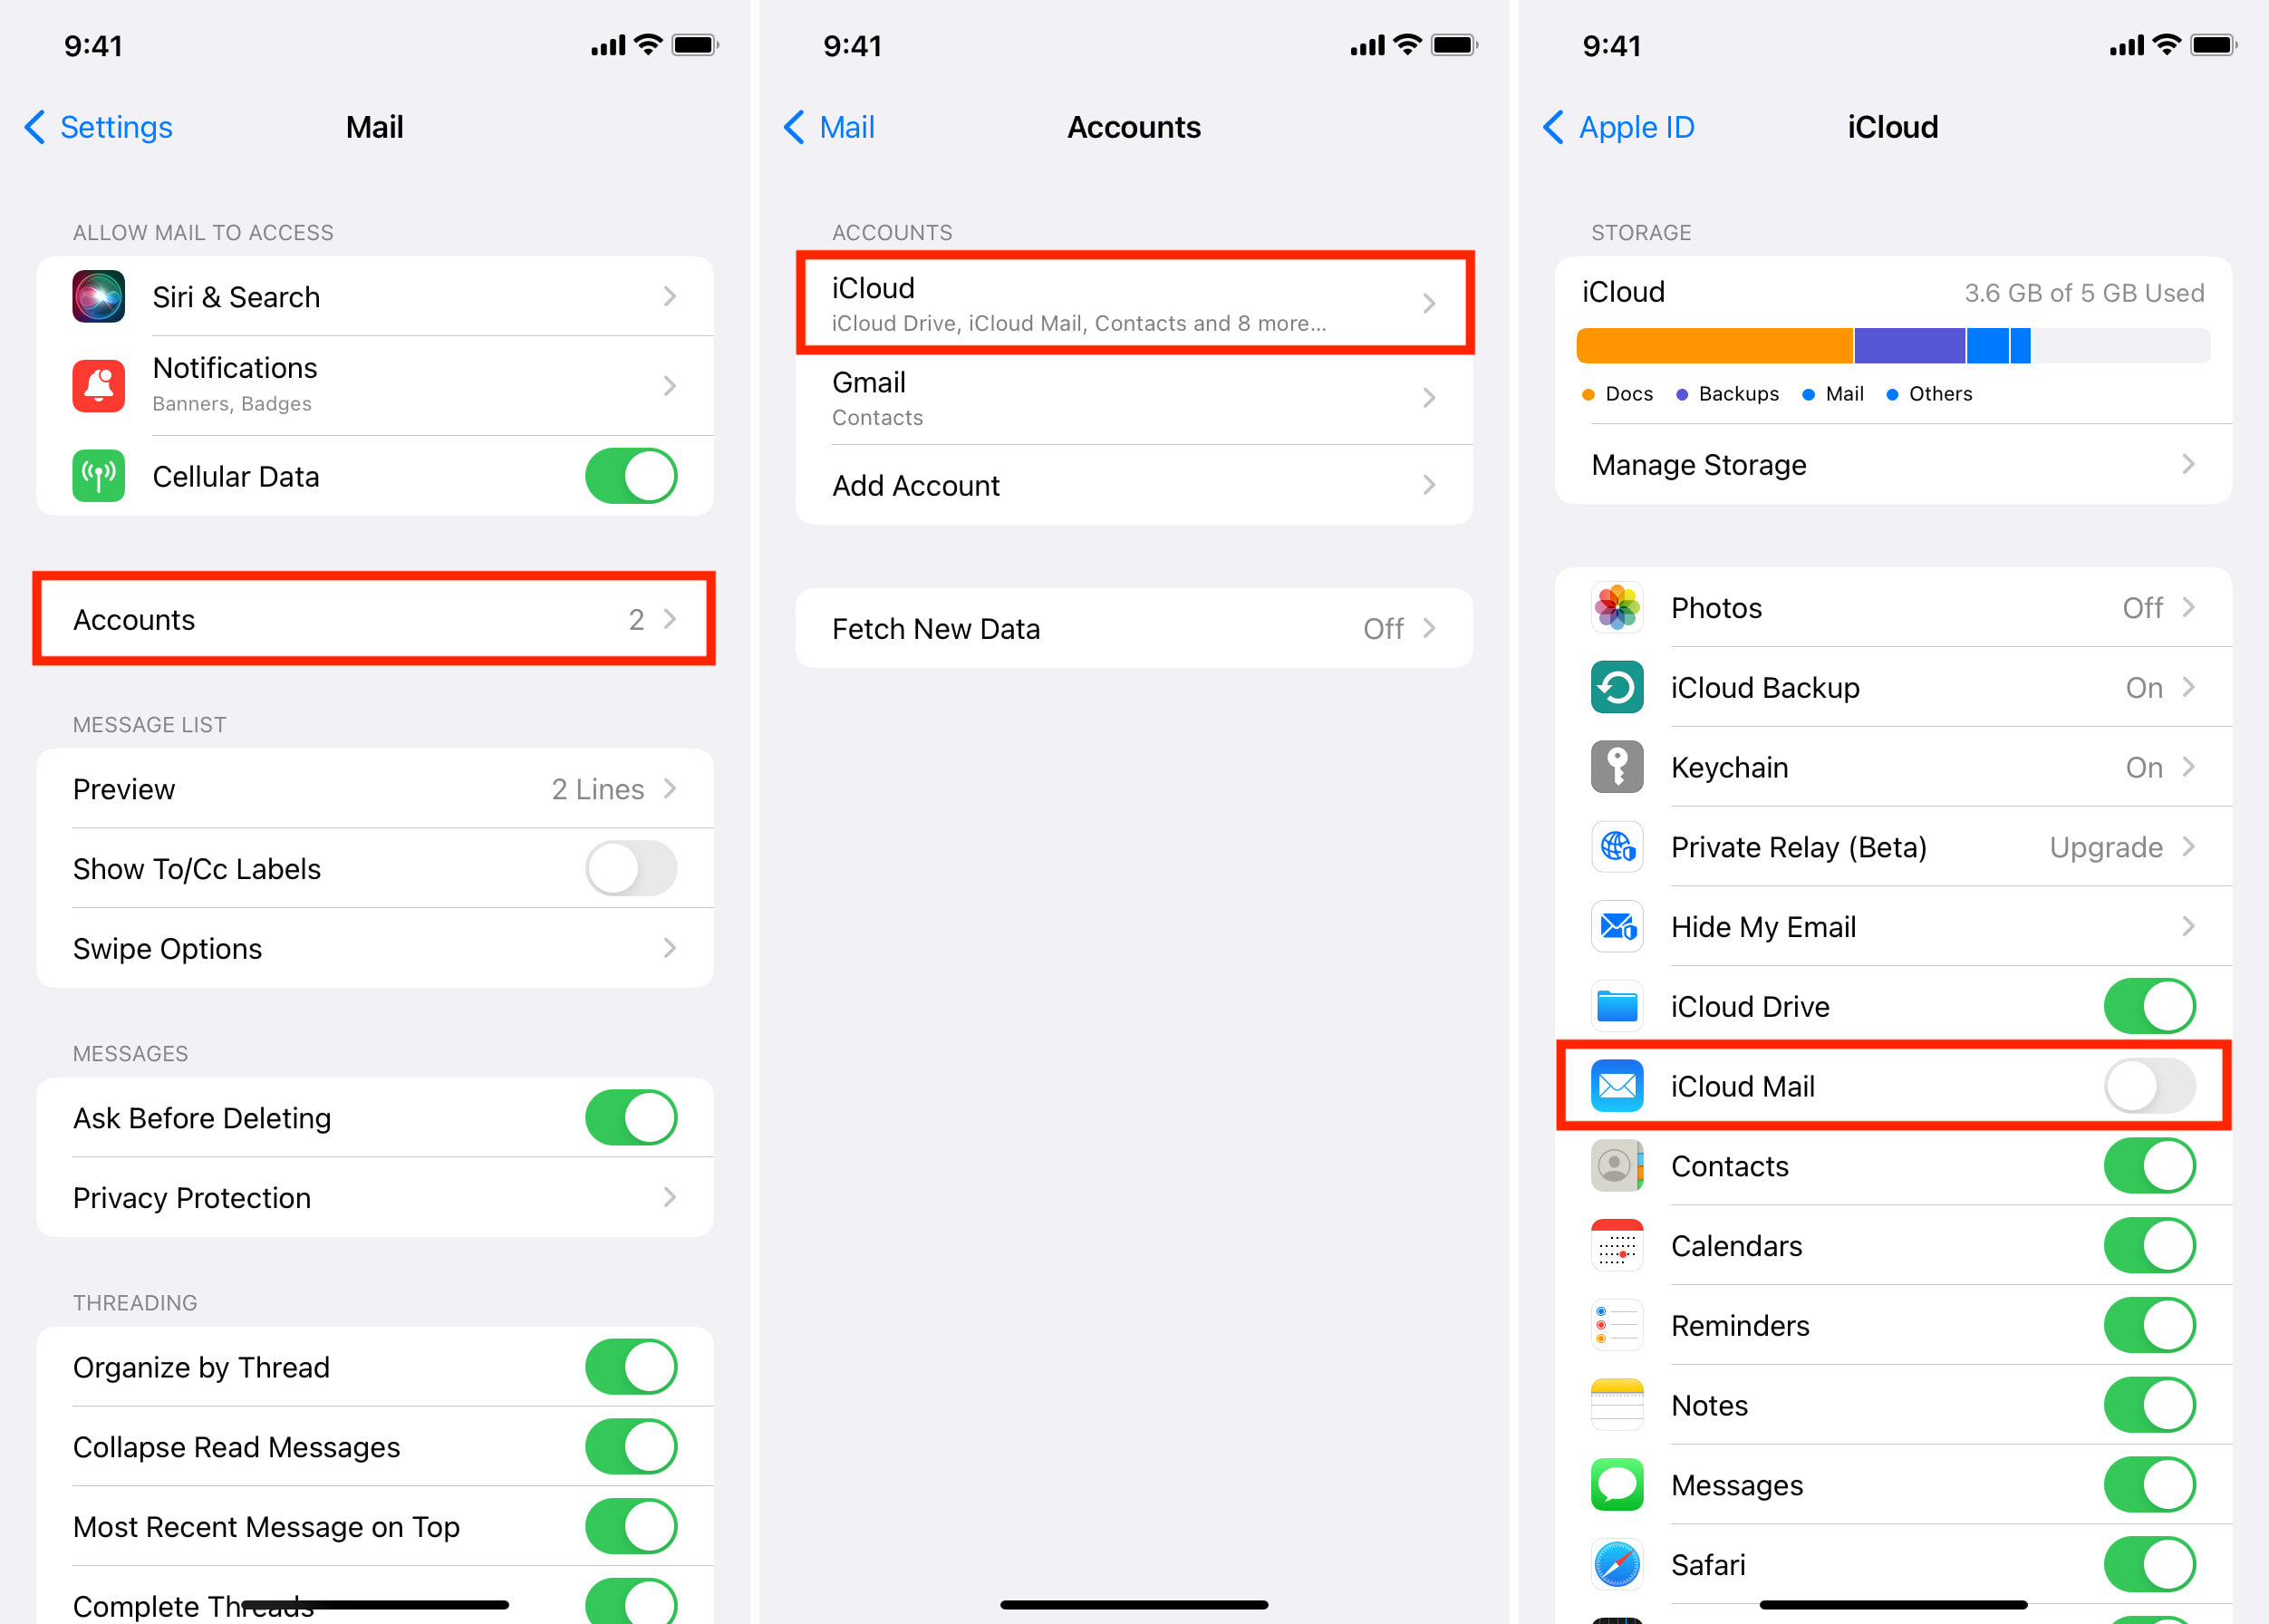
- Check Email Account Settings
- Open the email app and go to Settings.
- Select your email account.
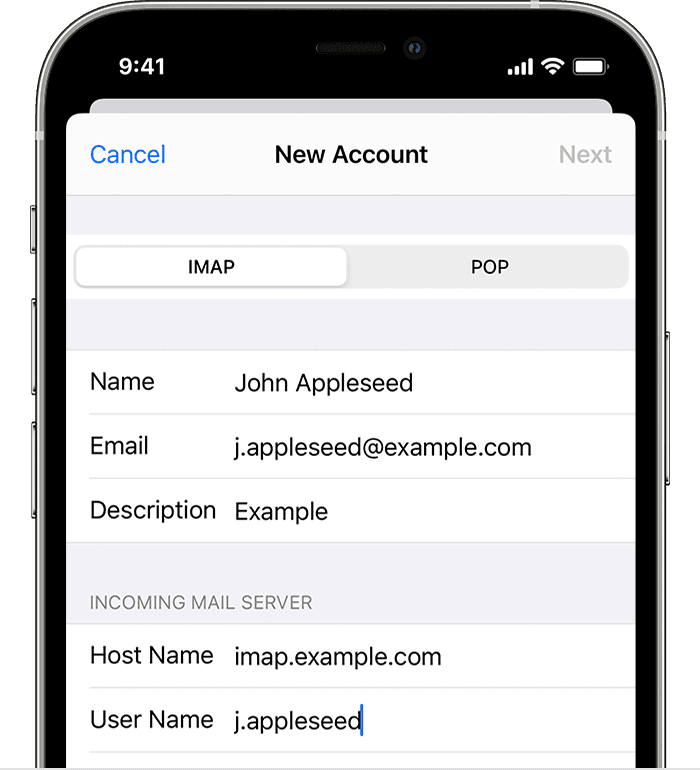
- Verify the incoming and outgoing server settings.
- Ensure the server addresses, port numbers, and security settings are correct.
- Update the settings if necessary.
- Remove and Re-add Email Account
- Go to the email app’s Settings.
- Select your email account.

- Tap on Remove Account or Delete Account.
- Confirm the removal.
- Restart the device.
- Add the email account again by going to the email app’s Settings and selecting Add Account.
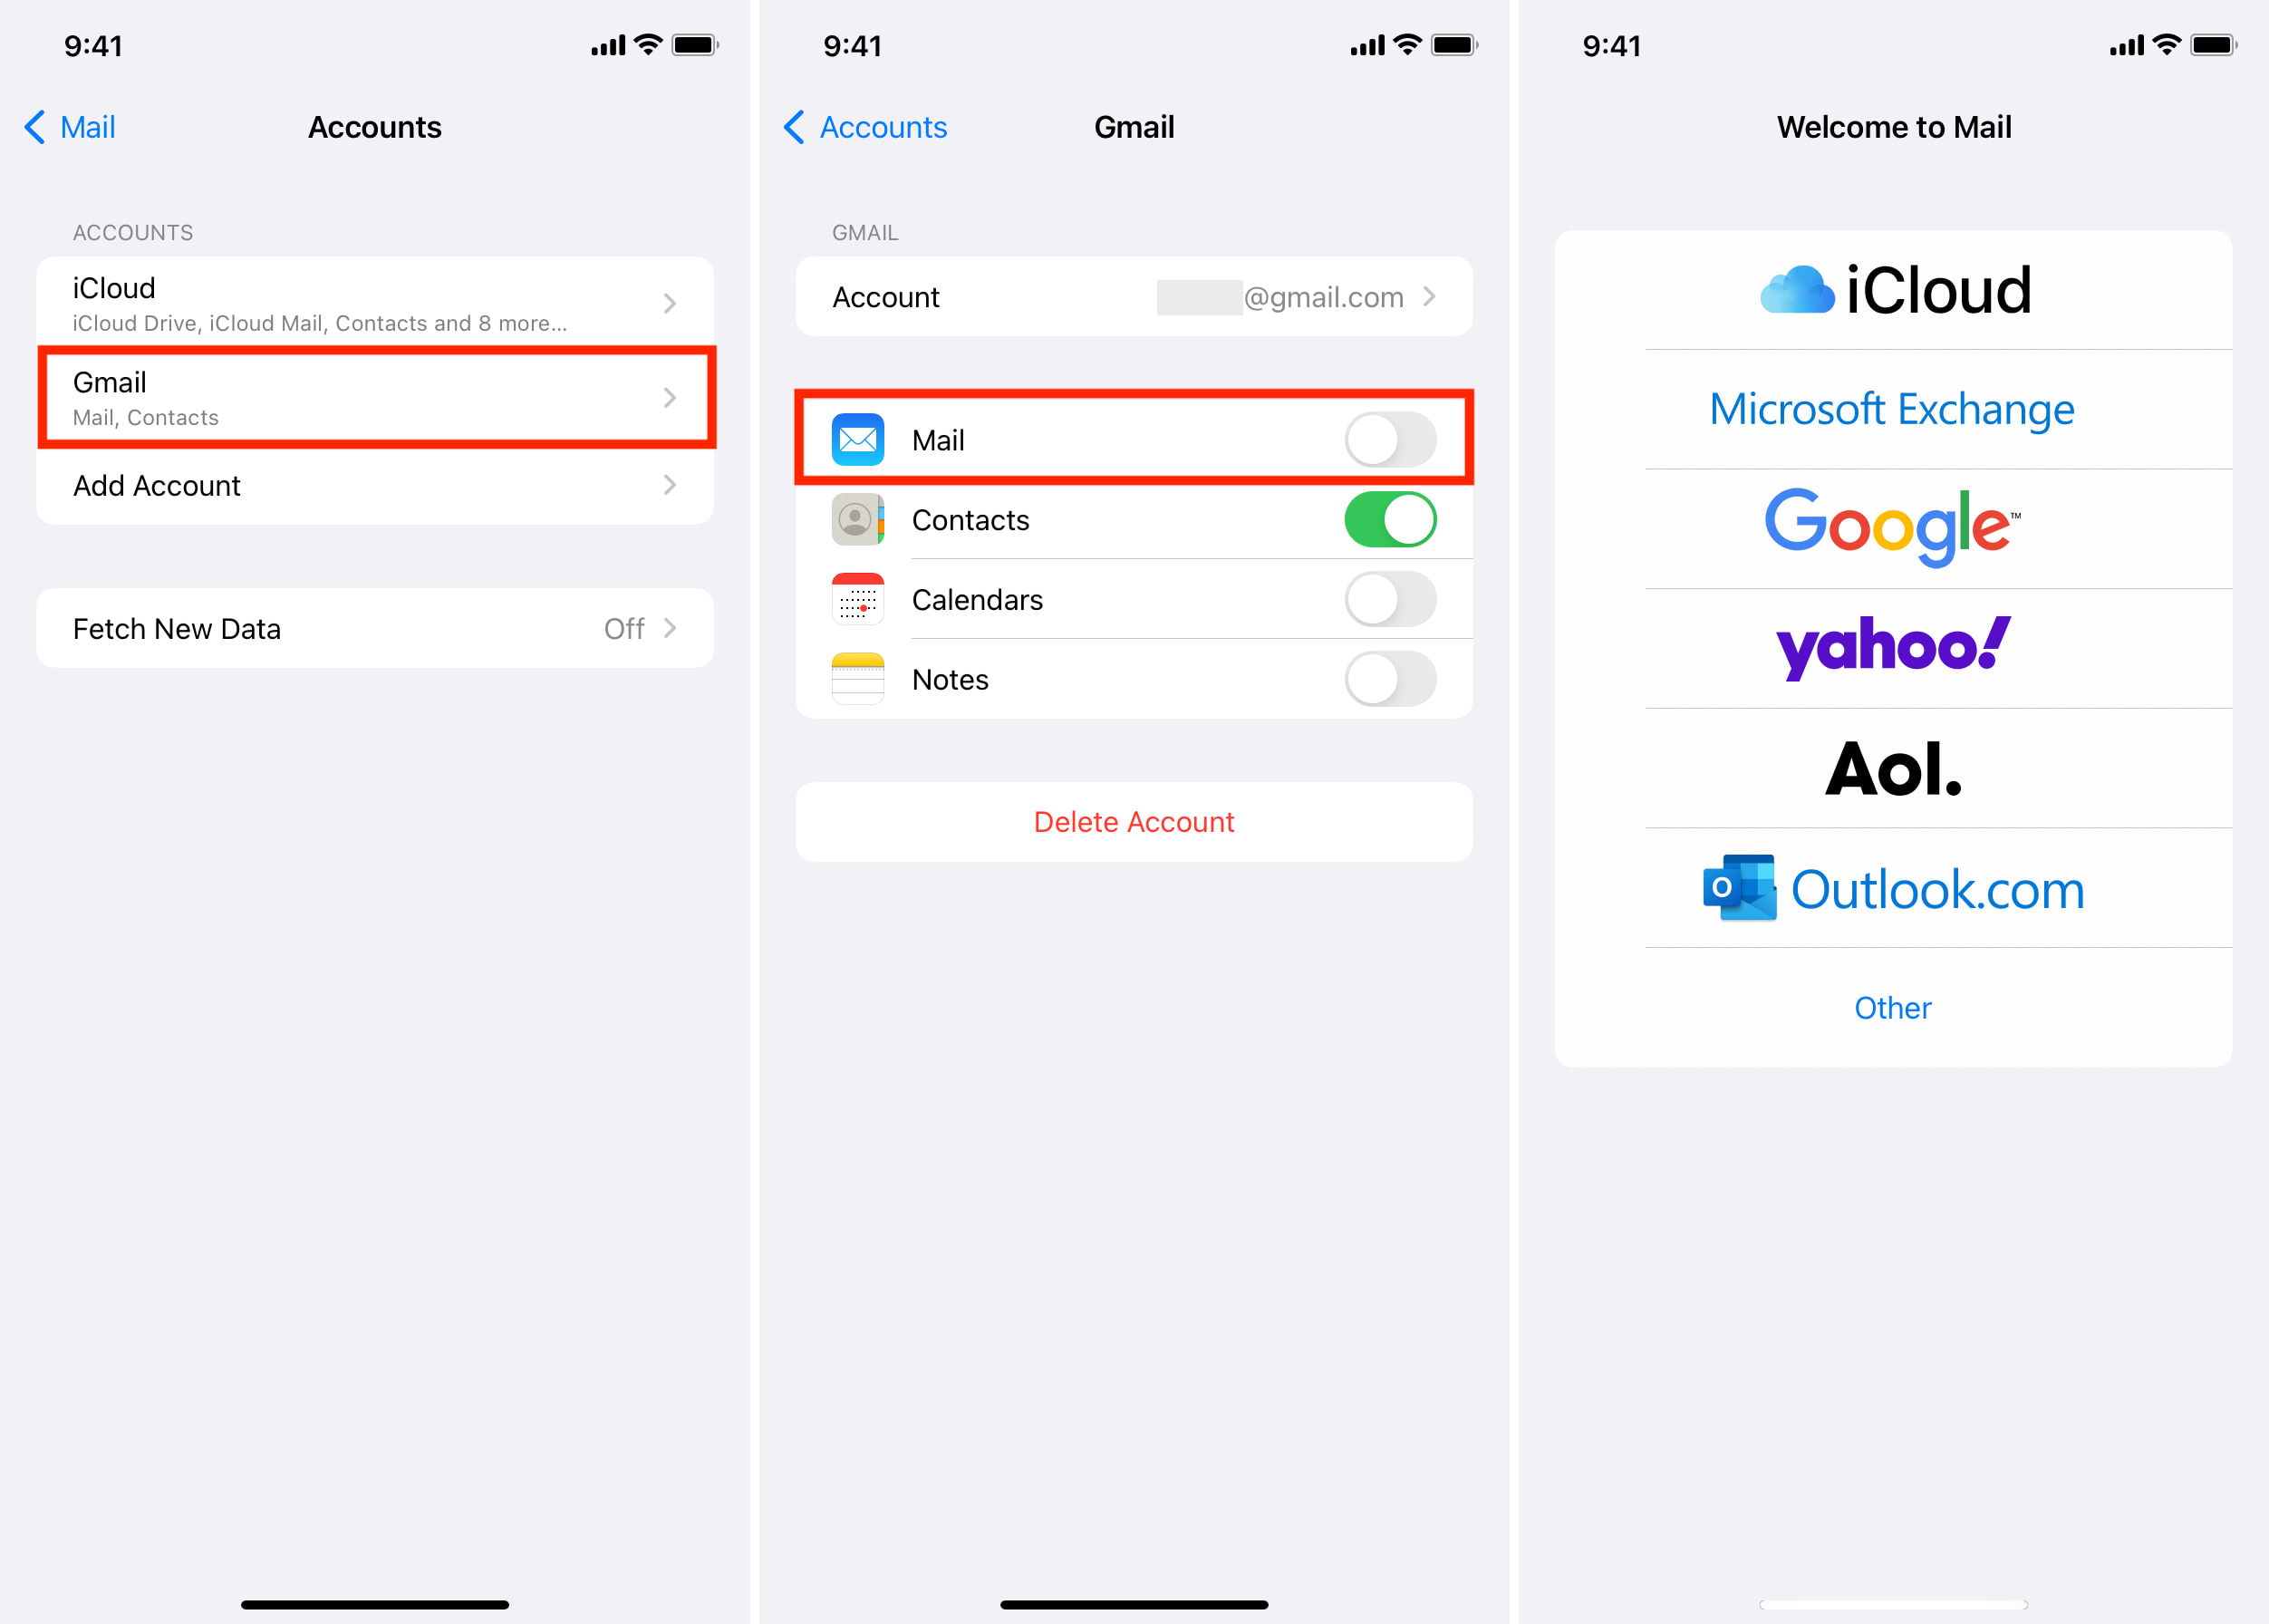
- Enter the necessary account information and follow the prompts.
- Disable Battery Optimization
- Open the Settings on your Android device.
- Select Battery or Battery & Performance.
- Tap on Battery Optimization or Battery Optimization Settings.
- Find your email app and select it.
- Choose Don’t Optimize or Disable Optimization.
- Restart the device.
- Check for Software Updates
- Go to the Settings on your Android device.
- Select System, About Phone, or Software Update.
- Check for any available updates.
- If updates are available, download and install them.
- Restart the device.
- Try Another Email App
- If the issue persists, consider using a different email app from the Google Play Store.
- Install the alternative email app.
- Set up your email account on the new app and check if the problem is resolved.
Resolving Email Sync Problems on Android
Having trouble with email sync on your Android device? Here are some quick and easy steps to resolve the issue:
1. Double-check your email settings: Make sure your email provider, username, and password are entered correctly.
2. Clear cache and data: Go to Settings > Apps > Email > Storage. Tap on “Clear cache” and “Clear data” to remove any corrupted files.
3. Restart your device: Sometimes a simple restart can fix the problem.
4. Check your internet connection: Ensure you have a stable internet connection to sync your emails.
5. Update your email app: Visit the Google Play Store and check for any available updates for your email app.
If you’re still experiencing issues, reach out to your email provider for further assistance.
Fixing Email Sending Failed on Android
To fix email sending failed on Android, follow these steps:
1. Check your internet connection and make sure it’s stable.
2. Verify that you have entered the correct email address and password.
3. Clear the cache and data of your email app.
4. Restart your Android phone.
5. Update your email app to the latest version.
6. Disable any third-party apps that may interfere with email sending.
7. Check your email account settings for any misconfigurations.
8. If the issue persists, contact your email service provider for further assistance.
java

import javax.mail.*;

import javax.mail.internet.*;

import java.util.Properties;
public class EmailClient {
public static void main(String[] args) {
// Email configuration
String host = "your_email_host";
String port = "your_email_port";
String username = "your_email_username";
String password = "your_email_password";
// Email properties
Properties props = new Properties();
props.put("mail.smtp.host", host);
props.put("mail.smtp.port", port);
props.put("mail.smtp.auth", "true");
props.put("mail.smtp.starttls.enable", "true");
// Create session with authentication
Session session = Session.getInstance(props, new Authenticator() {
protected PasswordAuthentication getPasswordAuthentication() {
return new PasswordAuthentication(username, password);
}
});
try {
// Create a new message
Message message = new MimeMessage(session);
message.setFrom(new InternetAddress("[email protected]"));
message.setRecipients(Message.RecipientType.TO, InternetAddress.parse("[email protected]"));
message.setSubject("Testing Email");
message.setText("This is a test email sent from the JavaMail API.");
// Send the message
Transport.send(message);
System.out.println("Email sent successfully!");
} catch (MessagingException e) {
System.out.println("Failed to send email. Error: " + e.getMessage());
}
}
}
Please note that you need to replace the placeholders (`your_email_host`, `your_email_port`, `your_email_username`, `your_email_password`, `[email protected]`, and `[email protected]`) with appropriate values based on your email provider and credentials.
Optimizing Email App Performance on Android
To optimize the performance of the Email app on Android, follow these steps:
1. Clear the app cache and data: Go to Settings > Apps > Email > Storage > Clear cache/Clear data.
2. Update the app: Check for updates on the Google Play Store and install any available updates for the Email app.
3. Check your internet connection: Ensure you have a stable internet connection to send and receive emails.
4. Restart your device: Sometimes, a simple restart can resolve temporary issues with the app.
5. Disable unnecessary notifications: Go to Settings > Apps > Email > Notifications and disable any unnecessary notifications to improve app performance.
6. Remove and re-add your email account: Go to Settings > Accounts > Email and remove your email account. Then, add it back using the correct settings.
If the issue persists, consider contacting your email service provider for further assistance.