Ethernet Cable Plugged in But No Internet Access – Windows 10 Fixes
Troubleshooting network connectivity issues can be frustrating, especially when you find yourself in the perplexing situation of having an Ethernet cable plugged in but no internet access. In this article, we delve into the world of Windows 10 fixes, providing you with effective solutions to get your connection back up and running smoothly.
Troubleshooting Ethernet Connectivity Issues
If you’re experiencing Ethernet connectivity issues on your Windows 10 PC, here are some potential fixes to get you back online:
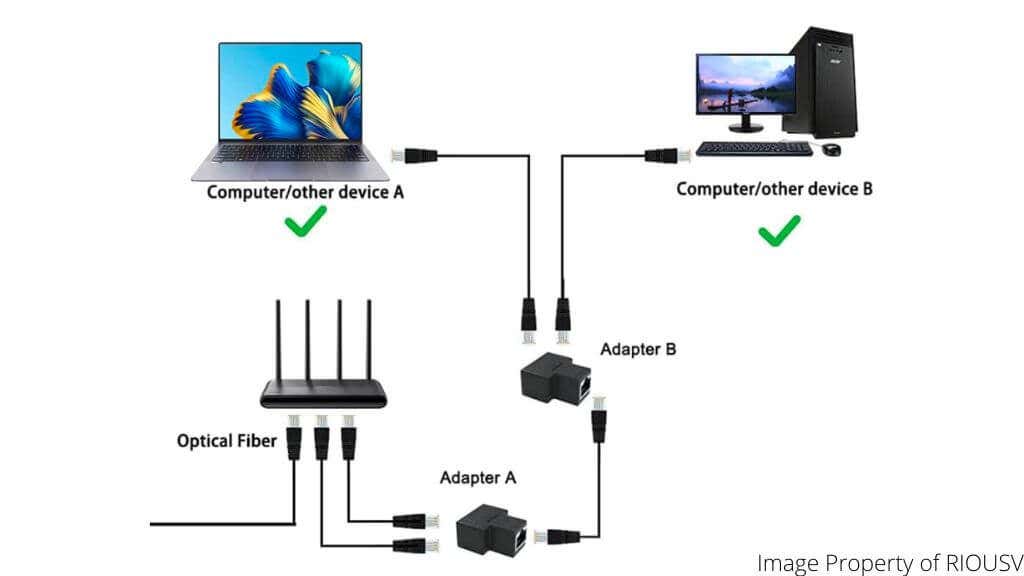
1. Check the physical connections: Ensure that your Ethernet cable is properly plugged into both the computer’s Ethernet port and the router’s LAN port. If it’s not securely connected, you may encounter connectivity problems.
2. Restart your devices: Sometimes a simple restart can resolve network issues. Restart your computer, router, and modem to refresh the network connections.
3. Update network drivers: Outdated or incompatible network drivers can cause connectivity problems. Update your Ethernet adapter drivers by going to the manufacturer’s website or using Windows Update.
4. Reset network settings: Resetting your network settings can help resolve software issues. Go to “Settings” > “Network & Internet” > “Status” > “Network Reset” and follow the on-screen instructions.
5. Disable security software: Temporarily disable any firewall or antivirus software that may be blocking your network connection. If the issue is resolved, adjust the security settings or contact the software vendor for further assistance.
Remember, these steps are general troubleshooting suggestions and may not fix every situation. If you continue to experience problems, contact your internet service provider (ISP) or seek further technical support.
Checking Ethernet Cables and Ports
- Inspect the Ethernet cable for any visible damage or loose connections:
- Check both ends of the cable to ensure they are securely plugged into the computer’s Ethernet port and the router or modem.

- Look for any signs of physical damage such as frayed wires or bent pins.
- Try using a different Ethernet cable:
- If the current cable appears to be damaged, replace it with a new one.
- Ensure that the replacement cable is compatible with your network setup.
- Test the Ethernet port on your computer:
- Plug the Ethernet cable into a different port on your computer if available.
- If your computer has multiple Ethernet ports, try each one to determine if the issue is specific to a certain port.
- Check the Ethernet port on the router or modem:
- Verify that the Ethernet cable is firmly plugged into the correct port on the router or modem.
- If possible, try connecting the cable to a different port on the router or modem.
- Restart your router and modem:
- Unplug the power cables from both the router and modem.
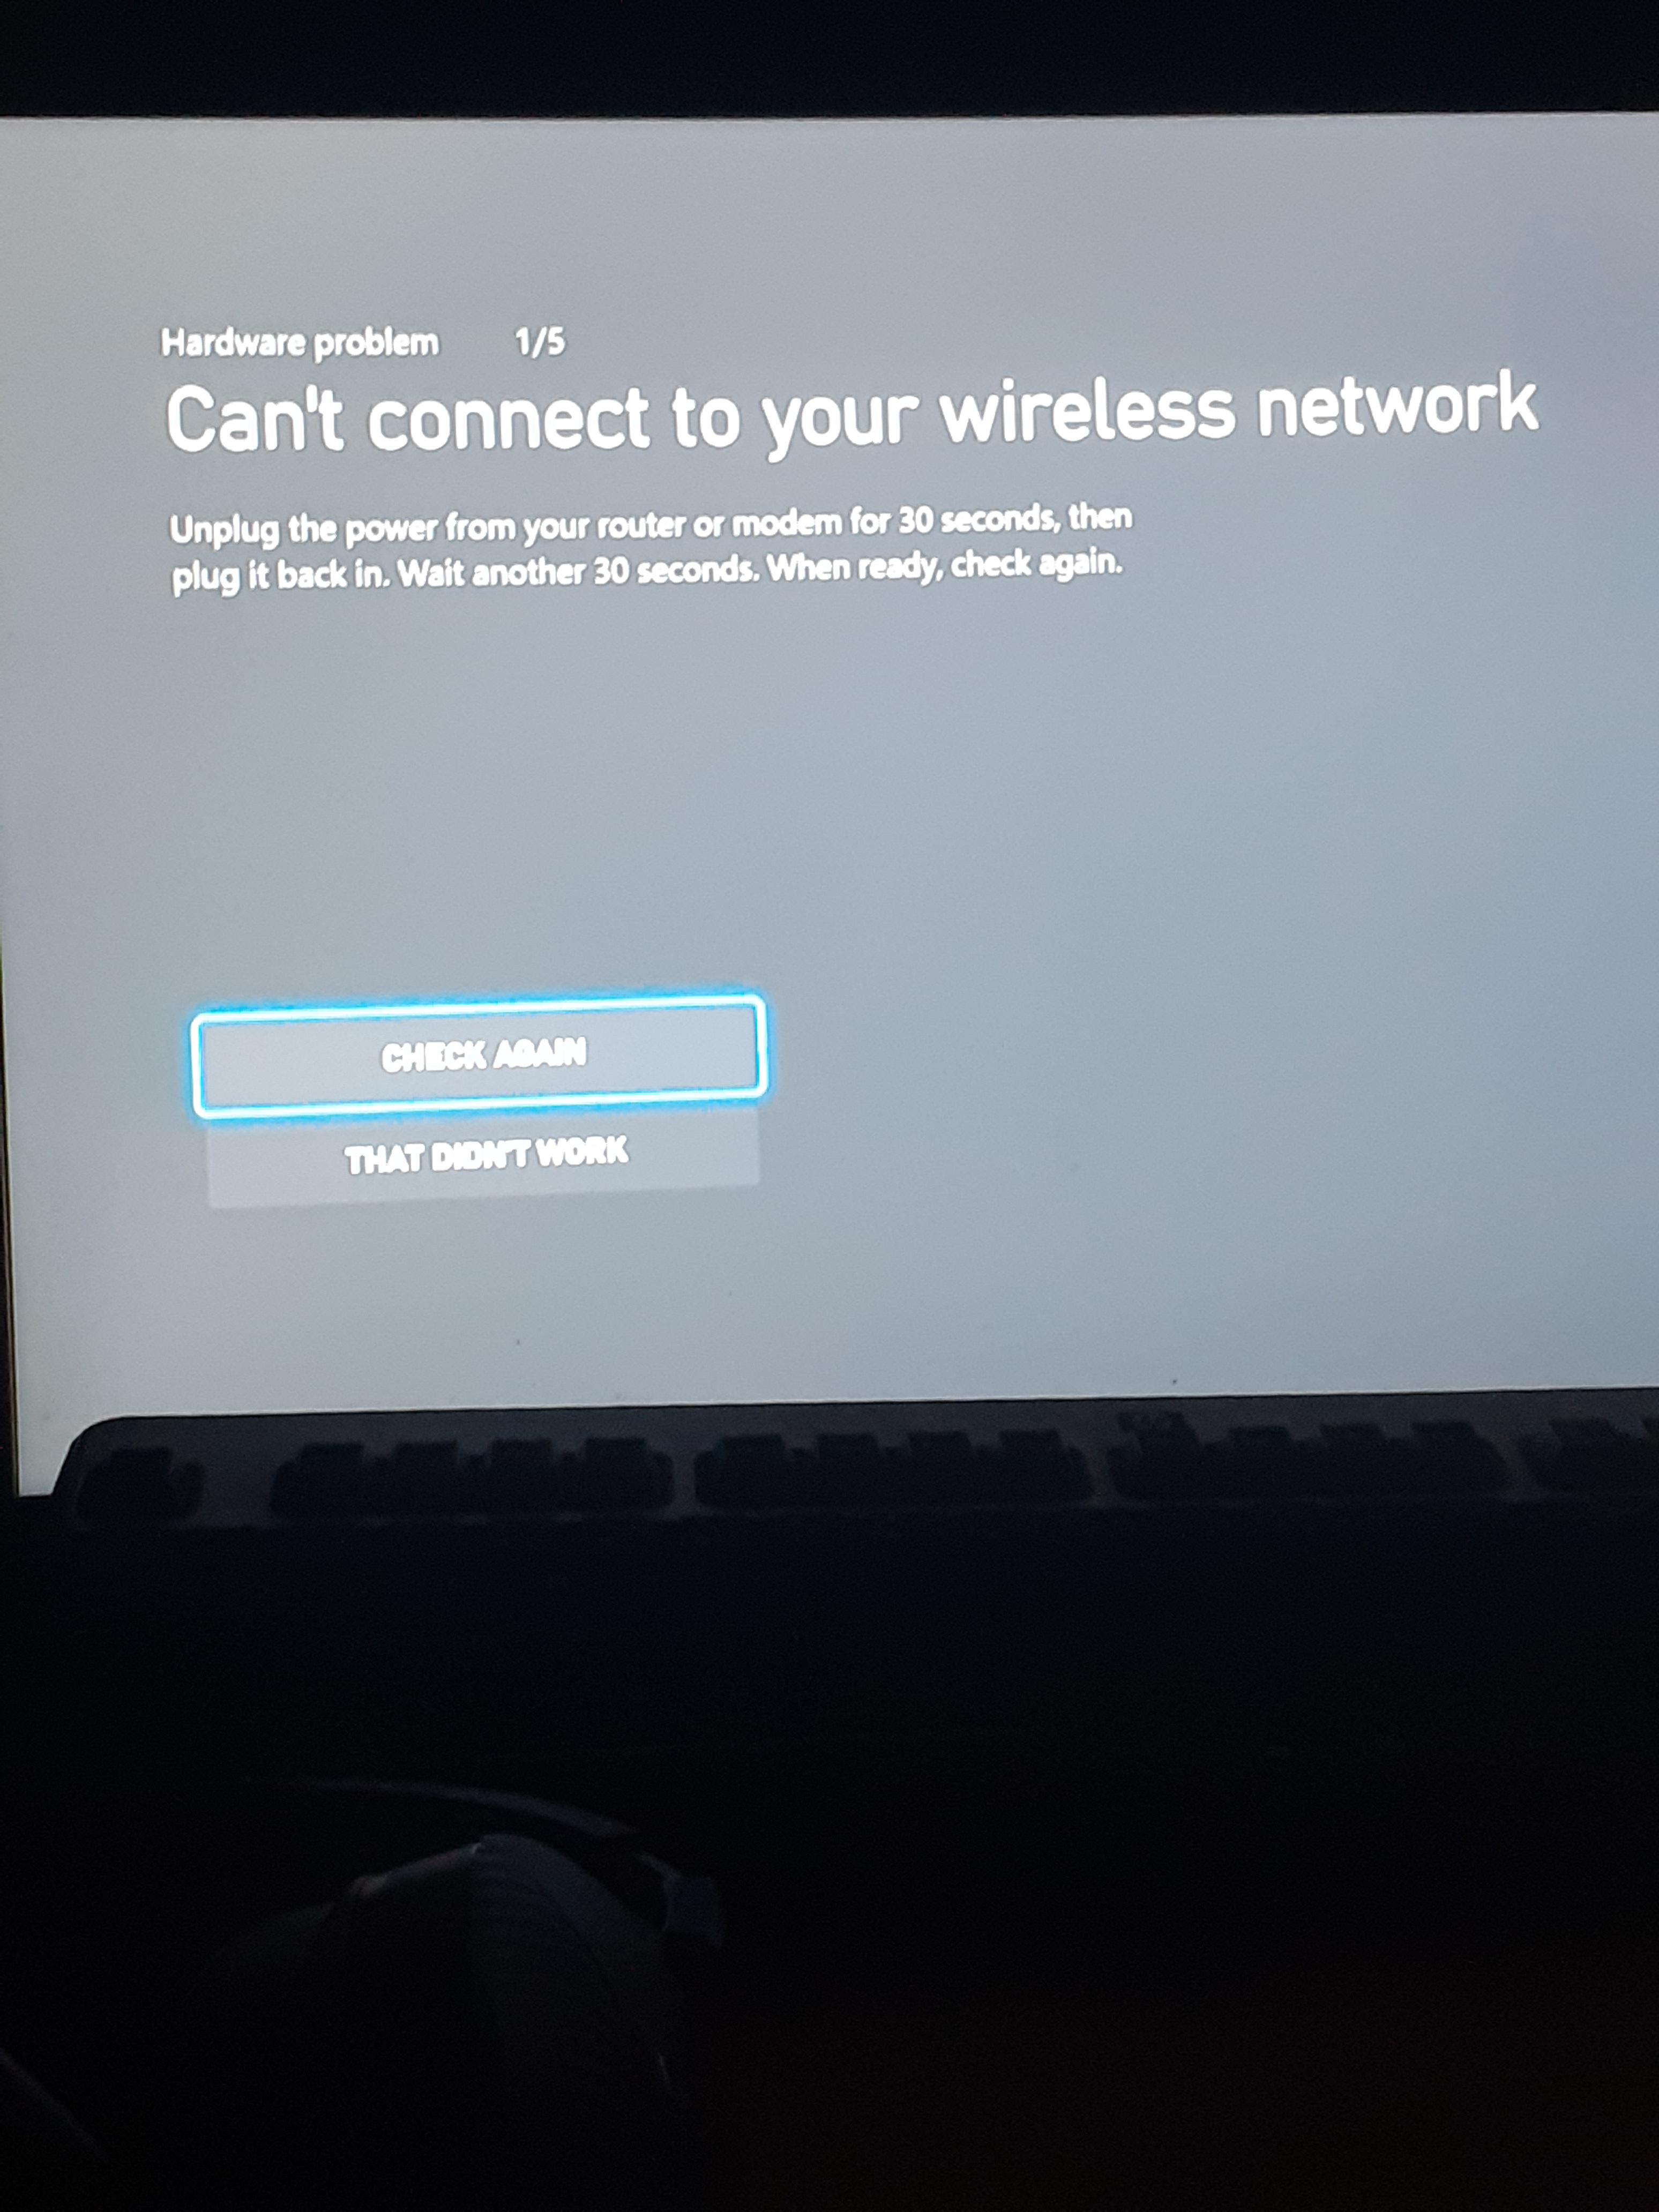
- Wait for about 30 seconds before plugging them back in.
- Allow the devices to fully reboot before testing the internet connection again.
Restarting the Router or Modem
If you’re experiencing internet connectivity issues despite having your Ethernet cable plugged in, restarting your router or modem can often resolve the problem. Here’s how to do it:
1. Locate your router or modem. It is typically a small box with antennas or cables attached to it.
2. Find the power cord and unplug it from the back of the device. If your modem has a backup battery, remove that as well.
3. Wait for about 10 seconds, then plug the power cord back in. If you removed the battery, reinsert it.
4. Give the router or modem a few minutes to fully restart. During this time, the lights on the device may blink or flash.
5. Once the device has restarted, check if your internet connection has been restored.
If restarting the router or modem did not solve the issue, there may be other factors at play. It could be a problem with your Ethernet adapter, network connections, or even your ISP. In such cases, it may be helpful to reach out to technical support or explore other troubleshooting solutions.
python

import urllib.request
def check_internet_connection():
try:
urllib.request.urlopen('http://www.google.com', timeout=1)
print("Internet connection is available.")
except urllib.error.URLError:
print("No internet connection.")
check_internet_connection()
The code above uses the `urllib.request` module in Python to open a connection to a website (in this case, `http://www.google.com`) with a timeout of 1 second. If the connection is successful, it prints “Internet connection is available.” If there is no internet connection or the connection times out, it prints “No internet connection.”
Please keep in mind that this code snippet only checks the availability of an internet connection. It does not specifically identify whether an Ethernet cable is connected or not.
Enabling Ethernet on Your Computer
If you’re experiencing Ethernet connection problems on your Windows 10 PC, we’ve got some quick fixes to help you get back online.
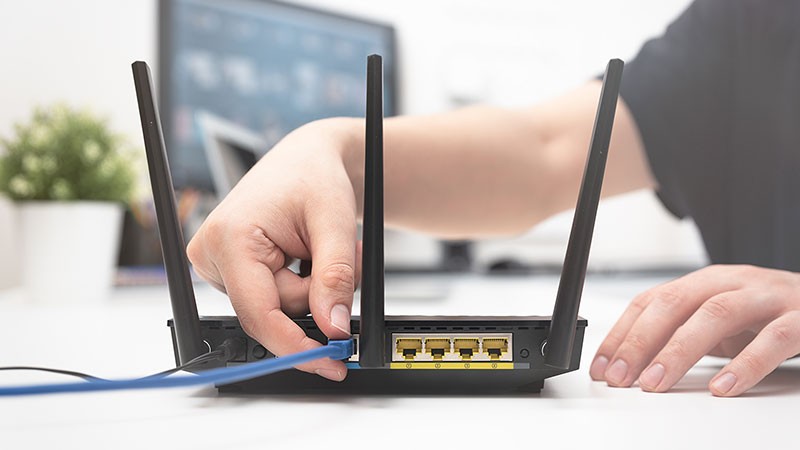
First, make sure your Ethernet cable is properly plugged into your computer’s LAN port and the home router. If the cable is not properly plugged in, you may see the “Ethernet cable unplugged” message or have no internet access.
To enable Ethernet on your computer:
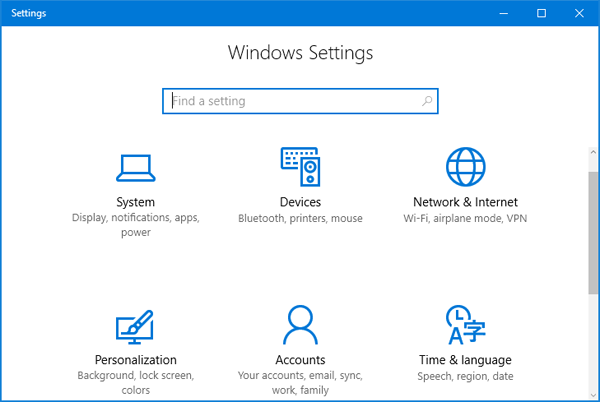
1. Open the Start menu and click on the Settings icon.
2. In the Settings window, select “Network & Internet.”
3. Click on “Ethernet” in the left-hand menu.
4. Under “Ethernet,” toggle the switch to turn it on.
If you’re still experiencing internet issues, try these additional steps:
1. Restart your computer and the home router.
2. Check for any software issues that may be causing connectivity problems.
3. Update your network drivers.
4. Temporarily disable any security software that may be blocking your connection.
By following these steps, you should be able to fix unidentified network issues and get your Ethernet connection up and running again.
Running Network Troubleshooter on Windows
To troubleshoot network issues on Windows 10, you can use the Network Troubleshooter tool. Here’s how:
1. Right-click on the network icon in the system tray, usually located in the bottom right corner of the screen.
2. Select “Troubleshoot problems” from the options menu.
3. The Network Troubleshooter will open and automatically start diagnosing and repairing common network issues.
4. Follow the prompts and instructions provided by the troubleshooter to fix any detected problems.
If the troubleshooter is unable to resolve the issue, here are a few additional steps you can try:
– Check if the Ethernet cable is properly plugged in. If not, ensure it is securely connected.
– Restart your router and modem.
– Update your network adapter drivers.
– Reset your network settings by typing “network reset” in the Windows search bar and selecting the “Network reset” option.
Remember to give each step some time to complete before moving on to the next one. Hopefully, these steps will help resolve your Ethernet connection issues and restore your internet access.
Troubleshooting Wi-Fi and Ethernet Connection Issues
If you are experiencing issues with your Ethernet connection on Windows 10, there are several fixes you can try.
First, make sure the Ethernet cable is properly plugged into both your computer and the router. If the cable is loose or not properly connected, you may encounter internet access problems.
Next, check if the Wi-Fi is enabled on your device. Sometimes, the Wi-Fi connection can interfere with the Ethernet connection, causing issues. Disable the Wi-Fi and see if that resolves the problem.
If the issue persists, try resetting your network settings. Open the Command Prompt as an administrator and type “netsh winsock reset“. This will reset your network settings and may fix any underlying issues.
If none of these solutions work, consider updating your network adapter driver. Go to the manufacturer’s website and download the latest driver for your network adapter. Install it and restart your computer.
By following these steps, you should be able to troubleshoot and resolve Ethernet connection issues on your Windows 10 device.
Solutions for Connected but No Internet Issue
If you are experiencing the issue of having your Ethernet cable plugged in but no internet access on your Windows 10 device, here are some solutions to help you get connected again.
First, make sure that your Ethernet cable is securely plugged into your device and the router. Additionally, check if the cable is not damaged or broken.
Next, try resetting your network adapter. To do this, press the Windows key + X and select “Device Manager.” Expand the “Network adapters” section, right-click on your Ethernet adapter, and select “Uninstall device.” Restart your device, and Windows will automatically reinstall the driver.
If the issue persists, you can try resetting your TCP/IP settings. Open the Command Prompt as an administrator and type the following command: netsh int ip reset. Restart your device to apply the changes.
If you are still encountering problems, check your network configuration settings. Go to the Control Panel, select “Network and Internet,” and then click on “Network and Sharing Center.” From there, click on “Change adapter settings,” right-click on your Ethernet connection, and select “Properties.” Make sure that the “Internet Protocol Version 4 (TCP/IPv4)” is checked and click on “Properties” to ensure that the settings are correct for your network.
In some cases, disabling any VPN or security software can resolve the issue. You can also try updating your network drivers by going to the manufacturer’s website and downloading the latest drivers for your device.
By following these steps, you should be able to resolve the issue of having your Ethernet cable plugged in but no internet access on your Windows 10 device.
Easy Ways to Fix Ethernet Problems
- Inspect the Ethernet cable for any visible damage or loose connections.
- If there are any issues, replace the Ethernet cable with a new one.
Method 2: Restart Router and Modem
- Power off the router and modem by unplugging them from the power source.
- Wait for about 30 seconds before plugging them back in.
- Allow the devices to fully restart and establish a connection.
Method 3: Update Network Adapter Driver
- Open Device Manager by pressing Win + X and selecting Device Manager.
- Expand the Network adapters category.
- Right-click on the network adapter and select Update driver.
- Choose the option to search automatically for updated driver software.
- Follow the on-screen instructions to complete the driver update process.
Method 4: Run Network Troubleshooter
- Open the Settings app by pressing Win + I.
- Select Network & Internet.
- Click on Network troubleshooter and follow the prompts to diagnose and fix any network issues.
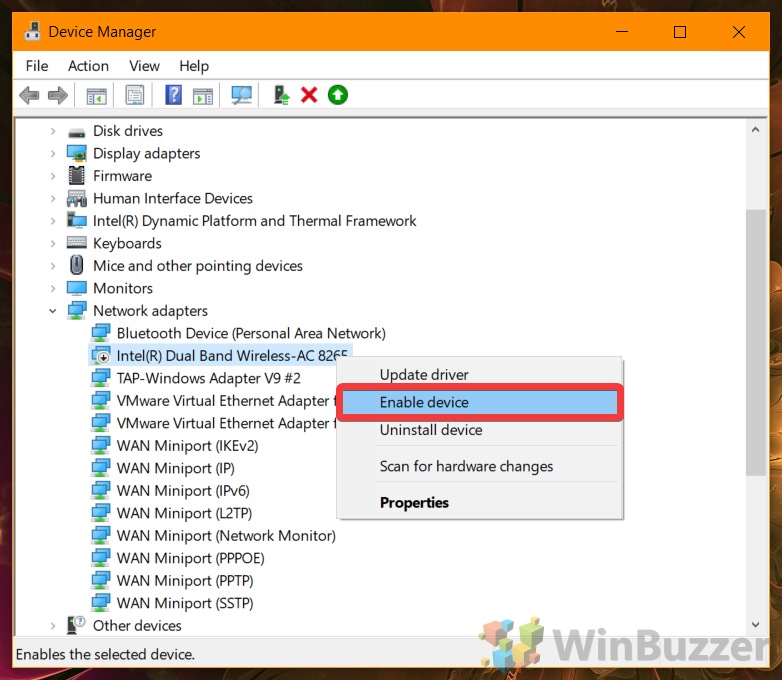
Method 5: Disable and Enable Network Adapter
- Open Device Manager by pressing Win + X and selecting Device Manager.
- Expand the Network adapters category.
- Right-click on the network adapter and select Disable device.
- Wait for a few seconds and then right-click on the network adapter again and select Enable device.
Method 6: Reset TCP/IP Stack
- Open Command Prompt as administrator by pressing Win + X and selecting Command Prompt (Admin).
- Type the command netsh int ip reset and press Enter.
- Wait for the process to complete and then restart your computer.
Checking for Loose or Damaged Ethernet Cables
Checking for Loose or Damaged Ethernet Cables
In this article, we will discuss how to troubleshoot and fix the issue of having an Ethernet cable plugged in but no internet access on Windows 10. One of the common causes for this problem is loose or damaged Ethernet cables. Follow the steps below to check for loose or damaged cables:
| Step | Description |
|---|---|
| Step 1 | Inspect the Ethernet cable connections at both ends (router/modem and computer). |
| Step 2 | Ensure that the Ethernet cable is securely plugged into the Ethernet port of the router/modem and the computer. |
| Step 3 | If the cable seems loose, try unplugging it and plugging it back in firmly. |
| Step 4 | Check for any visible damage on the Ethernet cable, such as cuts or frayed wires. |
| Step 5 | If you notice any damage, consider replacing the Ethernet cable with a new one. |
By following these steps, you can ensure that your Ethernet cables are properly connected and not causing any connectivity issues.
Bottomline: Seeking Additional Help and Options
If you’ve tried troubleshooting your Ethernet cable connection in Windows 10 and still have no internet access, there are a few additional options you can explore.
First, ensure that your Ethernet cable is properly plugged into both your computer and the router. If it’s not securely connected, you may experience internet connectivity issues.
Next, check the status of your network adapter. Open the Device Manager and locate your network adapter. If there is a yellow exclamation mark or a red “X” next to it, right-click on the adapter and select “Update driver” to ensure you have the latest software.
If the issue persists, try resetting your network settings. Open the Command Prompt as an administrator and type “netsh winsock reset” followed by “netsh int ip reset“. Restart your computer to apply the changes.
If all else fails, consider reaching out to Microsoft Support or consulting online forums for further assistance. Sometimes, seeking additional help from professionals or the community can provide valuable insights and solutions.