How to Fix Kindle Not Connecting to Laptop
Having trouble connecting your Kindle to your laptop? Look no further. In this guide, I will walk you through the steps to fix the issue and get your Kindle connected in no time.
Troubleshooting Kindle Recognition Issues
If you’re experiencing issues with your Kindle not connecting to your laptop, there are a few troubleshooting steps you can try to resolve the problem.
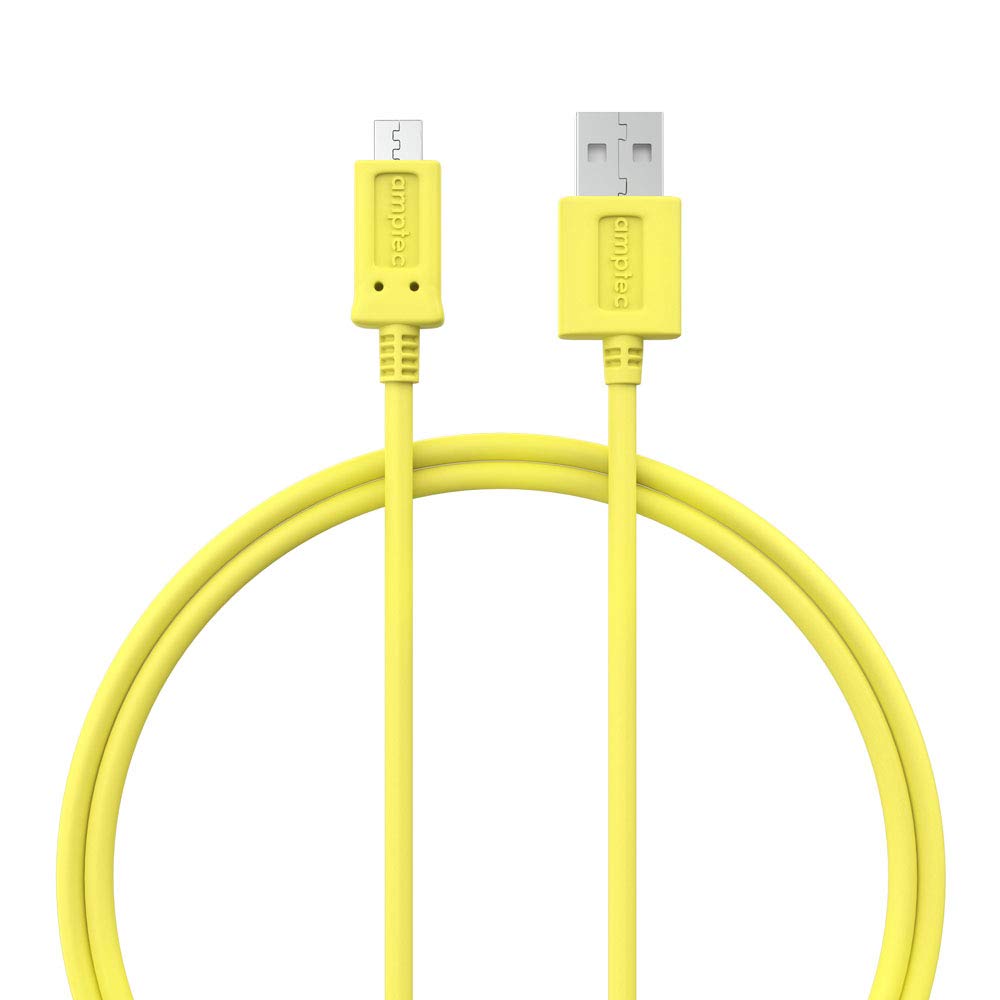
1. Check the USB connection: Ensure that the USB cable is securely connected to both your Kindle device and your laptop. Try using a different USB cable or port to see if that resolves the issue.
2. Restart your devices: Sometimes a simple restart can fix connectivity problems. Restart both your Kindle device and your laptop, then try connecting them again.
3. Update device drivers: Outdated or incompatible device drivers can cause recognition issues. To update your device drivers, follow these steps:
a. Press the Windows key + X on your keyboard and select “Device Manager” from the context menu.
b. Expand the “Portable Devices” or “Kindle” category and right-click on your Kindle device.
c. Select “Update driver” from the drop-down list and follow the on-screen instructions to update the driver.
4. Check USB settings: Make sure your Kindle device is set to use the appropriate USB mode for file transfer. To do this:
a. On your Kindle device, go to “Settings” and select “Device Options”.
b. Tap on “USB Mode” and choose either “Media Transfer Protocol (MTP)” or “USB mass storage device class (MSC)”.
c. Connect your Kindle device to your laptop again and see if it is recognized.
5. Disable USB selective suspend: USB selective suspend can sometimes interfere with device recognition. To disable it, follow these steps:
a. Open the Control Panel on your Windows laptop.
b. Click on “Power Options” and select “Change plan settings” next to your current power plan.
c. Click on “Change advanced power settings” and expand the “USB settings” category.
d. Set both “USB selective suspend setting” options to “Disabled” and click “OK”.
6. Reset your Kindle device: If none of the above steps work, you can try performing a factory reset on your Kindle device. Keep in mind that this will erase all your personal data and settings, so make sure to back up any important files before proceeding.
If you’re still experiencing issues with your Kindle not connecting to your laptop, it may be helpful to reach out to Kindle support for further assistance.
Trying Different Ports and Cables
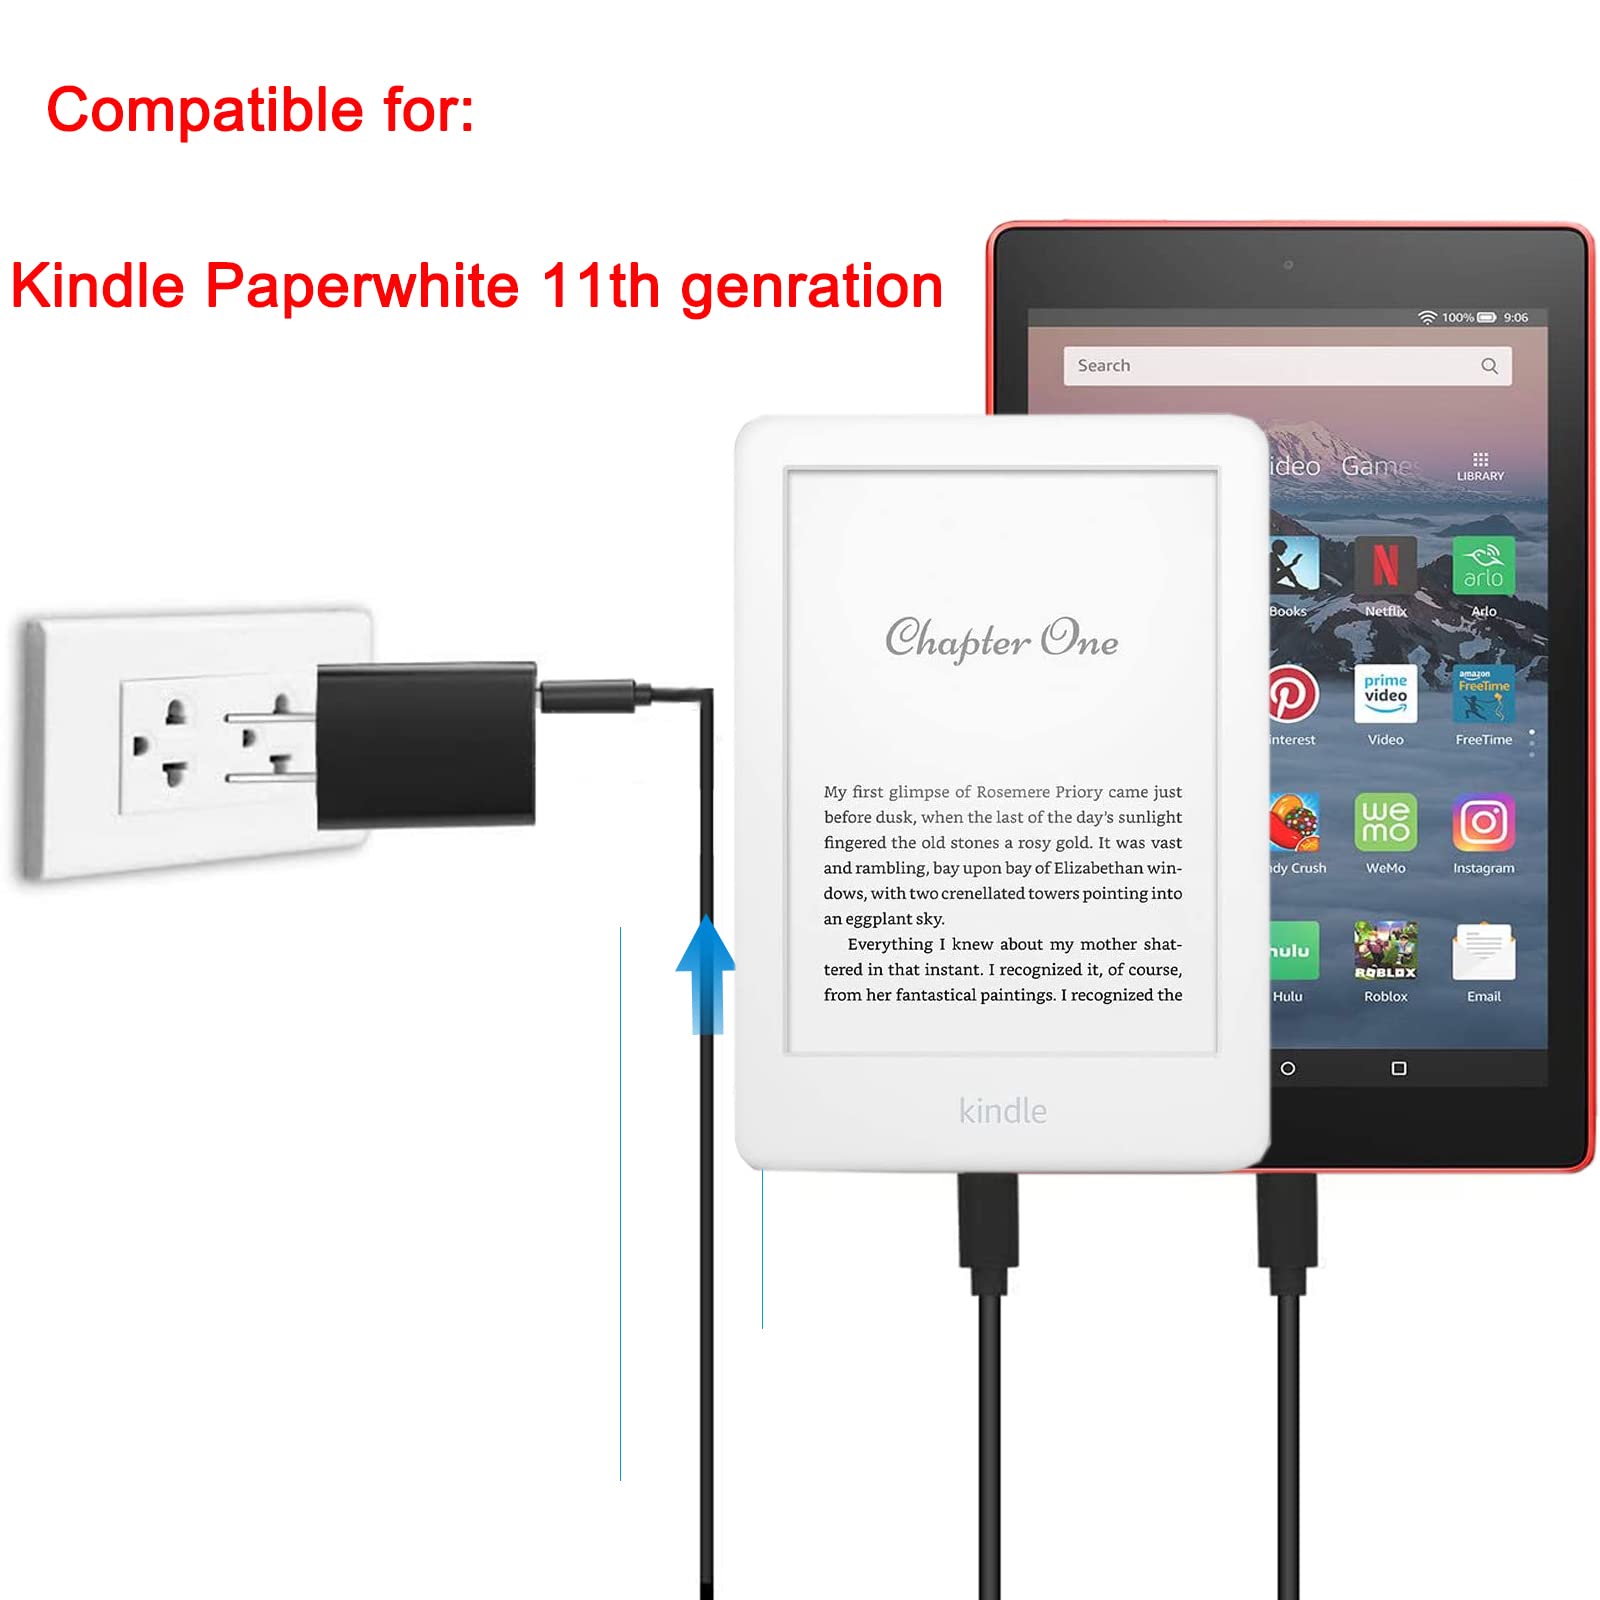
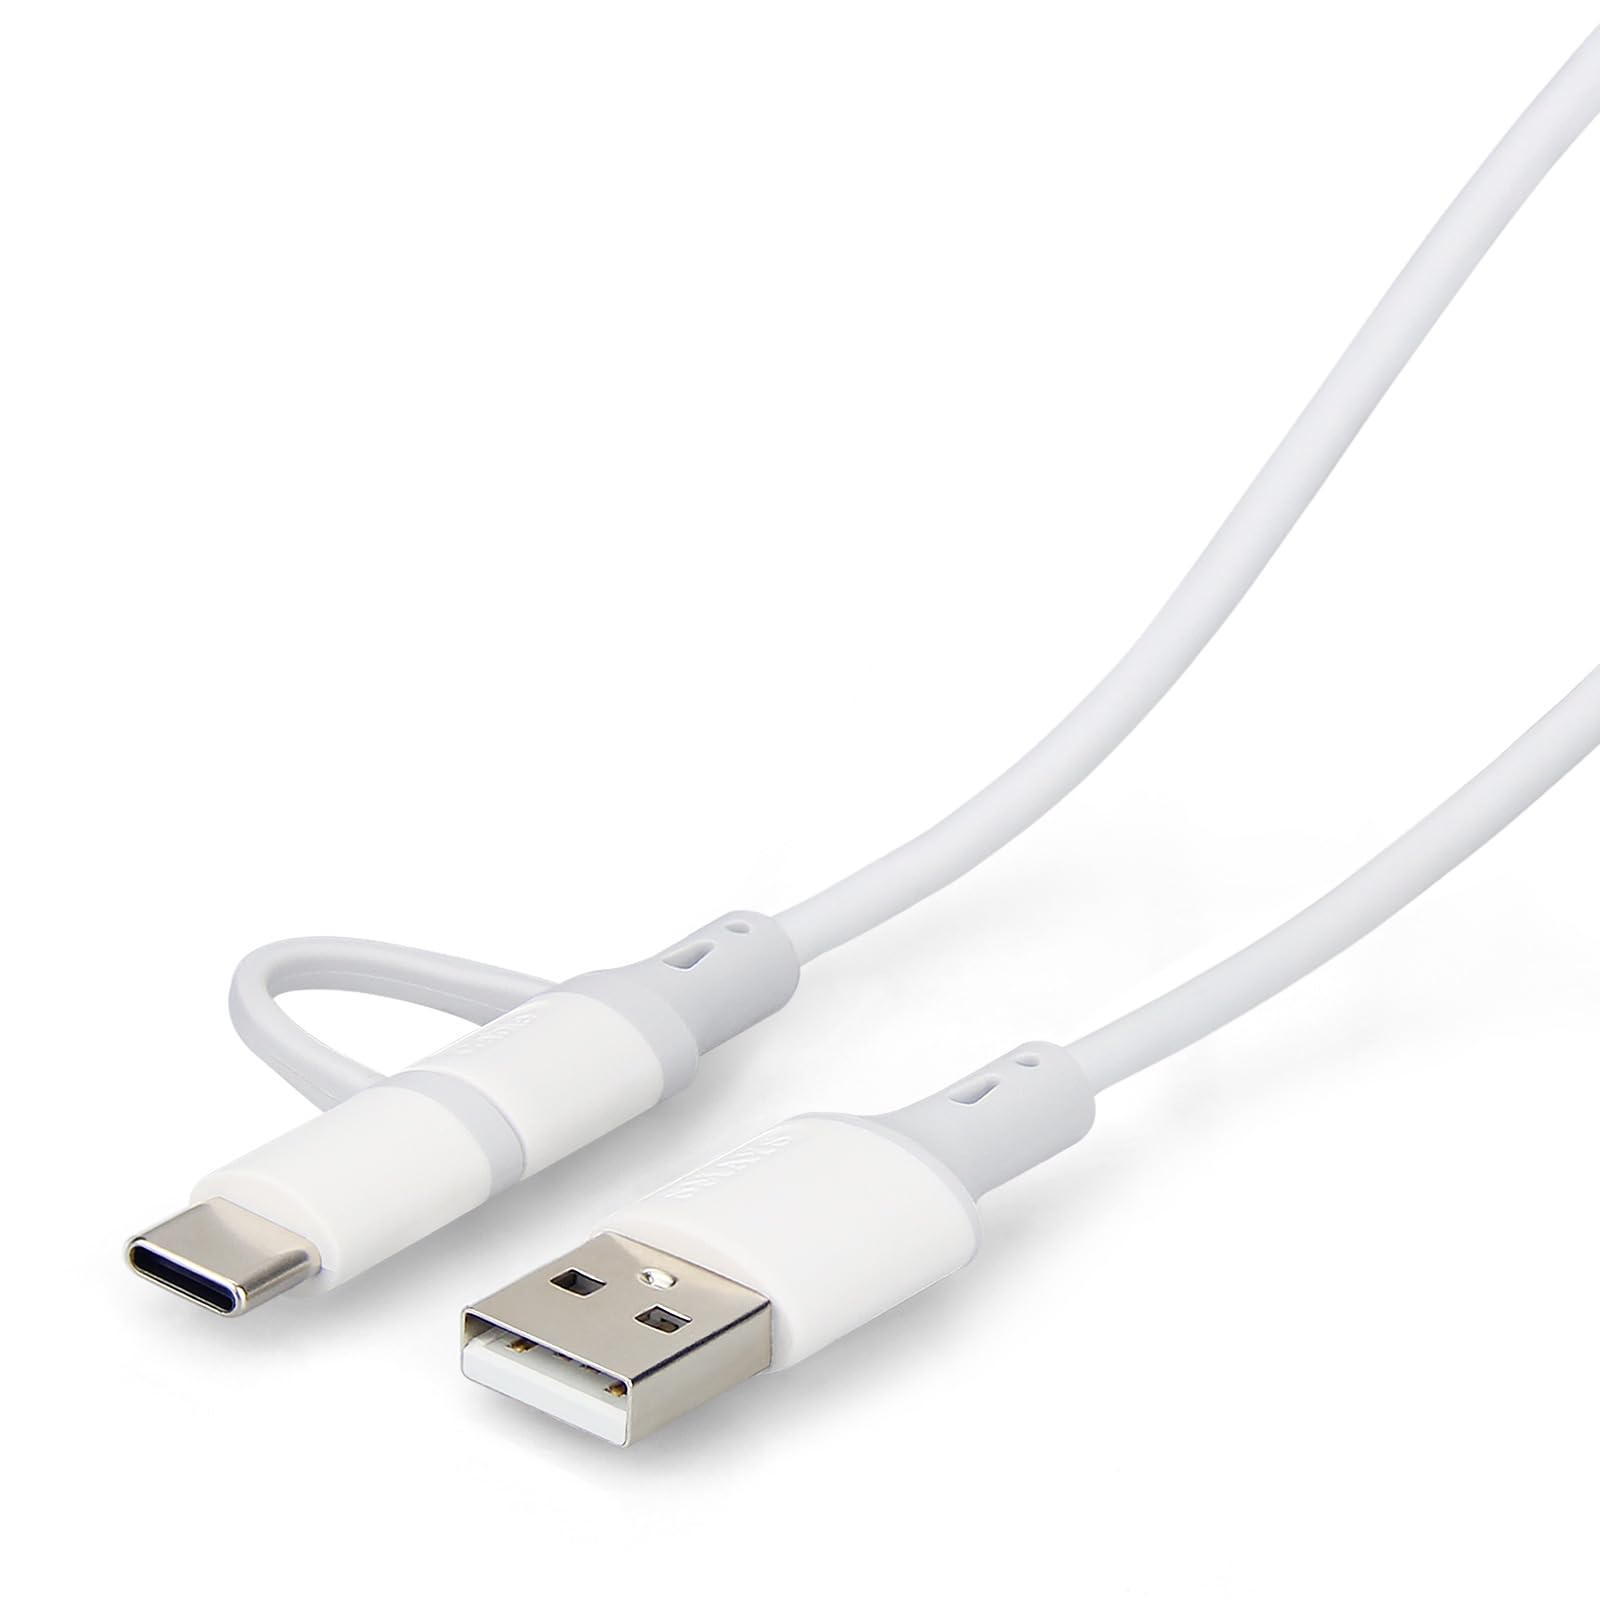
First, make sure you are using a compatible cable for connecting your Kindle to your laptop. The cable should be in good condition and capable of data transfer.
Next, try connecting your Kindle to different USB ports on your laptop. Sometimes, certain ports may not be functioning properly, so trying a different port can help establish a connection.
If you are using a USB hub or extension cable, try connecting your Kindle directly to your laptop without using these additional accessories. Sometimes, these accessories can interfere with the connection.
When connecting your Kindle to your laptop, make sure you are using the correct USB mode. On your Kindle, go to Settings > Device Options > USB Connection and select the appropriate mode for your needs. For example, if you want to transfer files between your Kindle and laptop, select “File Transfer” mode.
Restart both your Kindle and laptop. Sometimes, a simple restart can resolve connectivity issues.
If you are using Windows 10, try updating your Kindle drivers. Go to Device Manager, locate your Kindle device, right-click on it, and select “Update driver.” This will ensure that you have the latest drivers installed for your Kindle.
If none of these steps help, consider checking for software updates for your Kindle and laptop. Keeping both devices up to date can often resolve compatibility issues.
If you are still unable to connect your Kindle to your laptop, you may need to consider a factory reset of your Kindle. This should be done as a last resort, as it will erase all your data and settings on the Kindle. To perform a factory reset, go to Settings > Device Options > Reset to Factory Defaults.
Using a Different Computer
If you’re having trouble connecting your Kindle to your laptop, you may need to try using a different computer. Here are some steps to help you troubleshoot the issue:
1. Connect your Kindle to the new computer using a USB cable. Make sure the cable is in good condition and properly plugged in on both ends.
2. On the new computer, make sure you have the necessary drivers installed. If you’re using a Windows computer, it should automatically install the drivers when you connect the Kindle. If not, you may need to manually install them.
3. Once the drivers are installed, open the File Explorer on your computer. You should see your Kindle listed as a device under “This PC” or “My Computer.” If you don’t see it, try restarting your Kindle and reconnecting it to the computer.
4. Double-click on your Kindle to open it and access its files. You can now transfer files between your Kindle and the new computer.
5. If you’re still having trouble connecting, try using a different USB port on the computer. Sometimes, certain ports may have issues, so switching to a different one can help.
6. It’s also a good idea to check if your Kindle is set to the correct mode for file transfer. On your Kindle, go to Settings > Storage > USB computer connection. Make sure “File Transfer” or “Transfer files” is selected.
7. If you’re using a Mac computer, you may need to install a third-party software like Android File Transfer to connect your Kindle. You can download it from the official website and follow the instructions to install and use it.
Charging Kindle for an Extended Period
To charge your Kindle for an extended period, follow these steps:
1. Connect your Kindle to your laptop using a USB cable.
2. Make sure your Kindle is turned on and unlocked.
3. On your laptop, open the File Explorer or Finder.
4. Locate your Kindle device under “This PC” or “Devices” in the sidebar.
5. Right-click on your Kindle device and select “Eject” to safely disconnect it from your laptop.
6. Double-click on the Kindle device to open it.
7. Find the “documents” or “books” folder on your Kindle device.
8. Drag and drop the desired files from your laptop into the “documents” or “books” folder on your Kindle device.
9. Safely disconnect your Kindle from your laptop by right-clicking on it and selecting “Eject” again.
10. Unplug the USB cable from your Kindle and laptop.
Your Kindle should now be charged and ready to use.
Performing a Hard Reset
1. Press and hold the Power button on your Kindle for about 40 seconds.
2. Release the Power button once the device powers off.
3. Wait for a few seconds and then press the Power button again to turn on your Kindle.
4. Once your Kindle restarts, try connecting it to your laptop again.
If the hard reset didn’t fix the issue, you can try the following troubleshooting steps:
1. Ensure that your laptop is running on a stable power source and is not running on battery power.
2. Check if the USB cable you are using is properly connected to both your Kindle and laptop.
3. Try using a different USB cable or USB port on your laptop to see if that resolves the connection problem.
4. Make sure that your laptop is running on the latest version of the operating system, such as Windows 10, to ensure compatibility with your Kindle.
5. Restart your laptop and Kindle to refresh their connection.
6. Disable any antivirus or firewall software temporarily to see if they are blocking the connection.
7. If you have any other devices connected to your laptop, such as a smartphone or tablet, disconnect them and try connecting only your Kindle.
8. If you have any third-party software installed on your laptop, such as Calibre, try uninstalling it temporarily to see if it is causing the issue.
Connecting Kindle as a Camera or Using Calibre
Connecting your Kindle to your laptop is a simple process that allows you to transfer files and use your Kindle as a camera. If you’re experiencing issues with your Kindle not connecting to your laptop, follow these steps to troubleshoot and fix the problem.
First, ensure that your Kindle is powered on and unlocked. Then, connect your Kindle to your laptop using a USB cable. Your laptop should recognize the Kindle as a media device and automatically install the necessary drivers.
If your Kindle is not recognized by your laptop, try the following steps:
1. Restart your Kindle and laptop. Sometimes, a simple restart can resolve connection issues.
2. Check the USB cable and port. Ensure that the cable is not damaged and that it is securely plugged into both the Kindle and the laptop. Try using a different USB cable or port if available.
3. Update your Kindle’s software. Go to the Settings menu on your Kindle, select “Device Options,” and then “System Updates.” If an update is available, install it and restart your Kindle.
If your Kindle is still not connecting to your laptop, you can try using Calibre, a free software that allows you to manage your e-books. Calibre supports Kindle devices and can help you transfer files between your Kindle and laptop.
To use Calibre with your Kindle:
1. Download and install Calibre from the official website.
2. Connect your Kindle to your laptop using a USB cable.
3. Open Calibre and click on the “Add books” button. Select the e-books or files you want to transfer to your Kindle.
4. Click on the “Device” button in the toolbar and select your Kindle from the drop-down list.
5. Click on the “Send to device” button to transfer the selected files to your Kindle.
If you’re still unable to connect your Kindle to your laptop or transfer files using Calibre, it may be helpful to check for any software updates for your Kindle, as well as for your laptop’s operating system. Additionally, you can try connecting your Kindle to a different laptop or using a different USB cable to rule out any hardware issues.
Enabling ADB and Installing Kindle Driver
To enable ADB and install the Kindle driver on your laptop, follow these steps:
1. Connect your Kindle to your laptop using a USB cable.
2. On your Kindle device, go to Settings and tap on Device Options.
3. Scroll down and tap on Serial Number seven times to enable Developer Options.
4. Go back to the main Settings menu and tap on Developer Options.
5. Enable ADB by toggling the switch to the “ON” position.
6. On your laptop, open Device Manager by pressing the Windows key + X and selecting Device Manager from the menu.
7. Look for your Kindle device under Portable Devices or Other Devices in Device Manager.
8. Right-click on your Kindle device and select Update Driver Software.
9. Choose the option to browse for driver software on your computer.
10. Select “Let me pick from a list of device drivers on my computer.”
11. Click on Have Disk and browse to the location where the Kindle driver is saved (usually in the Kindle installation folder).
12. Select the Kindle driver and click Next to install it.
13. Wait for the installation to complete, then disconnect and reconnect your Kindle to your laptop.
Your Kindle should now be recognized by your laptop and you should be able to transfer files and manage your Kindle device using ADB.
Disabling USB Selective Suspend and Reinstalling Kindle or USB Controller Drivers
To fix the issue of Kindle not connecting to your laptop, you can try disabling USB Selective Suspend and reinstalling the Kindle or USB controller drivers. Here’s how:
1. Disable USB Selective Suspend:
– Press the Windows key + X on your keyboard and select “Device Manager” from the context menu.
– Expand the “Universal Serial Bus controllers” category.
– Right-click on each USB Root Hub and select “Properties”.
– In the Properties window, go to the “Power Management” tab.
– Uncheck the box that says “Allow the computer to turn off this device to save power”.
– Click “OK” to save the changes.
2. Reinstall Kindle or USB Controller Drivers:
– Open the Device Manager again as mentioned above.
– Locate your Kindle or USB controller in the list of devices.
– Right-click on it and select “Uninstall device”.
– Follow the on-screen instructions to complete the uninstallation.
– Once uninstalled, disconnect and reconnect your Kindle or USB device.
– Windows should automatically reinstall the drivers for your device.
If the issue persists, you can also try updating the drivers for your Kindle or USB controller. To update drivers, follow these steps:
– Open the Device Manager.
– Right-click on your Kindle or USB controller and select “Update driver”.
– Choose the option to search automatically for updated driver software.
– Windows will search for the latest drivers and install them if available.