Repair PS4 Controller USB Port
Revive Your Gaming Experience: Unleash the Power of Your PS4 Controller Once Again
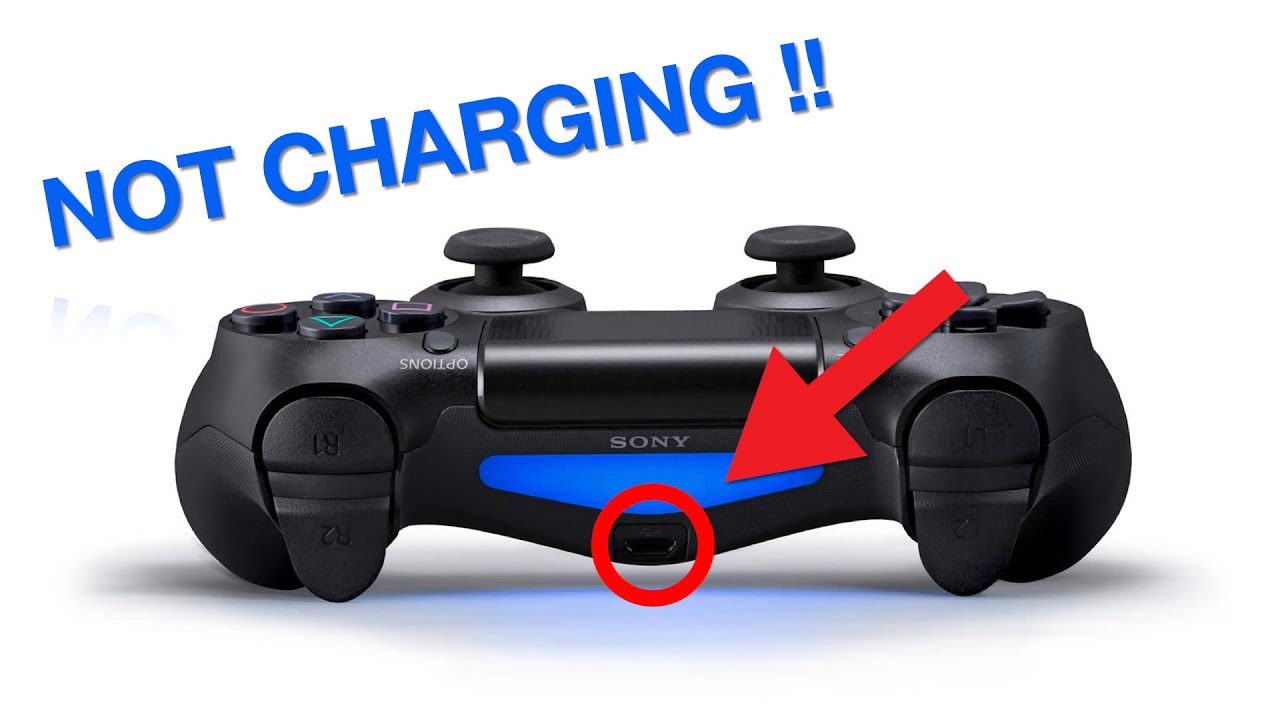
Reasons why a PS4 controller won’t charge
If your PS4 controller won’t charge, there are a few possible reasons and solutions to consider.
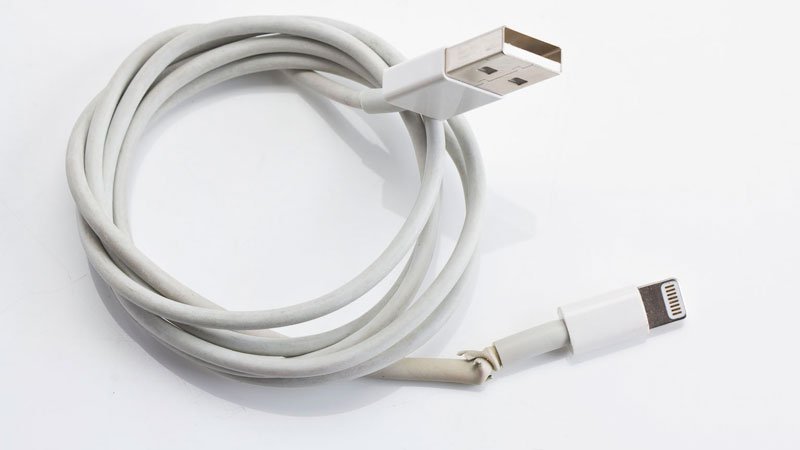
First, check the USB cable you’re using. Ensure it is not damaged or frayed, as this could prevent proper charging. Try using a different USB cable to see if that resolves the issue.
Next, inspect the USB port on the controller. Dust or debris can accumulate over time, hindering the charging process. Use a can of compressed air to clean out the port, being careful not to damage the connector.
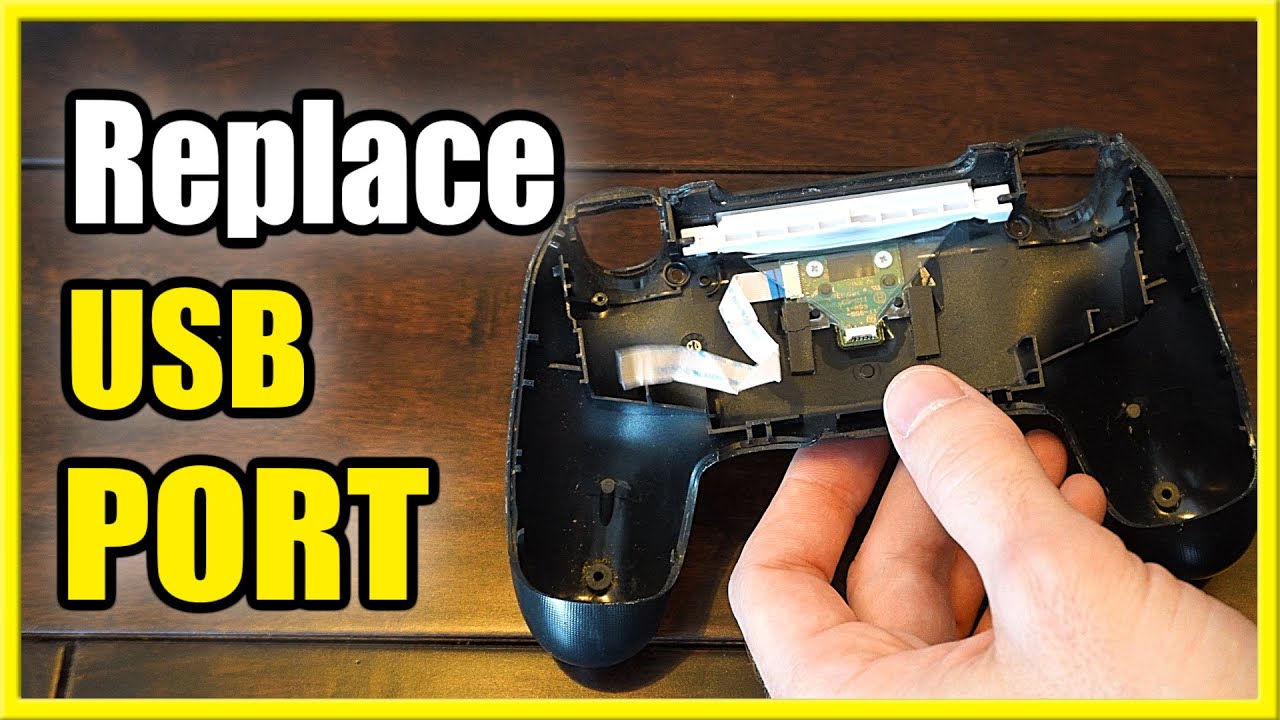
If the USB port itself is damaged, it may need to be replaced. Contact Sony or a professional repair service for assistance with this hardware issue.
Lastly, software problems can sometimes cause charging issues. Try resetting the controller by pressing the small reset button on the back with a paperclip or pin. If that doesn’t work, try connecting the controller to a different USB port on your console or computer.
By addressing these common causes of charging problems, you can get your PS4 controller back up and running in no time.
Steps to fix a PS4 controller that won’t charge
-
Step 1: Inspect the USB port for any visible damage or debris.
- Use a flashlight to carefully examine the USB port.
- If there is any visible damage, such as bent pins or a loose connection, proceed to the next step.
- If there is debris inside the port, gently clean it using compressed air or a soft brush.
-
Step 2: Check the USB cable for any signs of damage.
- Inspect the USB cable for frayed wires or a damaged connector.
- If the cable appears to be damaged, try using a different USB cable to charge the controller.
-
Step 3: Reset the PS4 controller.
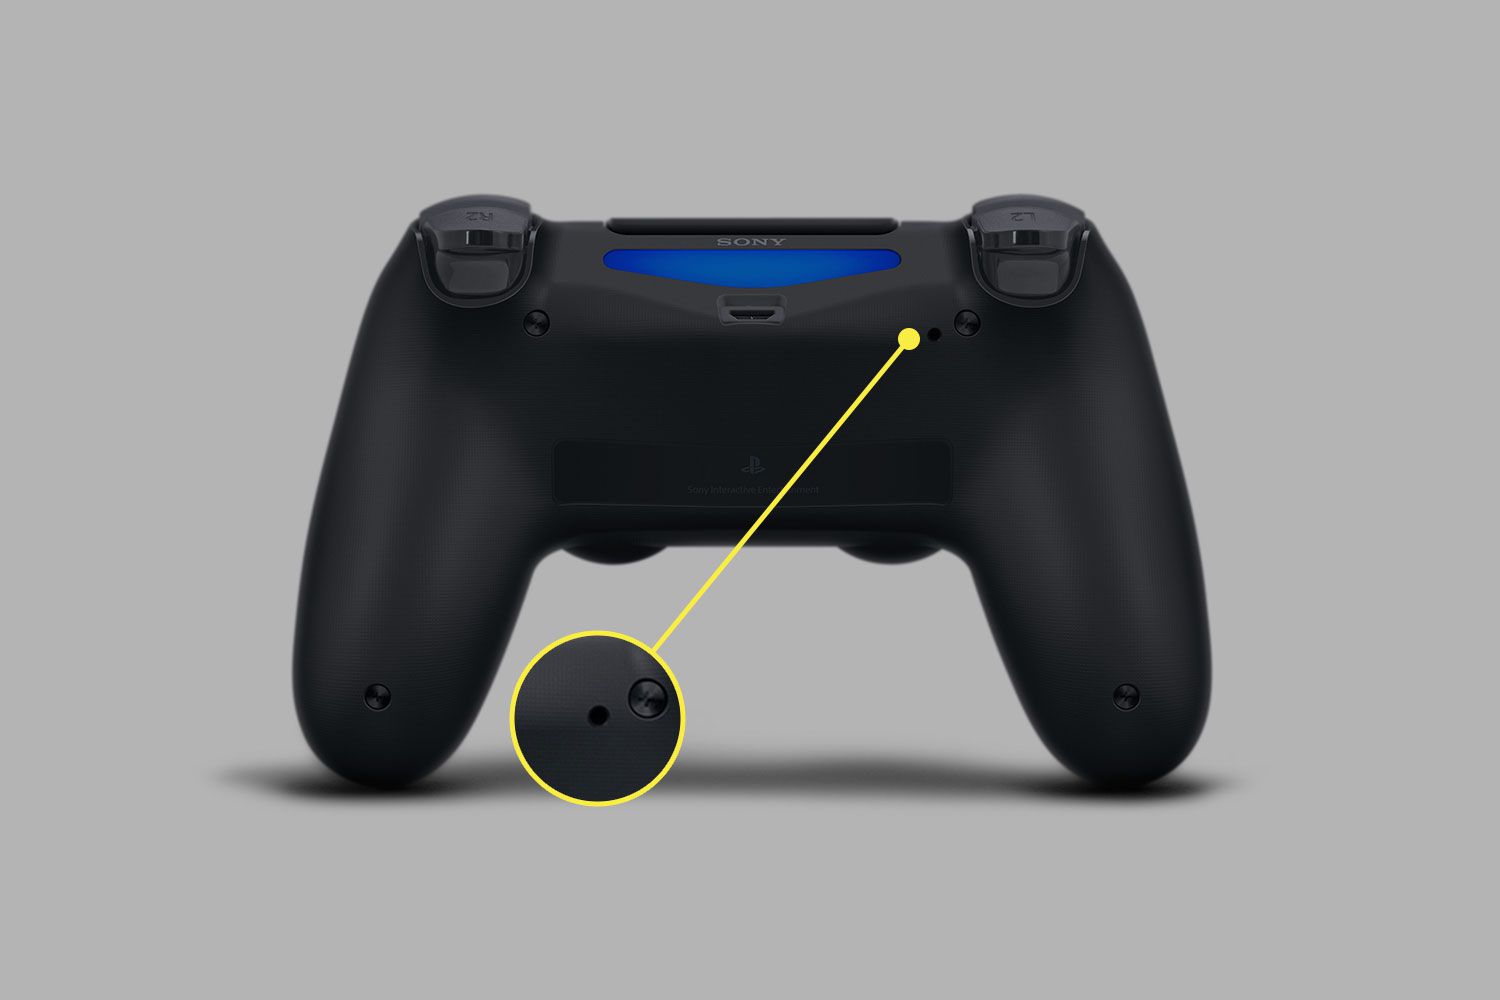
- Locate the small reset button on the back of the controller.
- Press and hold the reset button using a small pin or paperclip for about 5 seconds.
- Release the reset button and try charging the controller again.
-
Step 4: Test the USB port with another device.
- Connect a different device, such as a smartphone, to the PS4 controller’s USB port.
- If the other device charges successfully, the issue may be with the controller itself.
- If the other device also doesn’t charge, there may be a problem with the USB port on the PS4 console.
-
Step 5: Replace the USB port (advanced option).
- If none of the above steps resolved the issue, it may be necessary to replace the USB port on the PS4 controller.
- This step requires technical knowledge and expertise, so it is recommended to seek professional help or contact the manufacturer for further assistance.
Troubleshooting a PS4 controller not holding a charge
If you’re experiencing issues with your PS4 controller not holding a charge, there are a few troubleshooting steps you can try.
First, make sure you’re using a high-quality USB cable to connect your controller to the console. Sometimes, using a different cable can solve the problem.
Next, check the USB port on the controller itself. Dust or debris may be obstructing the connection, so try cleaning it with compressed air or a soft brush.
If the issue persists, it could be a problem with the battery or the charging port board. In this case, it may be necessary to replace either of these components.
If you’re not comfortable with hardware repairs, consider contacting Sony PlayStation support for further assistance. They can provide more specific guidance based on your controller model and any warranty coverage you may have.
python

from pyPS4Controller.controller import Controller
# Define your custom controller class
class MyController(Controller):
def __init__(self, **kwargs):
Controller.__init__(self, **kwargs)
def on_connect(self, controller):
print("Controller connected!")
def on_disconnect(self, controller):
print("Controller disconnected!")
def on_L3_up(self, value):
# Handle L3 joystick up event
print("L3 Joystick Up")
def on_L3_down(self, value):
# Handle L3 joystick down event
print("L3 Joystick Down")
# Add more event handlers for other buttons and joysticks
# Create an instance of your custom controller
controller = MyController(interface="/dev/input/js0", connecting_using_ds4drv=False)
# Start the controller
controller.listen()
Please note that this code assumes you have already paired your PS4 controller with your computer using Bluetooth. Also, you might need to install the `pyPS4Controller` library by running `pip install pyPS4Controller` in your Python environment.
With this code, you can define event handlers for various buttons and joysticks on the PS4 controller. You can customize these handlers to perform actions or simulate button presses according to your requirements.
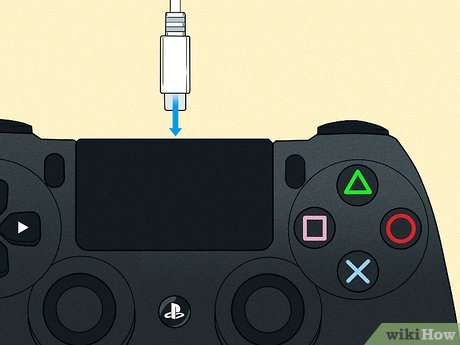
How to inspect and clean the PS4 controller’s USB charging port
To inspect and clean the PS4 controller’s USB charging port, follow these steps:
1. Begin by unplugging the controller from any power source and turning it off.
2. Examine the USB charging port for any visible dirt, debris, or damage.
3. If you spot any dirt or debris, gently remove it using a soft brush or compressed air.
4. Inspect the USB plug on the charging cable for any signs of dirt or damage as well.
5. Carefully insert the USB plug into the controller’s charging port, ensuring a secure connection.
6. Gently wiggle the plug to check for any loose or faulty connection.
7. If necessary, try using a different USB cable to rule out any cable issues.
8. If the charging port appears damaged or the connection is still unstable, it may require professional repair or replacement.
Tips for charging the PS4 controller upside down
1. Check the USB port: Inspect the micro USB connector on the controller for any damage or debris that may hinder the charging process. Clean it gently if necessary.
2. Use a reliable USB cable: Ensure you are using a high-quality micro USB cable that is compatible with the PS4 controller. Avoid using cheap or damaged cables, as they can cause charging issues.
3. Insert the cable correctly: Plug the USB cable into the port on the controller with the correct orientation. Be careful not to force it or insert it at an angle, as this can damage the port.
4. Secure the cable: Once connected, make sure the cable is securely attached to the controller. Avoid any unnecessary movement that could disrupt the charging process.
5. Consider alternate charging methods: If the USB port is damaged or not functioning properly, you may need to explore other charging options such as using a charging station or a controller charger port.
Steps to reset and update the PS4 controller
-
Step 1: Connect the PS4 controller to the PS4 console using a USB cable.
- Make sure the PS4 console is turned on.
- Locate the USB port on the front of the PS4 console.
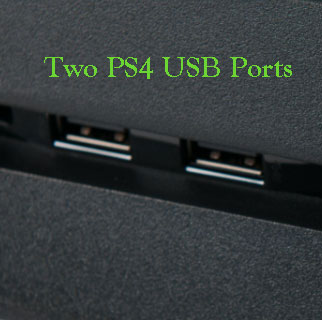
- Insert one end of the USB cable into the USB port on the PS4 controller.
- Insert the other end of the USB cable into the USB port on the PS4 console.
-
Step 2: Press the small reset button on the back of the PS4 controller.
- Locate the small hole on the back of the PS4 controller.
- Use a paperclip or a similar object to press and hold the reset button inside the hole.
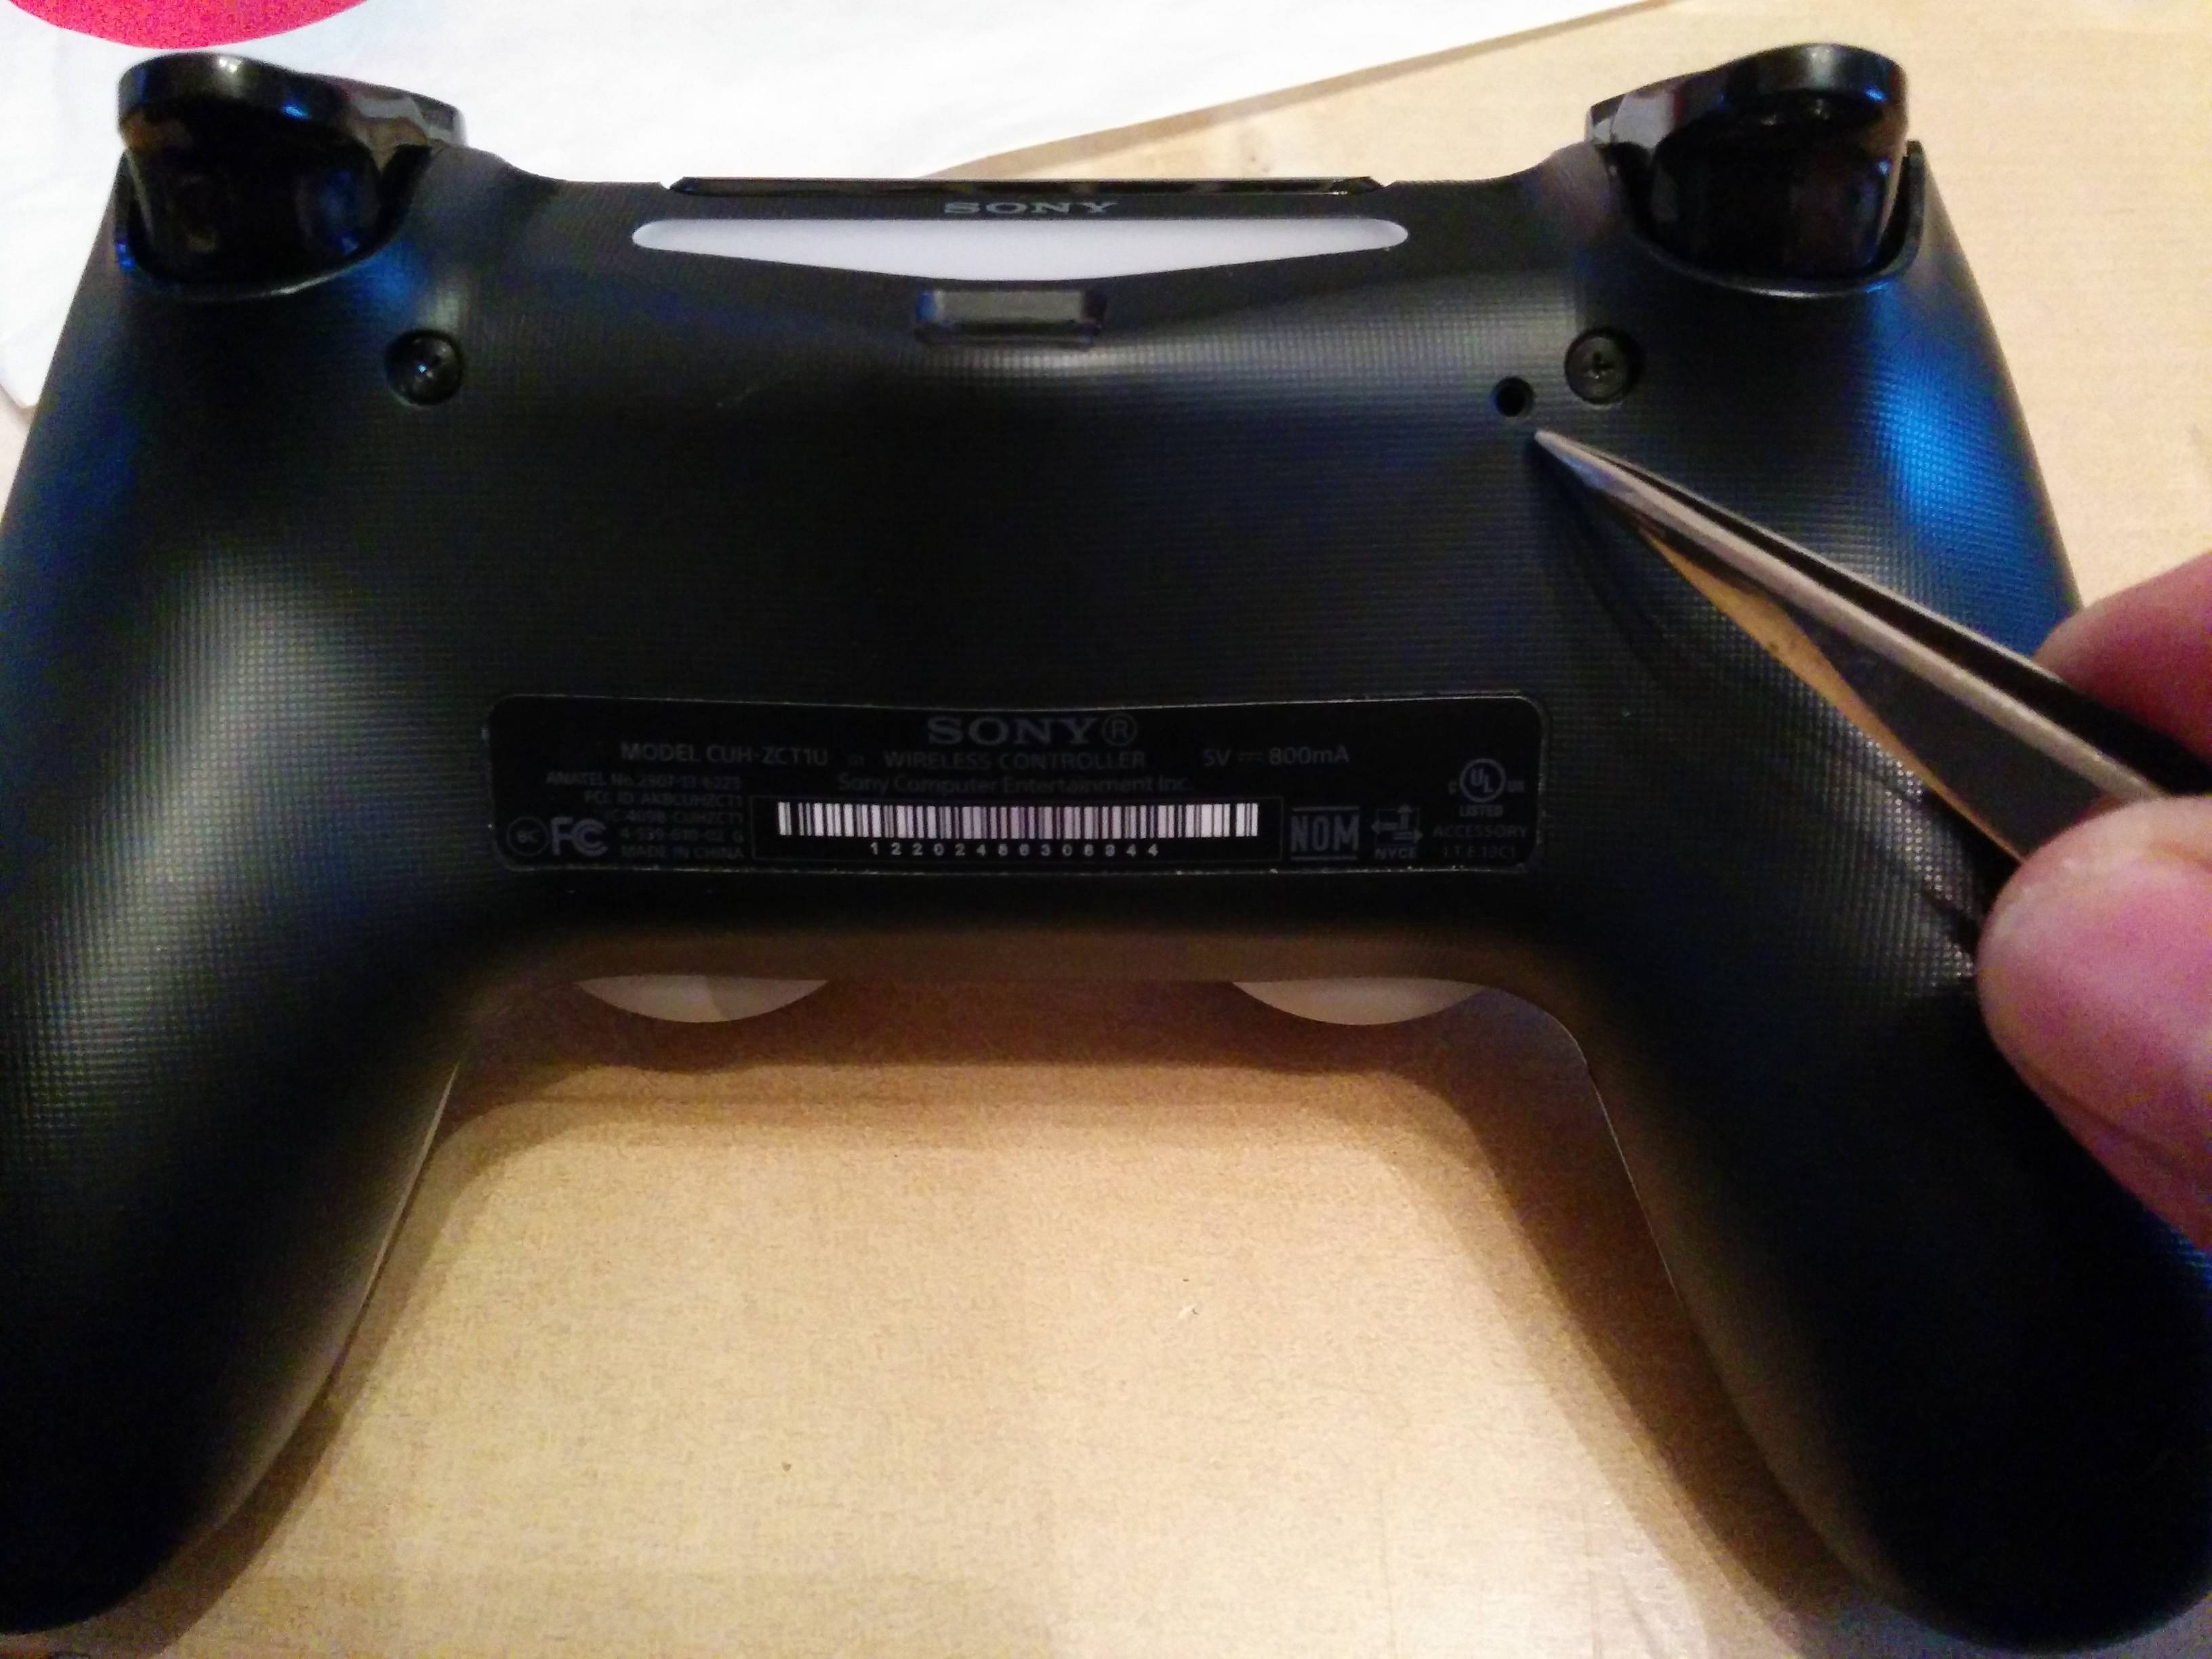
- Hold the reset button for about 5 seconds.
-
Step 3: Wait for the PS4 controller to reset and turn off.
- After releasing the reset button, the PS4 controller will reset and turn off.
- Wait for a few seconds to ensure the reset process is complete.
-
Step 4: Turn on the PS4 console and connect the controller again.
- Press the power button on the PS4 console to turn it on.
- Wait for the console to fully boot up.
- Connect the PS4 controller to the console using the USB cable again.
-
Step 5: Update the PS4 controller firmware.
- Go to the PlayStation official website and search for the latest PS4 controller firmware.
- Download the firmware update file to a USB flash drive.
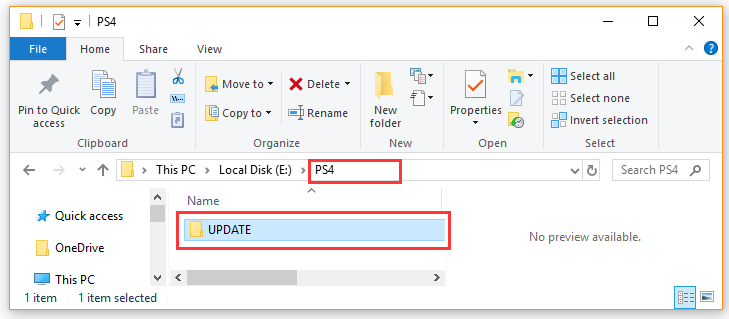
- Insert the USB flash drive into one of the USB ports on the PS4 console.
- Go to the PS4 settings menu and select “Devices”.
- Select “Controllers” and then choose “Update Firmware”.
- Follow the on-screen instructions to update the PS4 controller firmware.
Replacing the batteries in a PS4 controller
To replace the batteries in your PS4 controller, follow these simple steps:
1. Turn off your PS4 console and disconnect the controller from any USB cables or charging stations.
2. Locate the battery cover on the back of the controller and use your fingers or a small tool to remove it.
3. Take out the old batteries and dispose of them properly.
4. Insert the new batteries, making sure they are inserted in the correct orientation.
5. Replace the battery cover and make sure it is securely in place.
6. Turn on your PS4 console and press the PlayStation button on the controller to reconnect it.
Remember to properly dispose of the old batteries and use high-quality replacement batteries for optimum performance.
If you encounter any issues or need further assistance, please refer to the official PlayStation support website or consult the user manual that came with your controller.
Frequently asked questions about PS4 controller charging
- What is the best way to charge a PS4 controller? – Learn the most effective method to charge your PS4 controller and maximize its battery life.
- Can I charge my PS4 controller with a USB cable? – Find out if using a USB cable is a reliable option for charging your PS4 controller.
- What should I do if my PS4 controller is not charging? – Discover troubleshooting steps to take when your PS4 controller is not charging properly.
- Is it safe to charge my PS4 controller overnight? – Understand the potential risks of leaving your PS4 controller plugged in for an extended period.
- How long does it take to fully charge a PS4 controller? – Get an estimate of the charging time required to fully charge your PS4 controller.
- Can I charge my PS4 controller without a console? – Explore alternative methods for charging your PS4 controller without relying on the console itself.
- Are all USB cables compatible with PS4 controller charging? – Learn about USB cable compatibility and how to choose the right cable for charging your PS4 controller.
- Is there a way to extend the battery life of my PS4 controller? – Discover useful tips and tricks to prolong the battery life of your PS4 controller.
- Can a faulty USB port be repaired on a PS4 controller? – Find out if it’s possible to fix a malfunctioning USB port on your PS4 controller.
- Where can I get professional assistance for PS4 controller repairs? – Learn about reliable sources for getting your PS4 controller repaired by professionals.
What to do if the USB port on the PS4 controller is still not working
If the USB port on your PS4 controller is still not working, there are a few steps you can take to troubleshoot the issue.
First, try using a different micro USB cable to connect your controller to the console. Sometimes, cable issues can prevent the controller from charging or connecting properly.
If that doesn’t work, inspect the USB port on your controller for any physical damage or debris. Use a can of compressed air to clean out any dust or dirt that may be blocking the connection.
If the problem persists, it could be a hardware issue with the controller itself. Consider contacting Sony PlayStation support for further assistance or consider getting a professional repair service.
Remember to check our support site for more information and troubleshooting steps. We’re here to help you get back to your gaming experience.