Why Does my Internet Keep Disconnecting on Windows 10?
Unraveling the Mysteries: The Perennial Disconnection Woes of Windows 10
Update Network Adapter Driver
To update the network adapter driver on Windows 10 and resolve internet disconnection issues, follow these steps:
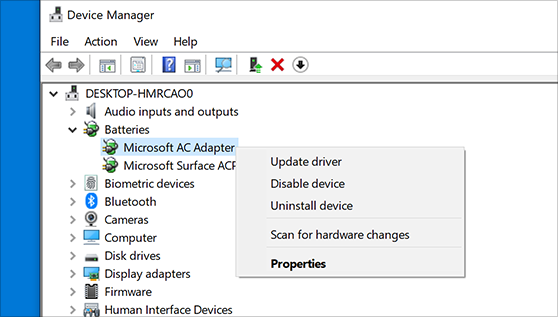
1. Open the Device Manager by right-clicking on the Start button and selecting “Device Manager.”
2. In the Device Manager window, expand the “Network adapters” category.
3. Right-click on your Wi-Fi adapter and select “Update driver.”
4. Choose the option to search automatically for updated driver software.
5. Windows will scan for the latest driver version and install it if available.
6. Restart your computer to apply the changes.
If your Wi-Fi adapter still disconnects frequently, consider disabling power-saving features for the adapter:
1. Go back to the Device Manager and locate your Wi-Fi adapter.
2. Right-click on it and select “Properties.”
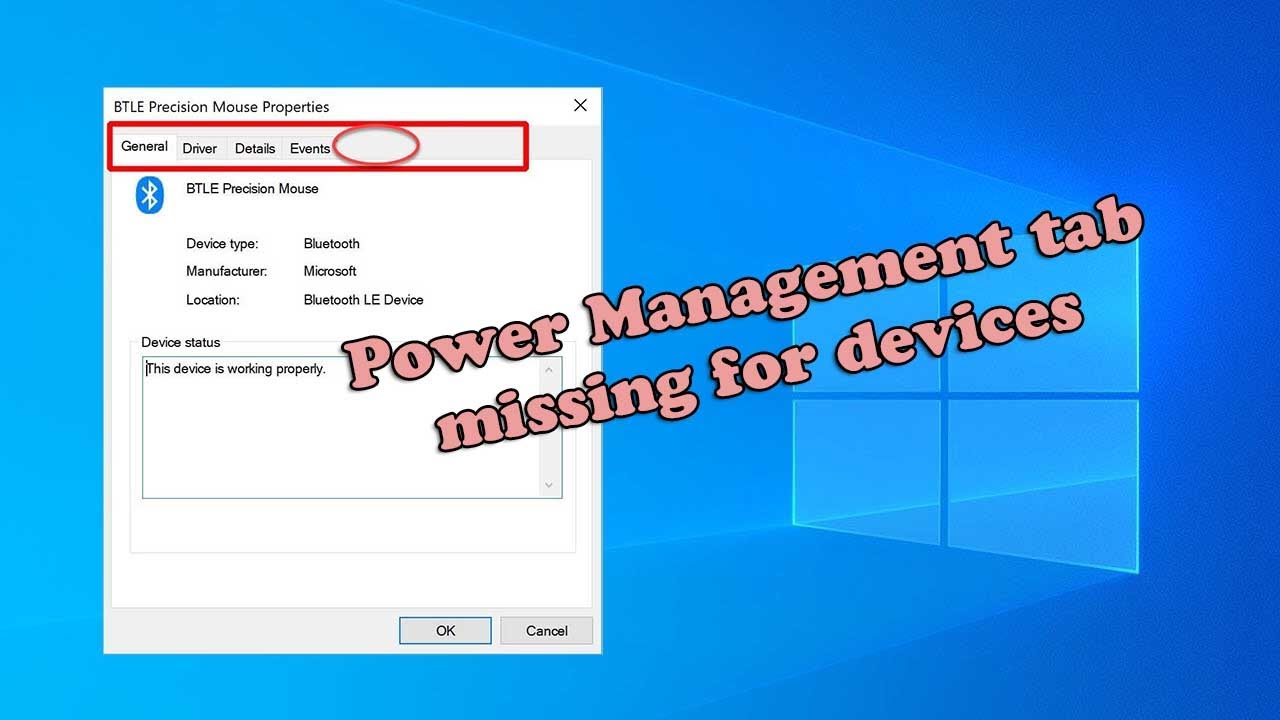
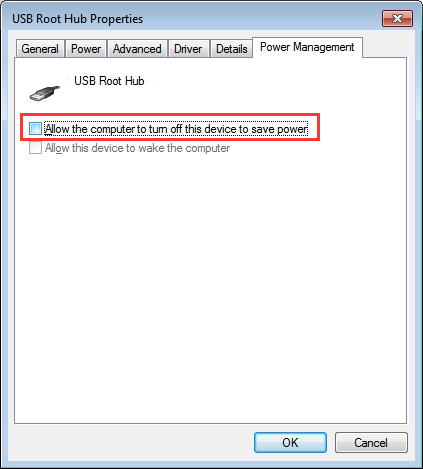
3. In the properties window, go to the “Power Management” tab.
4. Uncheck the box that says “Allow the computer to turn off this device to save power.”
5. Click “OK” to save the changes.
By updating the network adapter driver and adjusting power settings, you should be able to fix Wi-Fi disconnection problems on Windows 10.
Update Router Software
To troubleshoot internet disconnecting issues on Windows 10, it is important to update your router software. Outdated software can cause compatibility issues and lead to network disruptions.
To update your router software, follow these steps:
1. Connect your Windows 10 machine to your router’s WiFi network.
2. Launch a web browser and enter your router’s IP address in the address bar.
3. Log in to your router’s UI using the provided credentials.
4. Look for a “Firmware Update” or “Software Update” option in the settings menu.
5. If an update is available, download and install it.
6. Restart your router and reconnect your Windows 10 device to the WiFi network.
Updating your router software can help resolve WiFi connectivity problems and improve network stability. Remember to also check for any firmware updates for your WiFi adapter or other network devices. By keeping all your drivers and software up to date, you can ensure a smooth and uninterrupted internet experience on your Windows 10 machine.
Check Network Adapter Power Management Options
To check the network adapter power management options, follow these steps:
1. Press the Windows key + X, then select “Device Manager” from the menu.
2. Expand the “Network adapters” section.
3. Right-click on your WiFi adapter or Ethernet adapter and select “Properties.”
4. In the Properties window, go to the “Power Management” tab.
5. Make sure the box next to “Allow the computer to turn off this device to save power” is unchecked.
6. Click “OK” to save the changes.
This will prevent your network adapter from being turned off to save power, which can cause disconnections.
If you’re still experiencing internet connection issues, consider updating your network adapter drivers. Right-click on the adapter in Device Manager, select “Update driver,” and choose to search automatically for updated driver software.
Remember to also check your DNS settings, as misconfigurations can lead to connection problems. Additionally, ensure that your WiFi router and modem are functioning properly.
By following these steps, you can address power management issues and improve your internet connection on Windows 10.
python

import subprocess

import time
def check_internet_connection():
host = "google.com"
try:
output = subprocess.check_output(["ping", "-n", "1", host], timeout=5)
print(f"{host} is reachable.")
except subprocess.TimeoutExpired:
print(f"{host} is unreachable.")
except subprocess.CalledProcessError:
print(f"Ping request failed for {host}.")
while True:
check_internet_connection()
time.sleep(5) # Check connection every 5 seconds
Please note that this script only checks the connectivity to a specific host (in this case, google.com). If you are experiencing internet disconnection issues on Windows 10, it is recommended to consult official Windows support resources, network administrators, or seek professional assistance for a more accurate diagnosis and resolution.
Identify Causes of WiFi Disconnecting
- Interference: Check for possible sources of interference like cordless phones, microwaves, or other electronic devices.
- Distance from Router: Ensure that you are within an optimal range from your WiFi router.
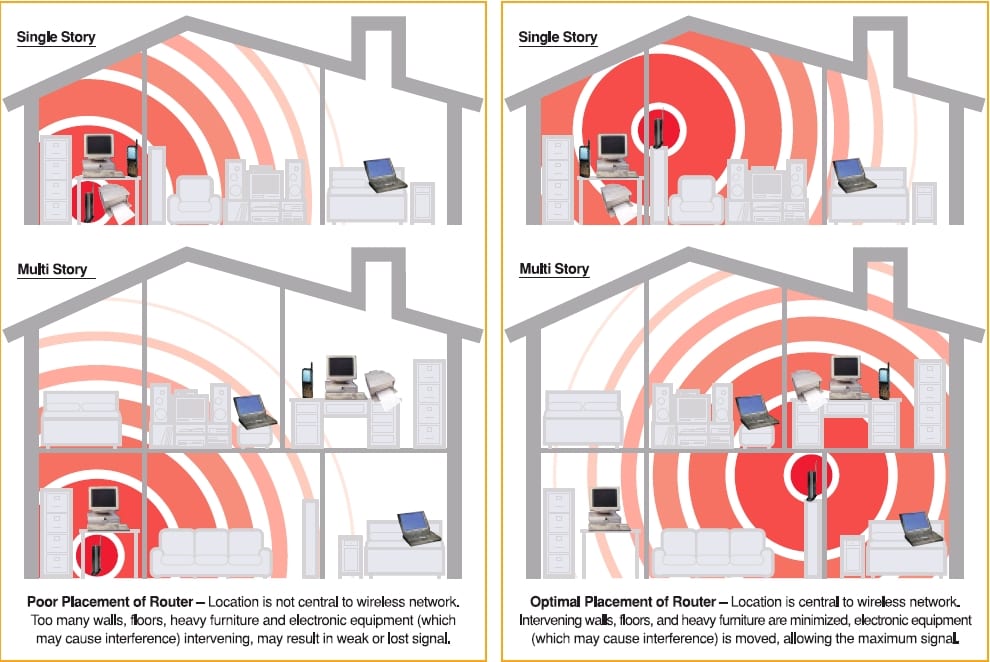
- Router Placement: Make sure that your router is placed in a central and elevated position, minimizing obstructions.
- Outdated Router Firmware: Update your router’s firmware to the latest version to fix potential bugs or compatibility issues.
- Driver Issues: Verify that your WiFi adapter has the latest drivers installed.
- Power Saving Settings: Adjust power settings to prevent your computer from turning off the WiFi adapter to conserve power.
- Network Settings: Reset your network settings or try using a different WiFi network to determine if the issue is specific to your network.
- Software Conflicts: Check for any software or applications that may be interfering with your WiFi connection.
- Security Software: Temporarily disable your antivirus or firewall to rule out any conflicts.
- Automatic IP Address Assignment: Make sure your computer is configured to obtain an IP address automatically.
- Overloaded Network: If multiple devices are connected to the network, try reducing the number of active connections.
Quick Fixes for WiFi Disconnecting
- Check WiFi Signal Strength
- Ensure that your device is within range of the WiFi router.
- Move closer to the router to improve the signal strength.
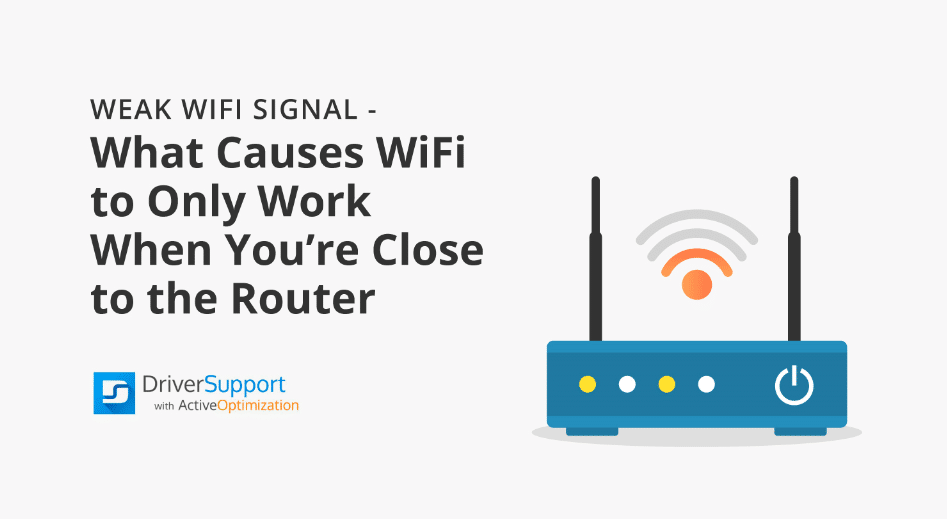
- Reduce interference by keeping your device away from other electronic devices.
- Restart Your Router
- Unplug the power cable from the router.
- Wait for about 30 seconds.
- Plug the power cable back into the router.
- Allow the router to restart and establish a connection.
- Update WiFi Driver
- Open Device Manager by pressing Win+X and selecting it from the menu.
- Expand the Network adapters category.
- Right-click on your WiFi adapter and select Update driver.
- Choose to Search automatically for updated driver software.
- Follow the on-screen instructions to complete the driver update.
- Reset TCP/IP Stack
- Open Command Prompt as an administrator.
- Type the command netsh int ip reset and press Enter.
 command netsh int ip reset and press Enter.”>
 - Wait for the process to complete.
- Restart your computer to apply the changes.
- Disable Power Saving Mode for WiFi
- Open Device Manager by pressing Win+X and selecting it from the menu.
- Expand the Network adapters category.
- Right-click on your WiFi adapter and select Properties.
- Go to the Power Management tab.
- Uncheck the option Allow the computer to turn off this device to save power.
- Click OK to save the changes.
Set Home Network as Private
To set your home network as private on Windows 10, follow these steps:
1. Click on the Start button and select “Settings” from the menu.
2. In the Settings window, click on “Network & Internet.”
3. On the left panel, select “Ethernet” or “Wi-Fi” depending on your connection type.
4. Under the network name, click on “Properties.”
5. In the network profile section, click on the drop-down menu and select “Private.”
6. Click on “Save” to apply the changes.
By setting your home network as private, you ensure that your computer has the right settings and access permissions for your local network. This can help prevent connectivity issues and ensure a stable internet connection.
If you continue to experience internet disconnects, it could be due to other reasons such as a misconfiguration, power management issues, or hardware problems. You may want to check your DNS settings, Wi-Fi card, and power-saving features. Additionally, using an Ethernet connection or a reliable USB Wi-Fi adapter can also help improve stability.
Disable WiFi Sense
To address the issue of internet disconnection on Windows 10, one possible reason could be the WiFi Sense feature. To disable it, follow these steps:
1. Open the Start menu and go to Settings.
2. Select Network & Internet, then click on WiFi.
3. Scroll down and click on “Manage WiFi settings.”
4. Under “For networks I select, share them with my contacts,” toggle the switch to Off.
By disabling WiFi Sense, you can prevent any potential misconfiguration or access issues that may be causing the problem.
Another possible solution is to check your power management settings. Some laptops have a power-saving feature that can turn off the WiFi card to save battery power. To fix this:
1. Right-click on the Start button and select Device Manager.
2. Expand the Network adapters section and find your WiFi card.
3. Right-click on the WiFi card and select Properties.
4. Go to the Power Management tab and uncheck the box that says “Allow the computer to turn off this device to save power.”
If you’re still experiencing issues, try connecting your laptop to the modem directly using an ethernet cable. This will help determine if the problem lies with your WiFi connection or your hardware.
Fix Power Management Settings
If your internet keeps disconnecting on Windows 10, it could be due to power management settings. To fix this issue, follow these steps:
1. Open the Power Options menu by right-clicking the battery icon in the system tray and selecting “Power Options.”
2. In the Power Options window, click on “Change plan settings” next to the power profile you are currently using.
3. In the next window, click on “Change advanced power settings.”
4. Look for the “Wireless Adapter Settings” or “Wi-Fi” option and expand it.
5. Under this option, you will find two settings: “Power Saving Mode” and “Maximum Performance.” Make sure both are set to “Maximum Performance.”
6. Click “Apply” and then “OK” to save the changes.
These steps will ensure that your power management settings are optimized for a stable internet connection.