How to Fix nvspcap64.dll Error in Windows 10/11
If you’re experiencing nvspcap64.dll error on your Windows 10/11, don’t worry, you’re not alone. This error can be frustrating, but fortunately, there are solutions available to fix it. In this article, we will guide you on how to fix the nvspcap64.dll error in Windows 10/11.
Common Issues with Nvspcap64.dll
Common issues with nvspcap64.dll include missing entry, rundll32.exe, and rundll error. These issues can occur due to problems with NVIDIA video drivers, GeForce Experience, or other NVIDIA graphics software. To fix these errors, try updating your video drivers or reinstalling the software. Additionally, some users have found success by scanning their PC with a DLL fixer tool or using a removal tool to delete the nvspcap64.dll file. If you’re still experiencing issues, try disabling the file from startup or blocking it with a security solution. Remember to always be careful when downloading files from the internet and to only download from reputable sources. If you need more help, consult a professional or visit reputable tech websites like TheGeekPage.com for additional solutions.
Resolving Nvspcap64.dll Errors on Windows 10
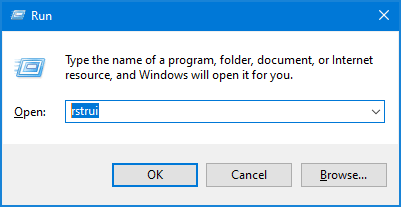
- Press Windows key + R to open the Run dialog box.
- Type services.msc and press Enter.
- Scroll down and locate Nvidia Streamer Service.
- Right-click on the service and select Restart.
- Reboot your computer and check if the issue persists.
Method 2: Updating Nvidia Graphics Card Drivers
- Visit the Nvidia website and download the latest graphics card driver for your model.
- Open the downloaded file and follow the installation instructions.
- Restart your computer and check if the issue persists.
Method 3: Running System File Checker
- Open the Command Prompt as an administrator.
- Type sfc /scannow and press Enter.
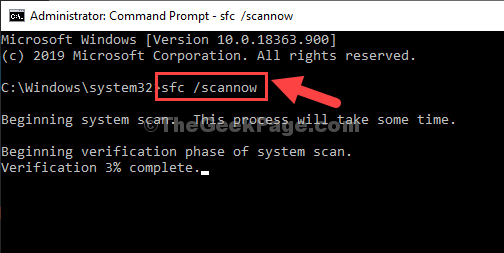
- Wait for the scan to complete.
- If any errors are found, type DISM /Online /Cleanup-Image /RestoreHealth and press Enter.
- Wait for the process to complete.
- Reboot your computer and check if the issue persists.
Method 4: Reinstalling Nvidia Graphics Card Drivers
- Press Windows key + R to open the Run dialog box.
- Type devmgmt.msc and press Enter.
- Locate your Nvidia graphics card under Display adapters.
- Right-click on it and select Uninstall device.
- Check the box that says “Delete the driver software for this device” and click Uninstall.
- Visit the Nvidia website and download the latest graphics card driver for your model.
- Open the downloaded file and follow the installation instructions.
- Reboot your computer and check if the issue persists.
Disabling NVIDIA GeForce Experience from Startup
To disable NVIDIA GeForce Experience from startup and fix the nvspcap64.dll error in Windows 10/11, follow these steps:
1. Press Ctrl + Shift + Esc to open the Task Manager.
2. Click on the Startup tab.
3. Locate NVIDIA GeForce Experience and click on it to select it.
4. Click on the Disable button at the bottom-right corner of the Task Manager window.
5. Restart your PC to apply the changes.
If you’re still experiencing the error, you can try updating your NVIDIA drivers or using DLL fixers to scan for missing entries. Alternatively, you can use a removal tool to completely uninstall NVIDIA GeForce Experience from your PC.
Remember to always be cautious when making any changes to your PC’s startup elements and to use a reliable security solution to protect against potential attacks.
Updating NVIDIA Drivers
| Step | Description |
|---|---|
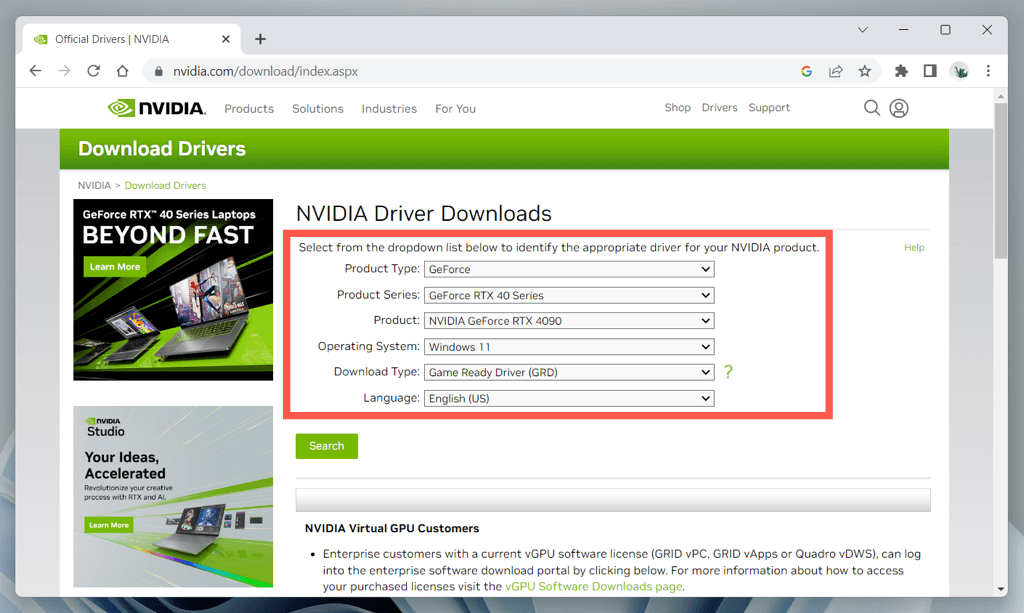
| 1 | Visit NVIDIA’s website and navigate to the driver download page. |
| 2 | Select the appropriate driver for your graphics card and operating system. |
| 3 | Download the driver and save it to your computer. |
| 4 | Open the downloaded file and follow the installation instructions. |
| 5 | Restart your computer to complete the installation process. |
Using a Removal Tool to Uninstall Nvspcap64.dll
If you’re experiencing the nvspcap64.dll error on your Windows 10/11 PC, using a removal tool may be the solution you need. First, download a reliable removal tool from a trusted source, such as thegeekpage.com. Once downloaded, open the removal tool and scan your system for DLL errors. When the nvspcap64.dll error is detected, select the file and click on “Uninstall.” The removal tool will delete the file, and your issue should be resolved. It’s important to note that DLL errors can be a result of malware attacks, so it’s recommended to run a security service scan after using the removal tool. Additionally, regularly updating your PC and using a reputable antivirus software can prevent DLL errors and other PC problems.
Updating Your Windows OS to Fix Nvspcap64.dll Errors
The nvspcap64.dll error can be fixed by updating your Windows OS to the latest version. Here’s how:
Step 1: Click on the Windows icon on your desktop and go to Settings.
Step 2: Click on Update & Security and then click on Windows Update.
Step 3: Click on Check for updates and wait for the update process to complete.
Step 4: Restart your computer to apply the updates.
Updating your Windows OS will ensure that all DLL files, including nvspcap64.dll, are up to date and compatible with your system. This will prevent startup errors and improve overall system performance. If you continue to experience the nvspcap64.dll error, consider using a DLL fixer or contacting a professional for further assistance.