Fix Black Screen During Windows Install – Troubleshooting Tips
If you’re experiencing a black screen during your Windows installation, don’t worry, you’re not alone. Here are some troubleshooting tips to help you fix the issue and get your installation back on track.
Resolving Black Screen Issues During Windows Installation
If you’re experiencing black screen issues during Windows installation, try these troubleshooting tips:
– Check if the display is connected properly and turned on.
– Press the Ctrl + Alt + Delete keyboard shortcut to bring up the task manager and end the setup process.
– If the setup process fails, restart your computer and try again.
– Make sure your display drivers are up to date.
– If you’re installing Windows 10, ensure that your internet is not disconnected during the setup process.
– If you’re using a laptop, make sure it’s plugged in and has enough battery life.
– If you’re using a virtual machine like Parallels Desktop, check if your mouse cursor is visible.
– Try configuring Microsoft Windows to boot from a USB drive.
– If all else fails, try installing the operating system on a different hard drive or flash drive.
By following these troubleshooting steps, you should be able to resolve black screen issues during Windows installation and get your system up and running smoothly.
Advanced Troubleshooting Options to Fix Black Screen During Windows Installation
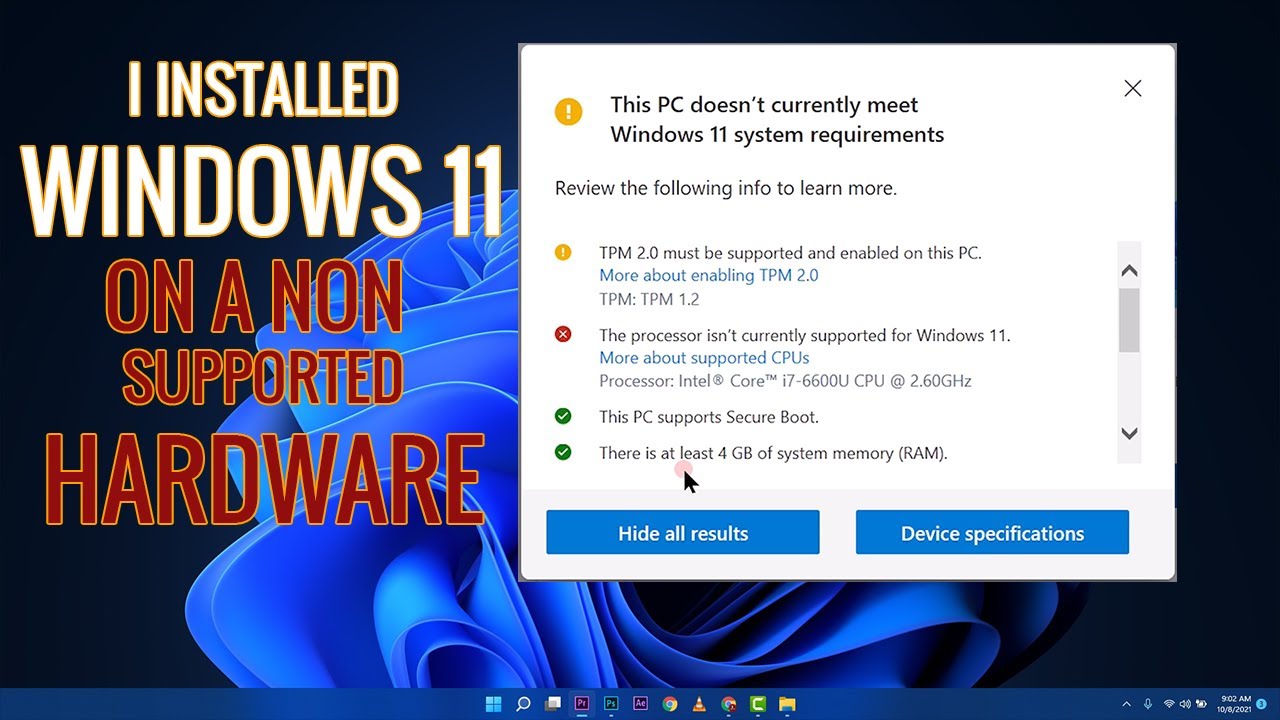
- Check System Requirements:
- Verify that your computer meets the minimum system requirements for the version of Windows you are installing.
- If your computer does not meet the requirements, upgrade your hardware or install an earlier version of Windows.
- Disconnect All External Devices:
- Disconnect all external devices connected to your computer, including printers, scanners, and USB drives.
- Restart the installation process without the external devices connected.

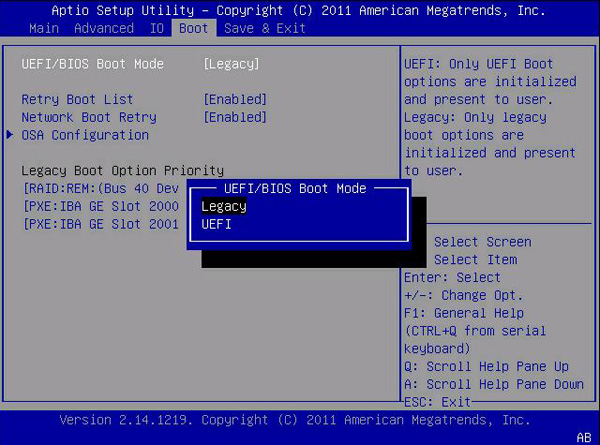
- Enable Legacy Boot Mode:
- Access your computer’s BIOS and enable Legacy Boot Mode.
- Save the changes and restart the installation process.
- Disable Secure Boot:
- Access your computer’s BIOS and disable Secure Boot.
- Save the changes and restart the installation process.
- Update Graphics Card Drivers:
- Download and install the latest graphics card drivers from the manufacturer’s website.
- Restart the installation process after updating the drivers.
- Run Installation in Safe Mode:
- Restart your computer and enter Safe Mode.
- Start the installation process in Safe Mode.
- Run Installation in Clean Boot Mode:
- Use the System Configuration tool to perform a Clean Boot.
- Start the installation process in Clean Boot Mode.
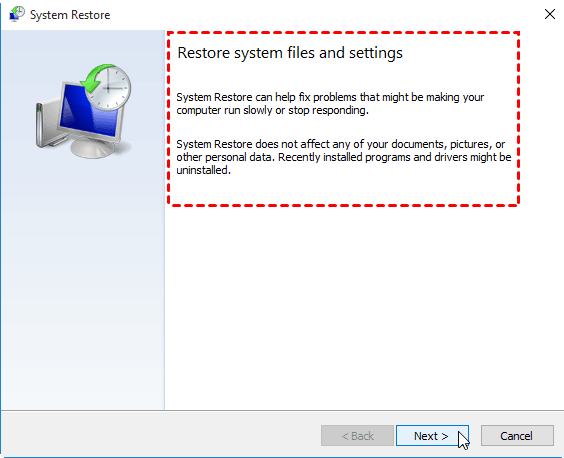
- Perform a System Restore:
- Use System Restore to revert your computer to a previous state before the installation.
- Attempt the installation process again after the System Restore is complete.
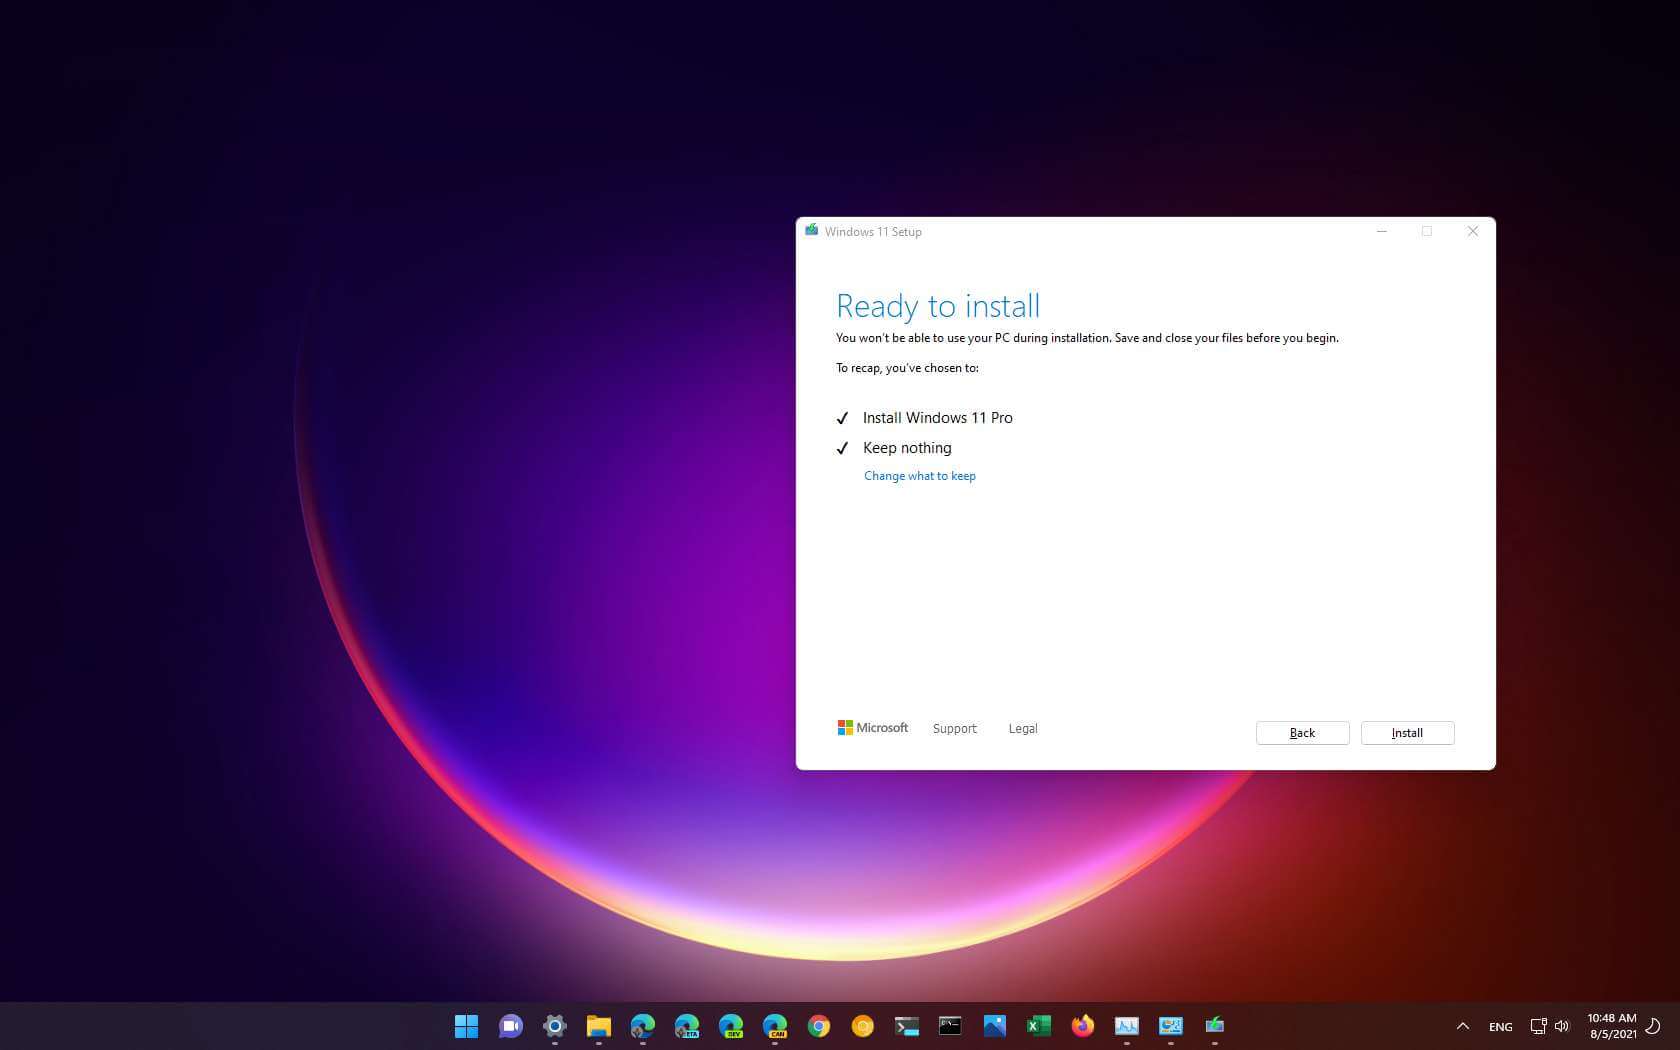
- Reinstall Windows:
- Restart the installation process and choose the option to perform a clean install of Windows.
- Ensure that all necessary drivers are installed after the installation is complete.
Black Screen of Death: Causes and Solutions
The Black Screen of Death during Windows installation can be caused by various factors like display driver errors, corrupt installations, or hardware issues. The solution to this problem depends on the reason for the black screen.
If you encounter a Black Screen of Death, try pressing CTRL + ALT + DEL to see if you can access the Task Manager. If you see the Task Manager, it means that the operating system is still running, and the issue is probably related to the display driver. In this case, update or reinstall the display driver.
If the black screen persists, you can try booting your PC in safe mode by pressing F8 during the startup process. If you can access safe mode, it means that the issue is related to a software conflict. Try uninstalling any recently installed apps or updates.
If you’re still having problems, you can try booting your PC from a bootable USB drive. This can help you bypass any issues with the hard drive or operating system.
In some cases, the Black Screen of Death can be caused by hardware issues like a faulty hard drive or RAM. If none of the above solutions work, consider taking your PC to a professional for repair.
Solutions for Black Screen Before Logging In
Optimizing Startup Applications and Checking Cables and Connections
- Open Task Manager by pressing Ctrl+Shift+Esc
- Click on the Startup tab
- Disable any unnecessary programs by clicking on them and selecting Disable
- Restart your computer and check if the black screen issue is resolved
Checking Cables and Connections
- Ensure that all cables and connections are properly and securely connected
- Check that the monitor cable is properly connected to the computer and monitor
- Try using a different monitor cable if possible
- Check the monitor’s power cable and ensure it is properly plugged in and receiving power
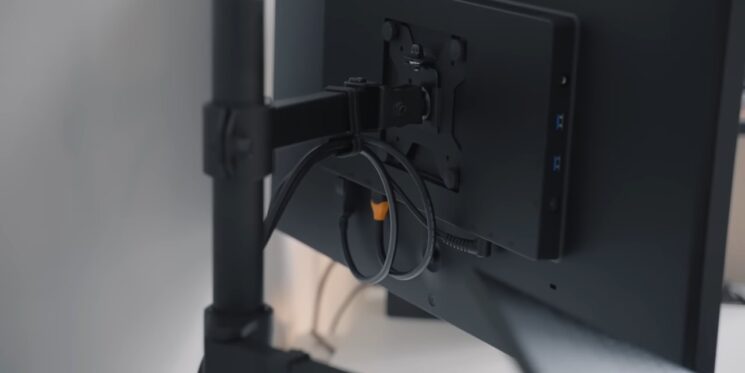
- Check that the graphics card is properly seated in its slot and all necessary power cables are connected
- Restart your computer and check if the black screen issue is resolved
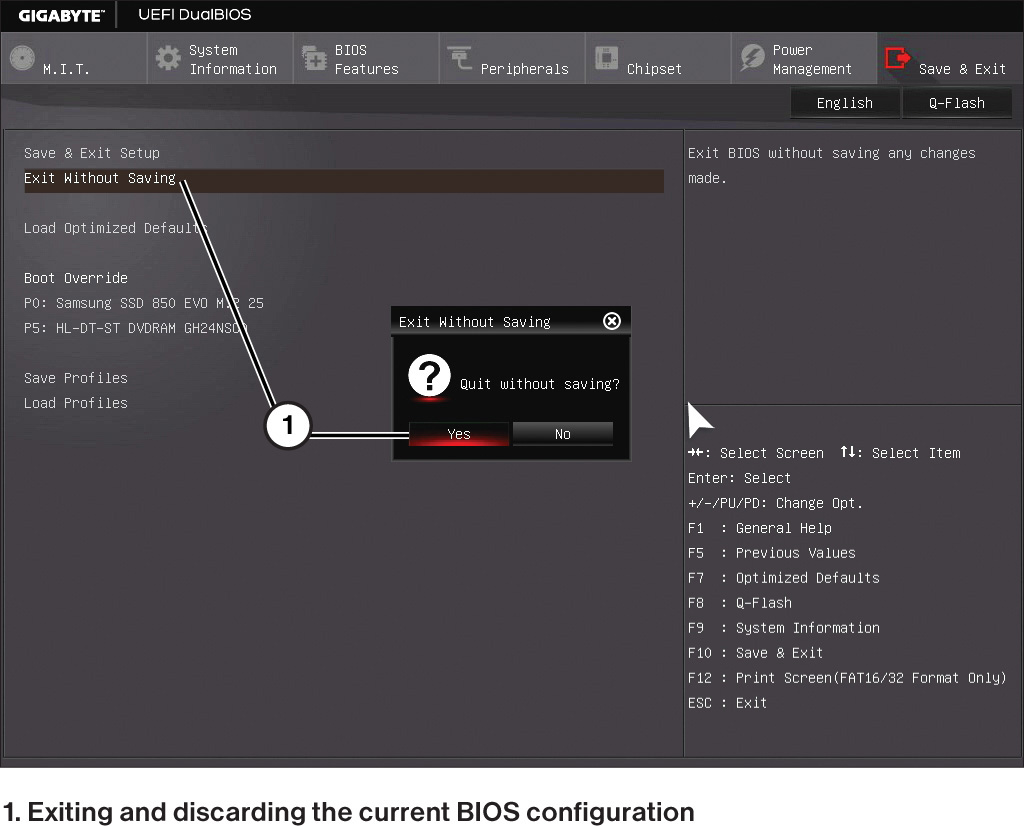
Resetting BIOS/UEFI and Checking Boot Order
- Turn off your computer.
- Unplug any external devices (such as USB drives) and power cables from your computer.
- Open your computer’s case.
- Locate the CMOS battery on the motherboard.
- Remove the battery and wait for 5-10 minutes.
- Reinsert the battery back into its slot.

- Close the computer’s case.
- Power on your computer.
- Enter your computer’s BIOS/UEFI settings by pressing the appropriate key (such as F2 or Del) during startup.
- Navigate to the Boot Order or Boot Priority section.
- Ensure that your hard drive or SSD is listed as the first boot device.
- Save and exit the BIOS/UEFI settings.
Launching Windows Repair and Booting into Safe Mode
To fix a black screen during Windows install, you can launch Windows Repair and boot into Safe Mode. Here are the steps to follow:
Step 1: Turn on your computer and press F8 repeatedly until the Advanced Boot Options screen appears.
Step 2: Select Repair Your Computer and press Enter.
Step 3: Choose your language preferences and log in with your user account details.
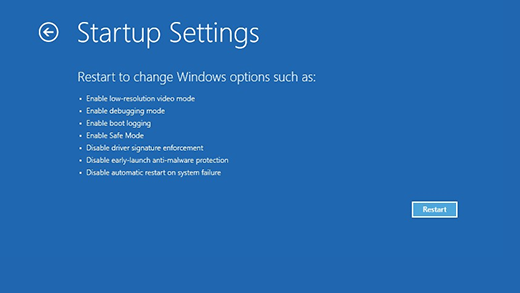
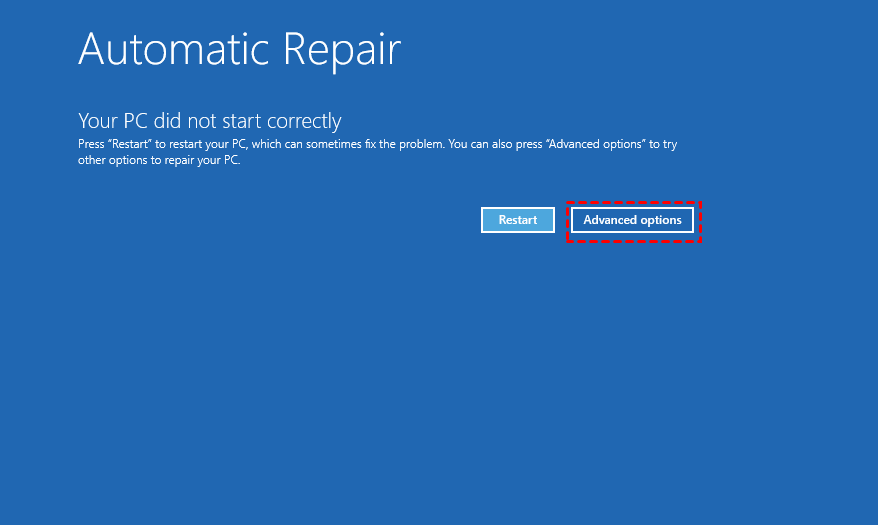
Step 4: Click on Advanced Options and select Startup Settings.
Step 5: Click on Restart and select Safe Mode from the list of options.
Step 6: Once you’re in Safe Mode, troubleshoot the issue by checking for system errors, updating drivers, or reinstalling Windows.
These steps should help you resolve the black screen issue and get your computer sailing smoothly once again.
Rolling Back or Updating Drivers in Safe Mode
If you’re experiencing a black screen during a Windows install, the problem may be with your drivers. One solution is to roll back or update your drivers in safe mode. This can be done by following a few simple steps:
Step 1: Boot your computer in safe mode. To do this, restart your computer and press the F8 key until you see the Advanced Boot Options menu.
Step 2: Select “Safe Mode with Networking” and press Enter. This will start your computer in safe mode with internet access.
Step 3: Open Device Manager and find the driver you want to roll back or update.
Step 4: Right-click on the driver and select “Roll Back Driver” or “Update Driver Software”.
Step 5: Follow the on-screen instructions to complete the process.
Rolling back or updating drivers in safe mode can help solve the black screen problem during Windows installs. If this solution doesn’t work, try other troubleshooting steps to identify the root cause of the issue.
Solutions for Black Screen After Logging In
- Check your display settings: Make sure your screen resolution and refresh rate are set correctly. If not, adjust them accordingly.
- Update your graphics driver: Outdated or corrupted graphics drivers can cause black screen issues. Download and install the latest drivers from your manufacturer’s website.
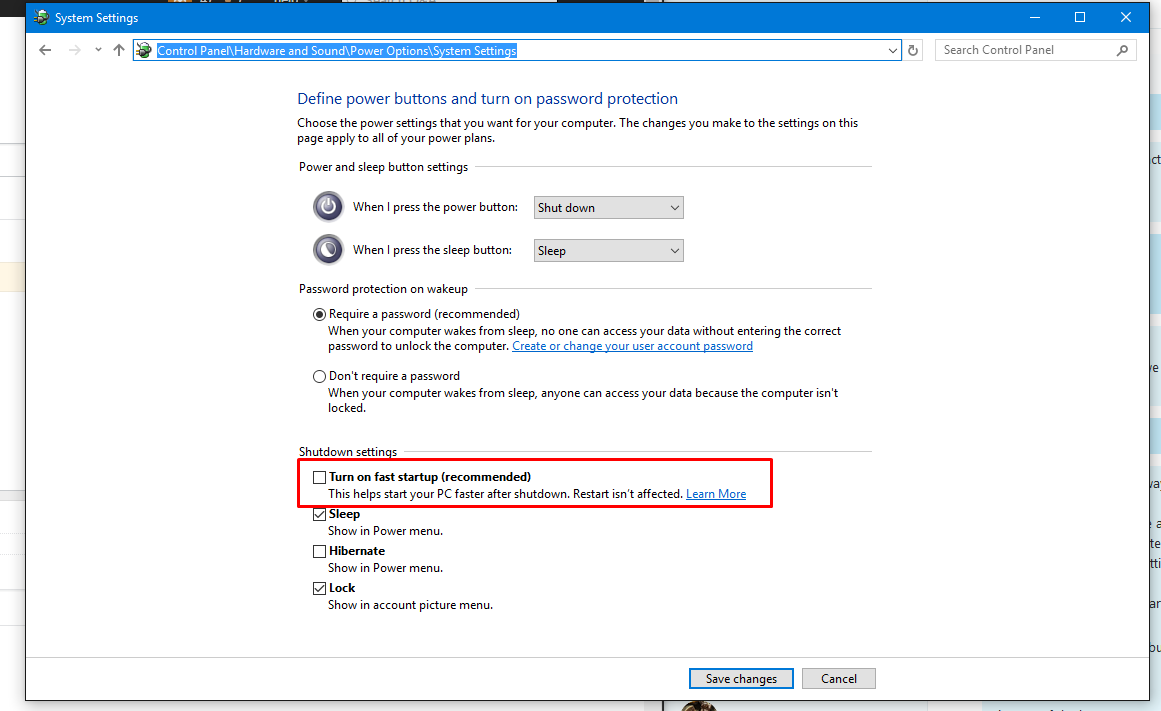
- Disable fast startup: Fast startup can interfere with the boot process and cause black screen issues. Disable it in your power settings.
- Disconnect external devices: External devices like printers or cameras can cause conflicts during the installation process. Disconnect them and try again.
- Boot in safe mode: Booting in safe mode can help identify if any third-party software or drivers are causing the issue. If the black screen goes away in safe mode, it’s likely a software or driver issue.
- Perform a system restore: If the black screen issue started after making changes to your system, perform a system restore to revert back to a previous state.
- Reinstall Windows: If all else fails, reinstalling Windows may be the only solution. Backup your important files and follow the installation steps carefully.