Lenovo Laptop Camera Not Working – How to Fix and Troubleshoot
In this tech-savvy era, Lenovo laptops have become an essential tool for work, communication, and entertainment. However, encountering a non-functional camera can be quite frustrating. This article delves into the various troubleshooting methods to help you resolve the issue and restore your Lenovo laptop’s camera functionality.
Causes and Solutions for Lenovo Laptop Camera Issues
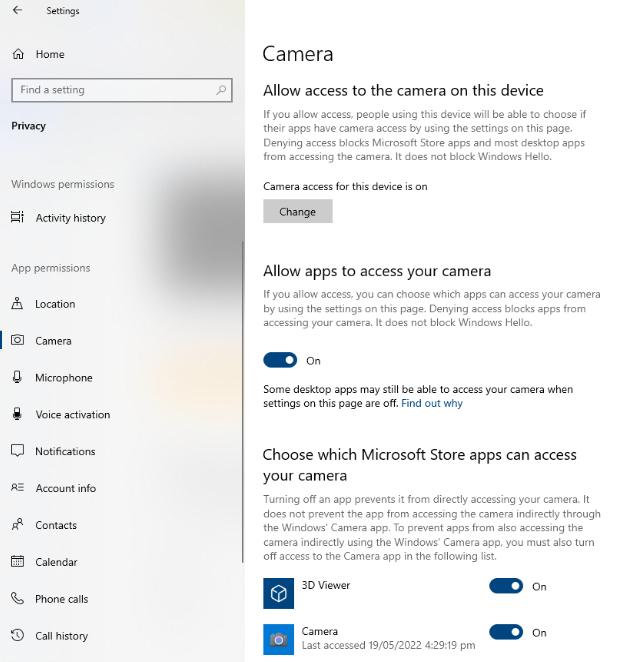
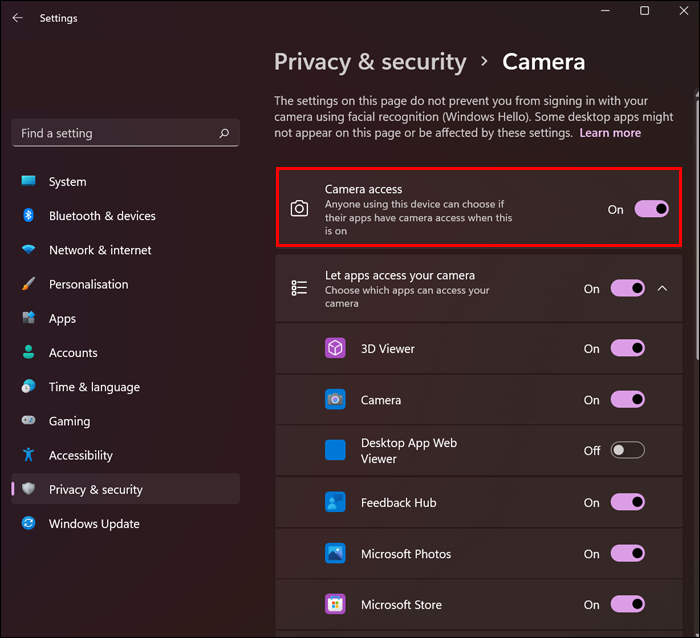
1. Check privacy settings: Ensure that the camera access is enabled in the privacy settings of your laptop. Go to Settings > Privacy > Camera, and toggle the switch to allow apps to access your camera.
2. Update camera drivers: Outdated or incompatible drivers can cause camera malfunctions. Open the Device Manager, expand the Imaging Devices category, right-click on your camera, and select “Update driver.” Follow the on-screen instructions to install the latest drivers.
3. Check for software conflicts: Some applications or programs may conflict with the camera. Close any unnecessary applications and try using the camera again.
4. Restart the laptop: A simple restart can resolve many camera issues. Restart your laptop and check if the camera starts working.
5. Reset camera settings: In the Start menu, search for “Camera settings” and open it. Click on “Reset” to restore the camera settings to default.
6. Verify hardware connections: Ensure that the camera lens is clean and not covered. If using an external camera, check the connection between the camera and the laptop.
7. Run Windows updates: Keeping your operating system up to date can fix known camera issues. Go to Settings > Windows Update and click on “Check for updates.”
Troubleshooting Lenovo Integrated Camera Problems
If you’re experiencing issues with your Lenovo laptop camera, follow these steps to troubleshoot and fix the problem:
1. Check camera access: Make sure the camera is not blocked or disabled. Go to the Start menu, search for “Camera privacy settings,” and ensure the camera access is enabled.
2. Update camera driver: Open Device Manager, locate the camera under “Imaging devices,” right-click, and select “Update driver.” Follow the prompts to update the driver.
3. Restart the computer: Sometimes a simple restart can resolve camera issues. Restart your Lenovo laptop and check if the camera is working.
4. Use Lenovo Vantage: Install and open the Lenovo Vantage app. Go to the “Hardware Settings” section and select “Camera.” Follow the instructions to troubleshoot and fix any camera-related problems.
5. Check for physical issues: Ensure the camera lens is clean and not obstructed. If necessary, gently clean the lens with a soft cloth.
6. Test in other apps: Try using the camera in different apps or programs like Zoom or Windows Camera. If the camera works in other apps, the issue is likely with a specific program.
Resolving Lenovo Webcam Malfunctions
If you’re experiencing issues with your Lenovo laptop camera, there are a few troubleshooting steps you can try to resolve the problem.
1. Check for software conflicts: Close any programs or apps that might be using the camera, such as Zoom or any video conferencing software.
2. Update your camera driver: Open the Windows Search bar, type “Device Manager,” and select it from the list. Expand the “Imaging devices” category, right-click on your camera, and choose “Update driver.”
3. Check camera settings: Open the camera app or program and make sure the camera is enabled. Adjust any settings like brightness or resolution if needed.
4. Perform a security check: Make sure your antivirus software or firewall is not blocking the camera. Temporarily disable them and check if the camera starts working.
5. Restart your PC: Sometimes, a simple restart can fix camera errors.
python

import cv2
def check_camera_status():
# Open the default camera
cap = cv2.VideoCapture(0)
# Check if the camera is opened successfully
if not cap.isOpened():
print("Camera not accessible or not found.")
return False
# Read a frame from the camera
ret, frame = cap.read()
# Check if the frame is empty
if not ret:
print("No frame received from the camera.")
return False
# Display the captured frame in a new window
cv2.imshow("Camera", frame)
cv2.waitKey(0)
# Release the camera and close the window
cap.release()
cv2.destroyAllWindows()
return True
# Test the camera status
if check_camera_status():
print("Camera is working properly.")
else:
print("Camera is not working.")
This sample code uses the OpenCV library in Python to access the camera and display a captured frame. It checks if the camera is accessible, if a frame is received, and then displays it in a new window. Finally, it determines whether the camera is working properly or not based on the outcome.
Please note that this code provides a basic demonstration and may not cover all possible scenarios or issues related to a Lenovo laptop camera not working problem.
Tips and FAQs for Lenovo Laptop Camera Fixes
- Open the Start menu and click on Settings.
- Select Privacy from the settings menu.
- Click on Camera from the left-hand side menu.
- Make sure the Allow apps to access your camera toggle switch is turned on.
- Scroll down to the Choose which apps can access your camera section.
- Ensure that the toggle switch for the desired apps is turned on.
- If the issue persists, move on to the next method.
Method 2: Update the Camera Driver
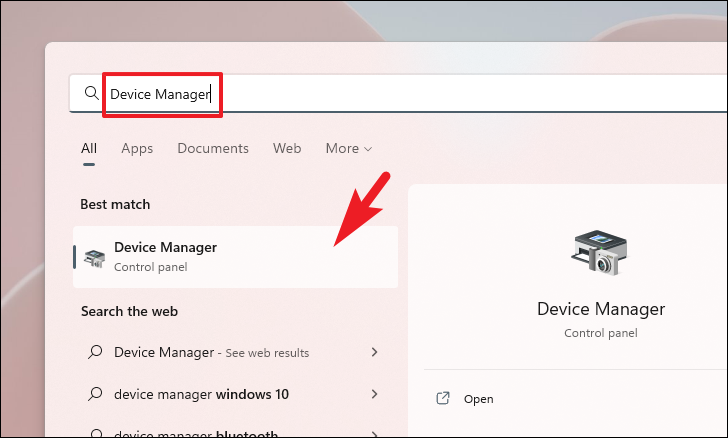
- Open the Start menu and type Device Manager. Open the Device Manager from the search results.
- Expand the Cameras category.
- Right-click on the camera device and select Update driver.
- Choose the option to Search automatically for updated driver software.
- Follow the on-screen instructions to complete the driver update process.
- If the camera still doesn’t work, try the next method.
Method 3: Disable and Enable the Camera
- Open the Start menu and click on Settings.
- Select Devices from the settings menu.
- Click on Camera from the left-hand side menu.
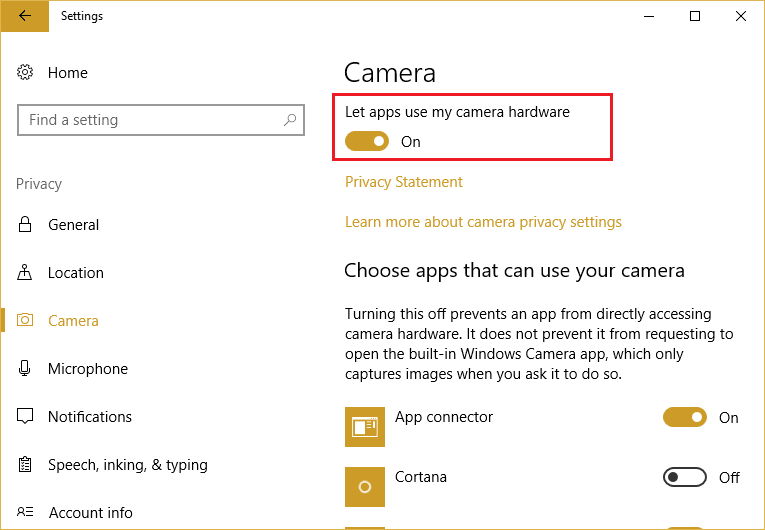
- Under the Camera section, toggle off the Let apps use my camera hardware switch.
- Wait for a few seconds, then toggle the switch back on.
- If the camera problem persists, proceed to the next method.
Method 4: Run the Hardware and Devices Troubleshooter
- Open the Start menu and click on Settings.
- Select Update & Security from the settings menu.
- Click on Troubleshoot from the left-hand side menu.
- Scroll down and click on Hardware and Devices.
- Click on the Run the troubleshooter button.
- Follow the on-screen instructions provided by the troubleshooter.
- If the camera issue persists, try the next method.
Method 5: Reinstall the Camera Driver
- Open the Start menu and type Device Manager. Open the Device Manager from the search results.
- Expand the Cameras category.
- Right-click on the camera device and select Uninstall device.
- Confirm the uninstallation and restart your laptop.
- After the restart, the camera driver will be automatically reinstalled.
- If the camera still doesn’t work, move on to the next method.
Method 6: Perform a System Restore
- Open the Start menu and type System Restore. Open the System Restore tool from the search results.
- Click on Next to proceed.
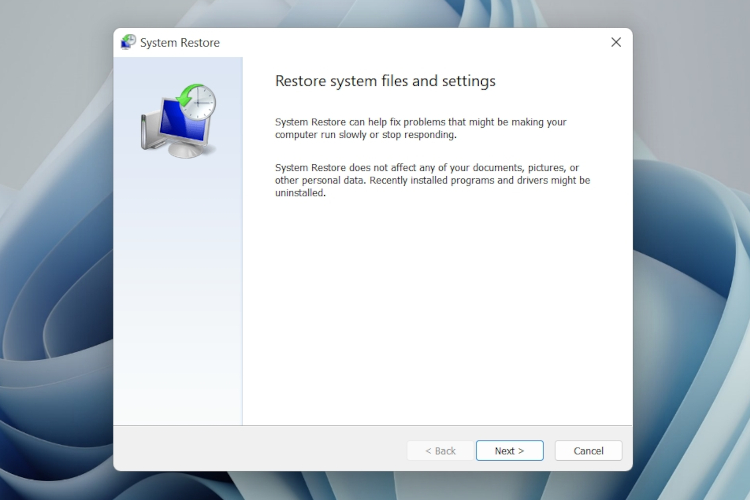
- Select a restore point prior to the camera issue.
- Follow the on-screen instructions to complete the system restore process.
- Note: This method will revert your laptop settings to a previous state.
- If none of the methods have resolved the camera problem, it is recommended to contact Lenovo support for further assistance.