Fix Steam Network Connection Problems
In this article, we will explore various ways to solve network connection issues that you might encounter while using Steam.
Troubleshooting Steam Connection Problems
If you’re having trouble connecting to Steam, there are a few troubleshooting steps you can try. First, check your internet connection and make sure it’s stable. Restarting your PC and Steam client can also help resolve network connection errors. Try resetting your network settings or restarting your router if the issue persists. Check if there’s a network outage in your area. If you’re still having trouble connecting, review Steam’s Subscriber Agreement and Privacy Policy to make sure you’re using the application within their rights and guidelines. Some tricks to ease the inconvenience include updating your software, checking for any error messages or codes (such as “code e20” or “no internet connection error code”), and retrying the connection. Remember, Steam’s servers may also be experiencing issues, so don’t worry if you can’t connect right away.
Causes and Solutions for Steam Network Errors
- Check your Internet Connection:
- Make sure your modem and router are both turned on.
- Check your connection to ensure that it’s stable.
- Try resetting your modem and router if you’re having issues.
- Check Steam’s status:
- Visit the Steam Status page to see if there are any issues with Steam servers.
- If there are issues, wait for Steam to resolve them.

- Restart Steam:
- Close Steam completely and restart it.
- Check to see if the issue has been resolved.
- Clear Steam Download Cache:
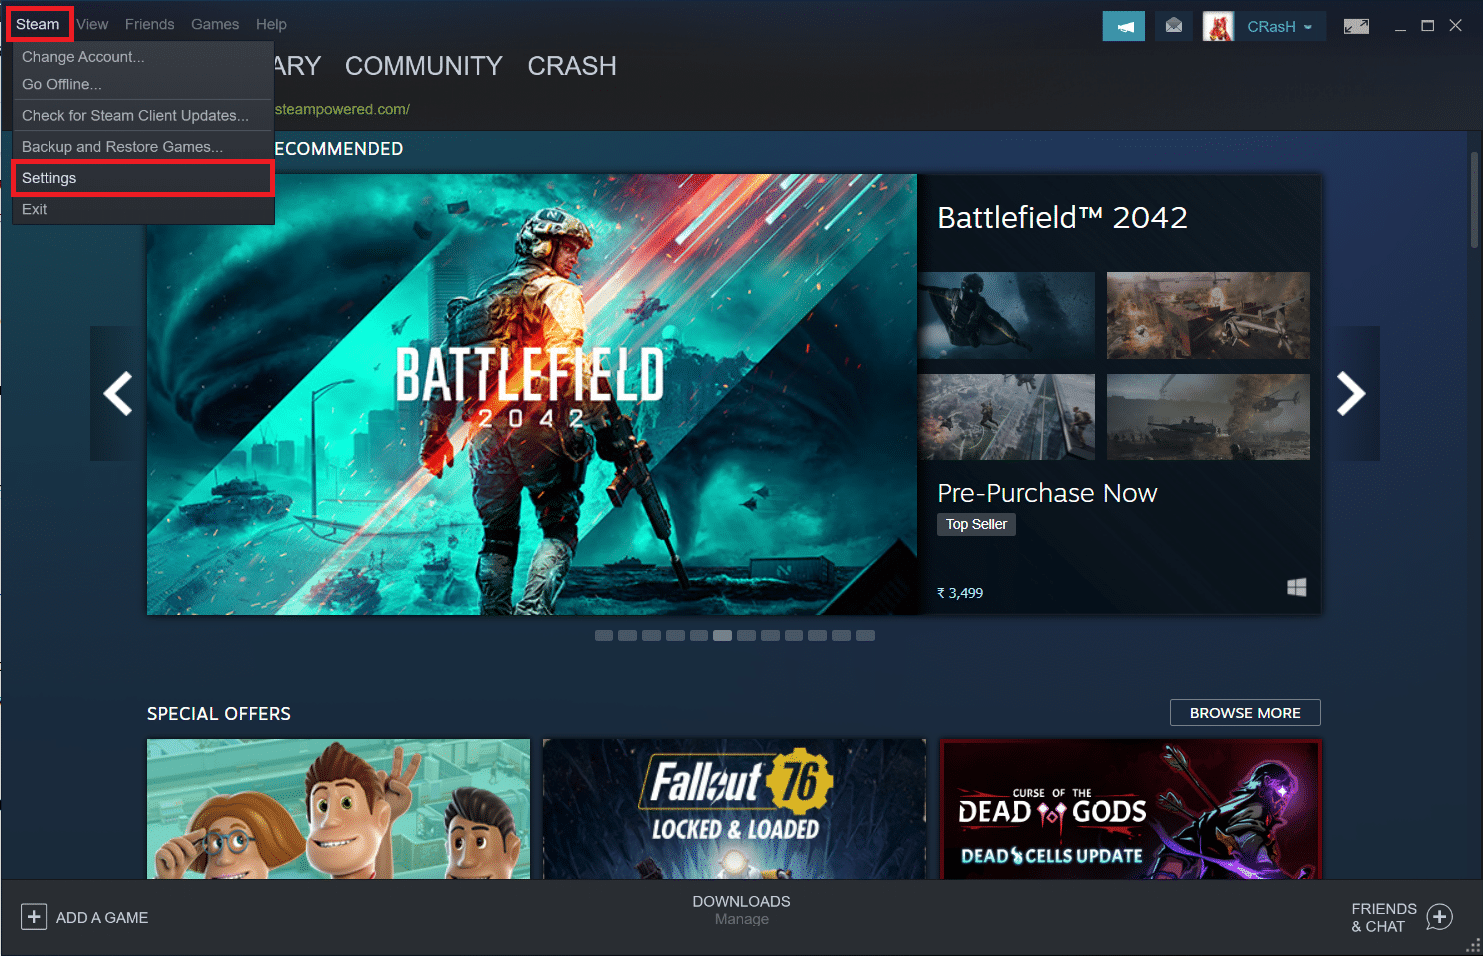
- Open Steam and click on “Steam” in the top left corner.
- Select “Settings” from the dropdown menu.
- Click on the “Downloads” tab.
- Click on “Clear Download Cache”.
- Restart Steam to see if the issue has been resolved.
- Reset Network Settings:
- Press the “Windows” key and “R” at the same time.
- Type “cmd” and press “Enter”.
- Type “netsh winsock reset” and press “Enter”.
- Restart your computer and try again.
- Disable Firewall and Antivirus:
- Temporarily disable your firewall and antivirus software.
- Restart your computer and try again.
- If the issue is resolved, add Steam to your firewall and antivirus exceptions list.
How to Fix “Steam Could Not Connect to Steam Network”
If you are experiencing the “Steam could not connect to Steam network” error message, there are a few troubleshooting steps you can try:
1. Check your network connectivity by ensuring that your Internet connection is working properly.
2. Make sure that your Steam client is up to date by checking for any available updates.
3. Verify the integrity of your game files by right-clicking on the game title in your Steam library, selecting “Properties,” and then clicking on the “Local Files” tab and selecting “Verify integrity of game files.”
4. Try restarting your PC and your router/modem.
5. If none of the above methods work, try resetting your Internet protocol settings.
6. If you are still experiencing issues, try deleting the ClientRegistry.blob file in your Steam installation folder.
By following these troubleshooting methods, you can fix the “Steam could not connect to Steam network” error and get back to enjoying your favorite Steam games with ease.
Tips for Resolving Steam Connection Issues
| Tips for Resolving Steam Connection Issues |
|---|
| Restart Steam Client |
| Check Internet Connection |
| Disable Firewall and Antivirus |
| Update Network Drivers |
| Flush DNS |
| Reset Router |
| Check Steam Server Status |
| Disable VPN or Proxy |
| Verify Game Files |
| Contact Steam Support |