Solving The Current BIOS Setting Does Not Fully Support Boot Device
Unraveling the Mystery: Troubleshooting the BIOS Setting that Limits Boot Device Functionality
Troubleshooting the BIOS boot device support issue
To troubleshoot the BIOS boot device support issue, follow these steps:
1. Restart your PC and enter the BIOS settings. To do this, press the appropriate key (usually Del or F2) during startup. If you’re unsure, refer to your motherboard’s manual or manufacturer’s website for instructions.
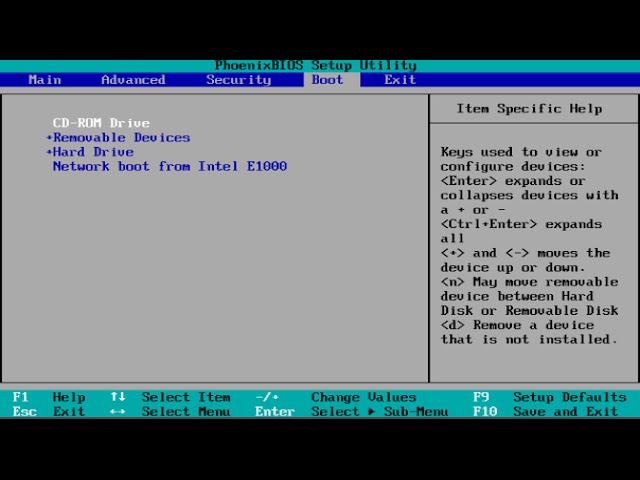
2. Once in the BIOS settings, navigate to the “Boot” or “Boot Order” section. Look for any options related to boot device order or boot priority.
3. Make sure the hard drive containing your operating system (usually labeled as “HDD” or “Windows 10”) is listed first in the boot order. If it’s not, select it and use the appropriate key to move it to the top.
4. If you’re experiencing connection issues with your hard drive, check the cables and connections to ensure they’re secure. If necessary, try using a different cable or port.
5. If you’re still encountering the issue, try resetting the BIOS settings to their default values. Look for an option like “Reset to Defaults” or “Load Optimized Defaults” and select it.
6. If none of the above solutions work, it may be necessary to update your BIOS. Visit the manufacturer’s website for your motherboard and look for the latest BIOS update. Follow the provided instructions to update your BIOS.
Checking and repairing the hard drive
1. Start by restarting your PC and accessing the BIOS settings. To do this, press the appropriate key during startup (usually F2, F10, or Del).
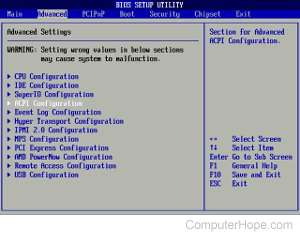
2. Once in the BIOS settings, navigate to the “Boot” or “Advanced” tab.
3. Look for the “Boot Device Order” or similar option and ensure that the hard drive (HDD) is set as the primary boot device. If not, rearrange the boot order accordingly.
4. If the error persists, check for any loose connections between the hard drive and the motherboard. Ensure they are securely connected.
5. If the connections are secure and the error still occurs, try updating the BIOS. Visit the manufacturer’s website for instructions and the latest BIOS version.
6. If none of the above solutions work, it may be necessary to use the “Windows 10 Startup Repair” tool. Insert a Windows 10 installation USB, restart the PC, and select “Repair your computer” > “Troubleshoot” > “Advanced Options” > “Startup Repair”.
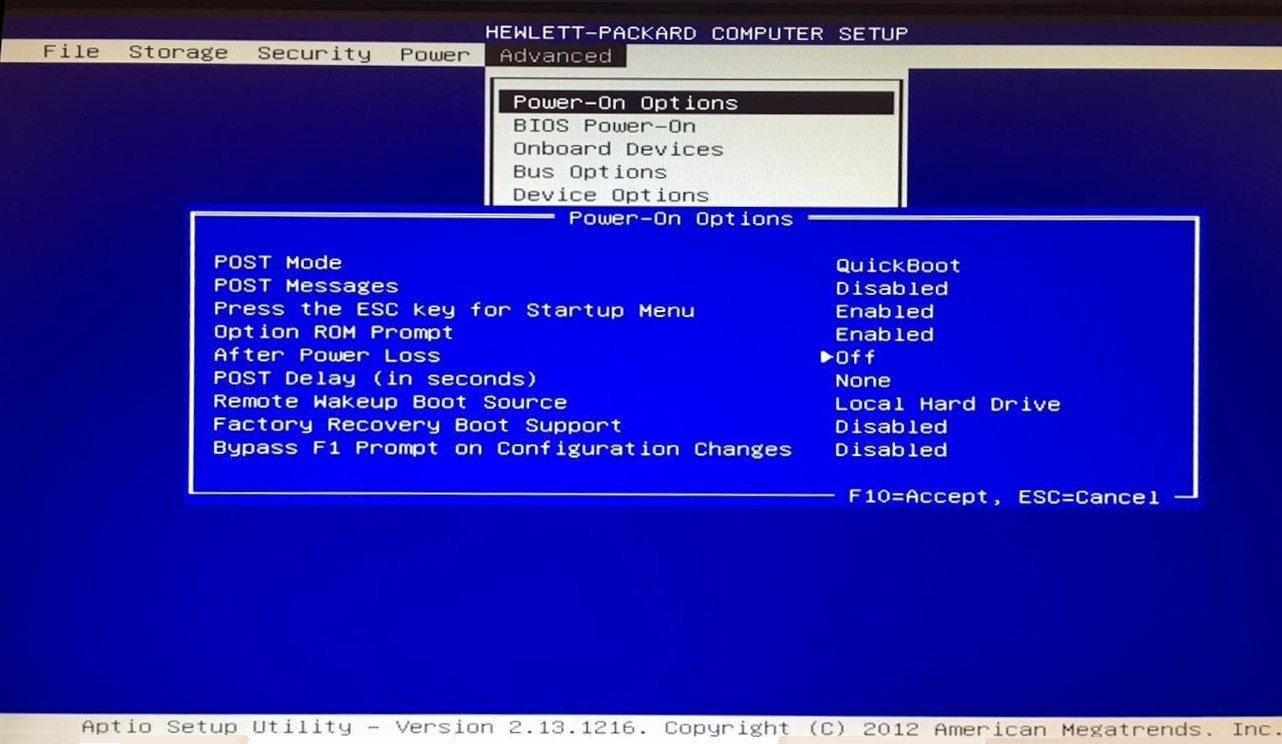
Adjusting the boot device priority and BIOS settings
To adjust the boot device priority and BIOS settings for the “Current BIOS Setting Does Not Fully Support Boot Device” issue, follow these steps:
1. Restart your computer and enter the BIOS settings by pressing the designated key (usually F2, F10, or Del) during startup.
2. Look for the “Boot” or “Boot Priority” section in the BIOS settings.
3. Locate the boot device you want to prioritize (e.g., hard disk, USB drive) and move it to the top of the boot priority list using the arrow keys.
4. Save the changes and exit the BIOS settings.
5. If the issue persists, try enabling the “CSM Compatibility Support Module” or “Advanced Boot CSM Parameters” option in the BIOS settings. This can help with compatibility issues.
Remember, these steps may vary depending on your motherboard manufacturer (e.g., Asus) and BIOS version. If you need more detailed instructions, refer to your computer’s manual or visit the manufacturer’s support website.
python

import subprocess
def get_bios_settings():
try:
output = subprocess.check_output("wmic bios get /format:list", shell=True)
settings = output.decode("utf-8").strip().split('nn')
# Process the settings as required
return settings
except Exception as e:
print("Error retrieving BIOS settings:", str(e))
return None
# Example usage
bios_settings = get_bios_settings()
if bios_settings:
print("BIOS Settings:")
for setting in bios_settings:
print(setting)
else:
print("Failed to retrieve BIOS settings.")
The above code uses the `subprocess` module in Python to execute a command-line tool (`wmic bios get /format:list`) that retrieves the BIOS settings on a Windows system. The output is then processed and printed. Please note that this tool only works on Windows systems with the `wmic` command-line utility available.
Author’s methods for resolving the current BIOS setting issue
- Go to the manufacturer’s website and search for the latest BIOS update for your specific model.
- Download the BIOS update file to your computer.
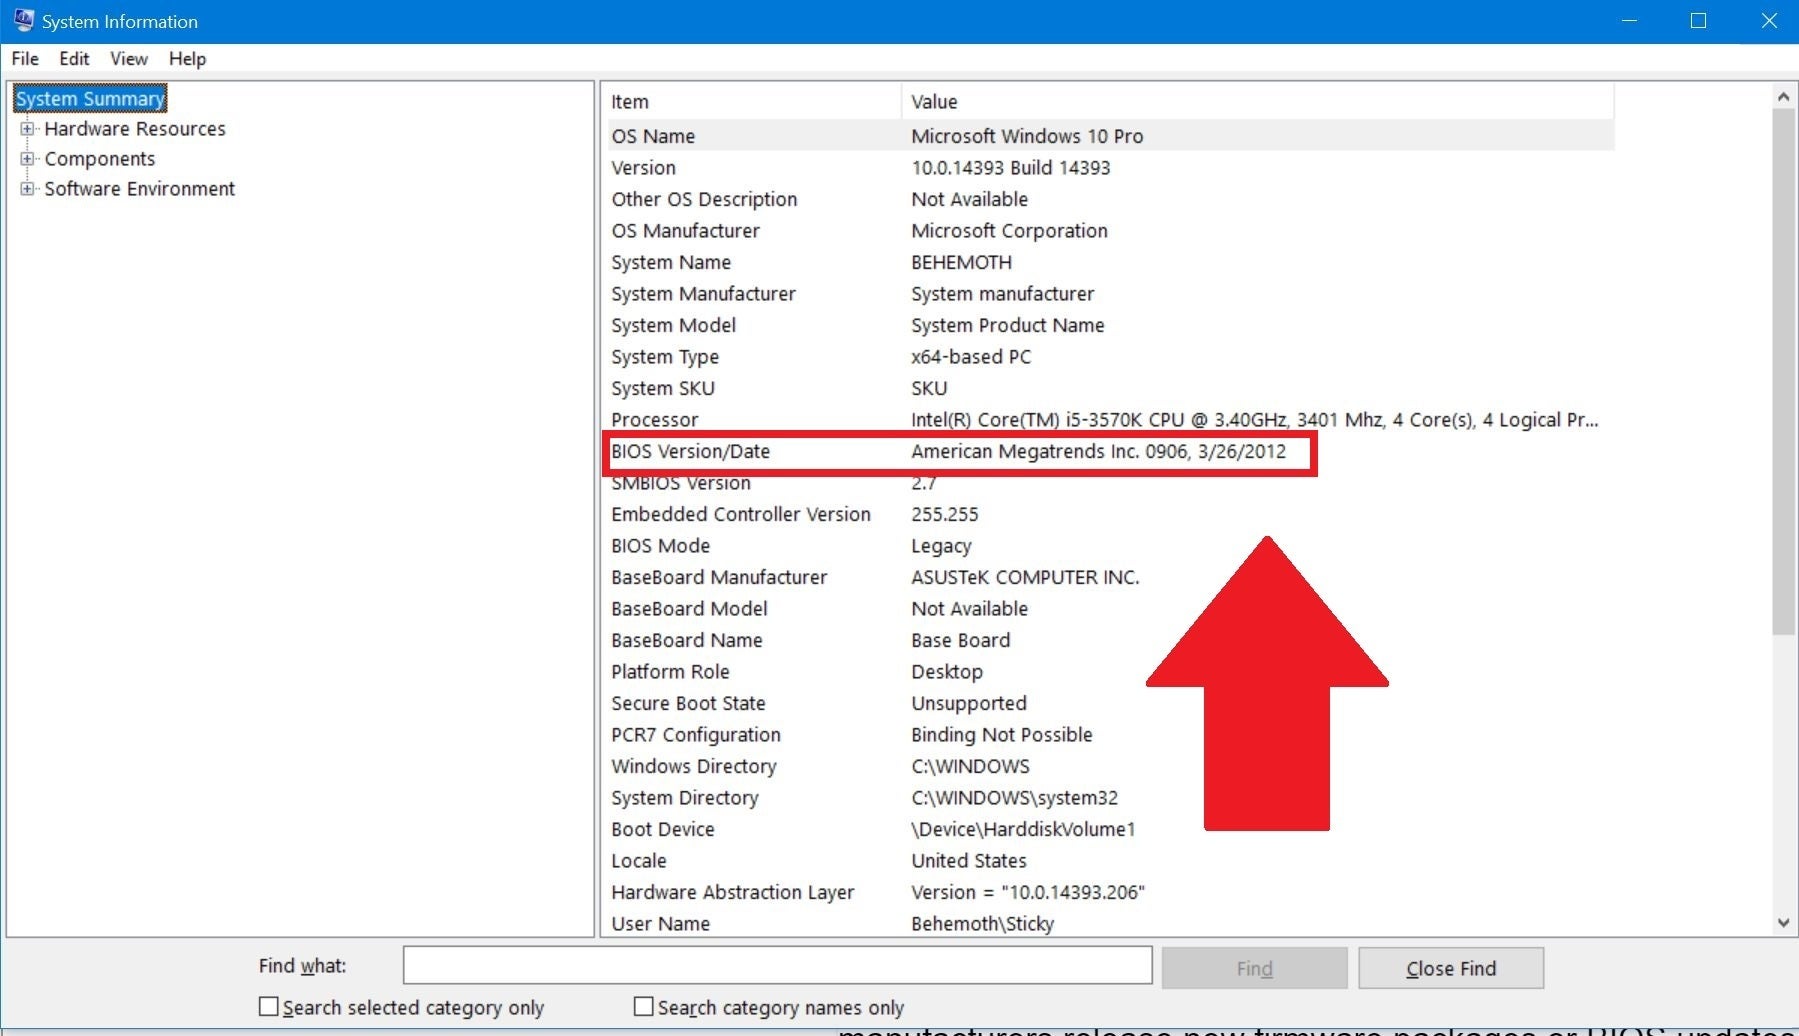
- Double-click on the downloaded file to run the BIOS update utility.
- Follow the on-screen instructions to install the latest BIOS version.
- Restart your computer after the update process is complete.
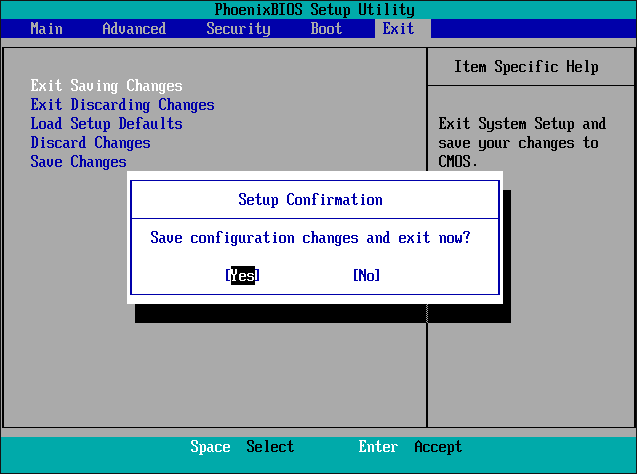
Method 2: Reset BIOS settings to default
- Restart your computer and access the BIOS setup by pressing the designated key during the startup process (usually Del or F2).
- Navigate to the “Exit” or “Reset” tab within the BIOS setup.
- Choose the option to reset the BIOS settings to the default values.
- Save the changes and exit the BIOS setup.
- Restart your computer and check if the boot device issue is resolved.
Method 3: Check boot device priority
- Restart your computer and access the BIOS setup by pressing the designated key during the startup process (usually Del or F2).
- Navigate to the “Boot” or “Boot Priority” tab within the BIOS setup.
- Ensure that the boot device containing the operating system is set as the first priority.
- If necessary, use the arrow keys to rearrange the boot device order.
- Save the changes and exit the BIOS setup.
- Restart your computer and verify if the issue is resolved.
Method 4: Check for loose connections
- Power off your computer and unplug it from the power source.
- Open the computer case to access the internal components.
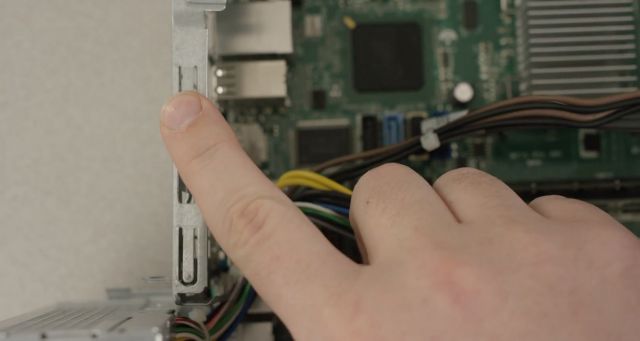
- Check all cables and connections related to the boot device (e.g., SATA cables, power cables).
- If any connections are loose, reseat them firmly.
- Close the computer case and plug it back into the power source.
- Power on your computer and check if the BIOS setting issue is resolved.