Solving Windows 10 DVD Drive Not Working
In this article, we explore the practical solutions to address the frustrating issue of DVD drive malfunctioning on Windows 10.
Use Windows Update to Fix DVD Drive Issues
If you’re experiencing issues with your DVD drive on Windows 10, you can use Windows Update to help resolve the problem.
To do this, follow these steps:
1. Press the Windows key + I to open the Settings app.
2. Click on “Update & Security”.
3. Select “Windows Update” from the left-hand menu.
4. Click on “Check for updates”.
5. Install any available updates for your system.
Note: Make sure your computer is connected to the internet to download and install the updates.
After the updates are installed, restart your computer and check if the DVD drive is working properly. If the issue persists, you can try other troubleshooting methods or contact our support team for further assistance.
Remember, keeping your Windows 10 up to date can help resolve many common DVD drive issues.
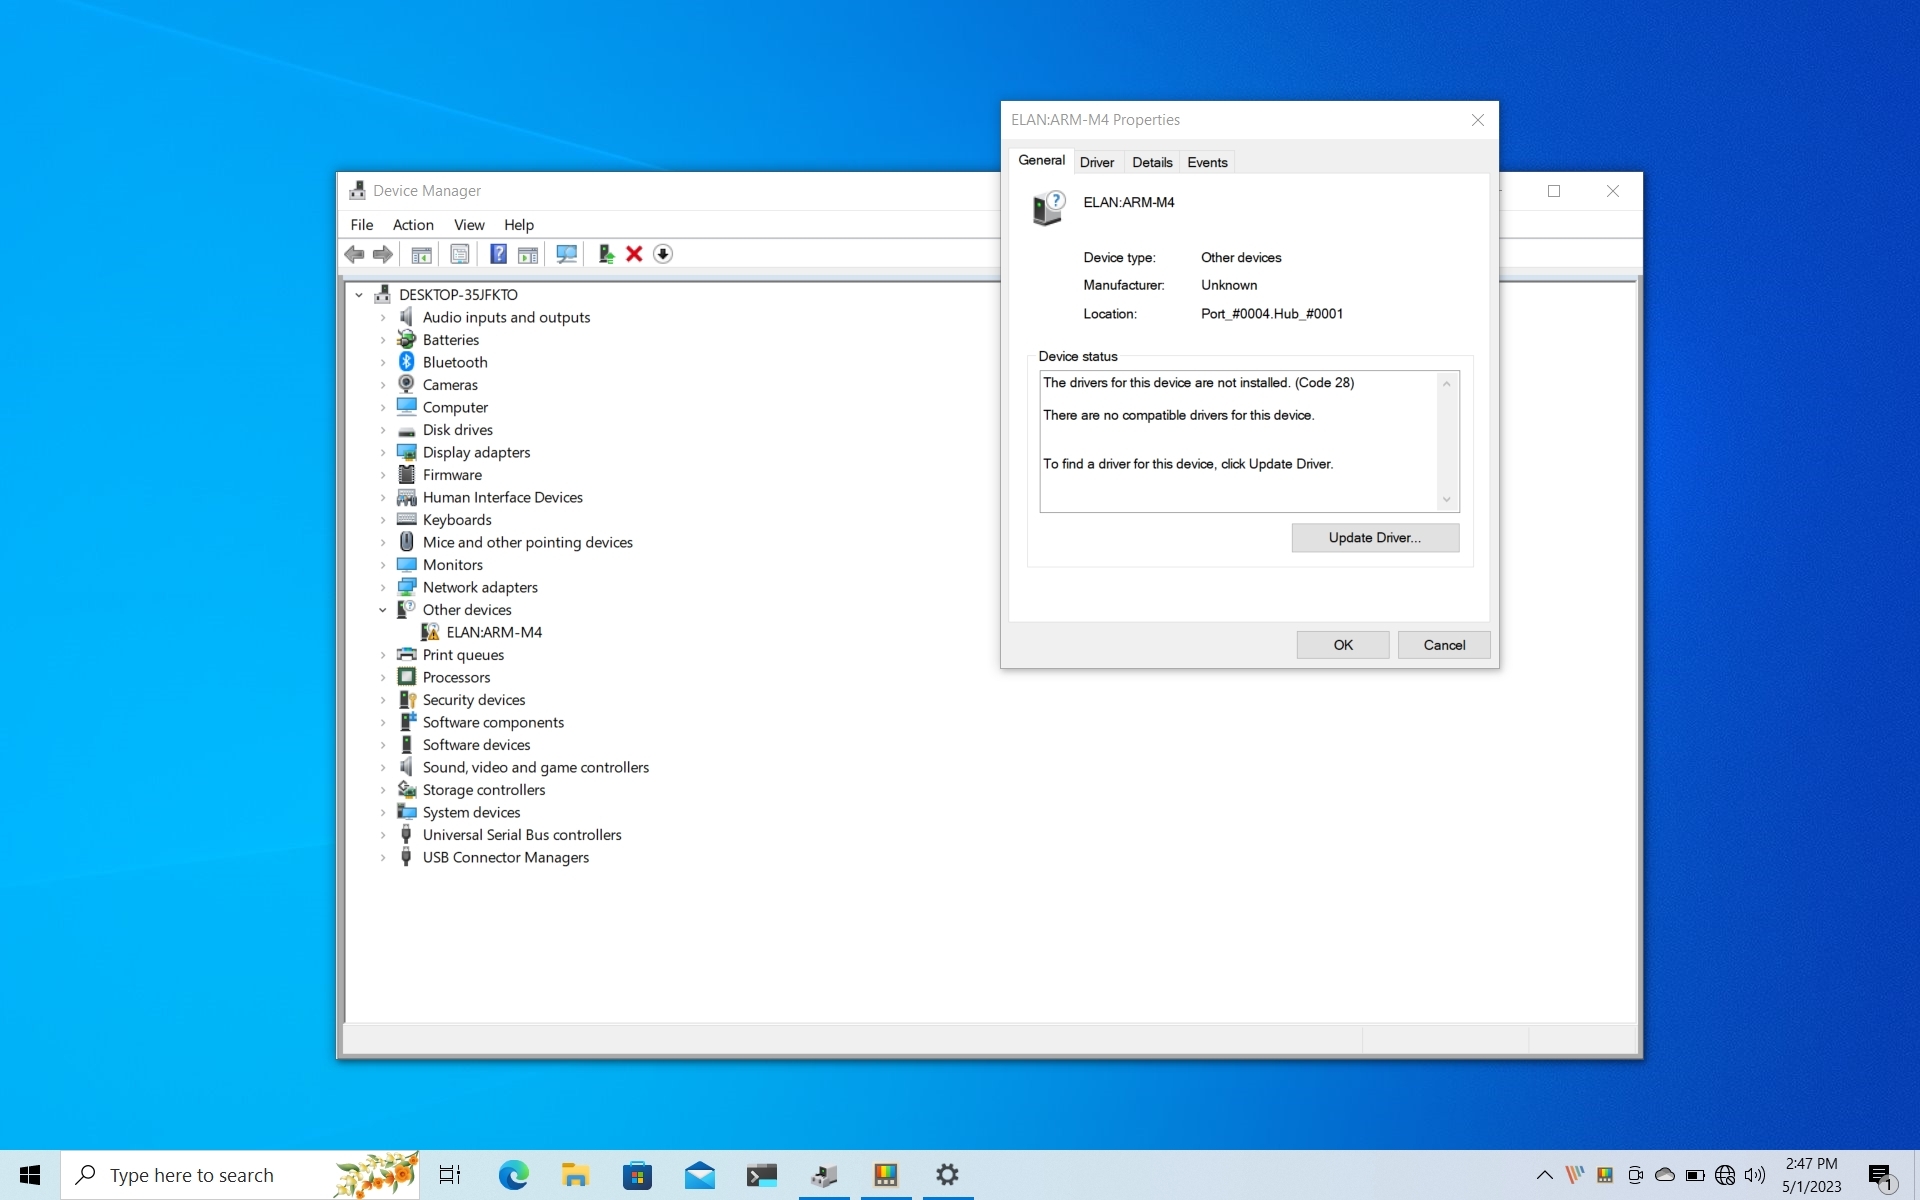
Reinstall or Update Driver in Device Manager
To reinstall or update a driver in Device Manager, follow these steps:
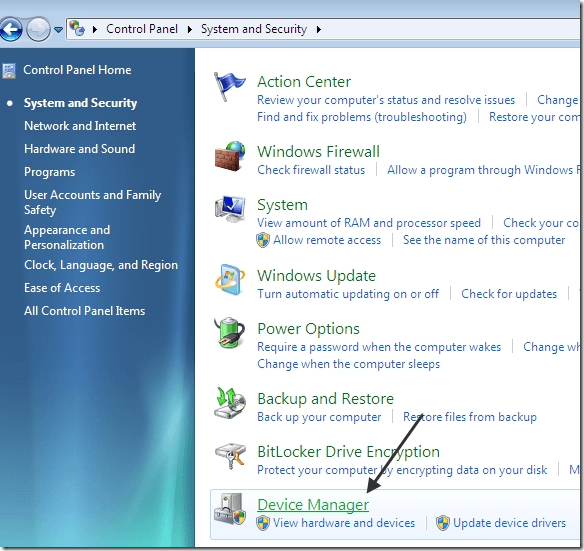
1. Press the Windows key + X, and then select Device Manager from the menu.
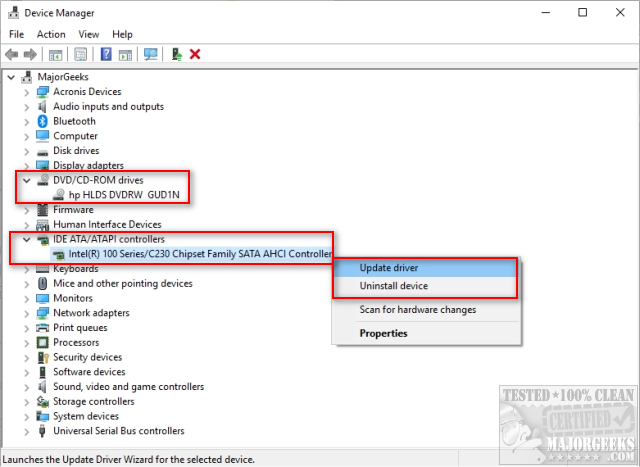
2. Expand the DVD/CD-ROM drives category by clicking on the arrow next to it.
3. Right-click on the DVD drive that is not working and select Uninstall device.
4. In the confirmation dialog box, click Uninstall.
5. After the driver is uninstalled, click the Action tab at the top of the Device Manager window, and then select Scan for hardware changes.
6. Windows will automatically reinstall the driver for your DVD drive.
7. If the driver is not automatically installed, you can manually install it. Right-click on the DVD drive and select Update driver.
8. Choose the option to Search automatically for updated driver software.
9. Follow the on-screen instructions to complete the driver installation.
Remember to restart your computer after reinstalling or updating the driver. This should resolve issues with your DVD drive not working properly.
Remove Virtual Drive Software
To remove virtual drive software from your Windows 10 PC, follow these steps:
1. Press the Windows key + R to open the Run dialog box.
2. Type “appwiz.cpl” and press Enter to open the Programs and Features window.
3. Look for any virtual drive software installed on your computer, such as EaseUS Todo Backup, and uninstall it.
4. Restart your computer to complete the uninstallation process.
Removing virtual drive software can help resolve issues with your DVD drive not working properly. By following these steps, you can eliminate any potential conflicts between the virtual drive software and your DVD driver.
If you’re still experiencing problems with your DVD drive, you may need to update or reinstall the DVD driver. You can do this by following the instructions provided by the manufacturer of your DVD drive or by using Windows Update to find the latest driver version.
Remember to always make sure your DVD drive is properly connected and that the disc tray is clean and free from any debris.
python

import wmi
def check_dvd_drive():
c = wmi.WMI()
drives = c.Win32_CDROMDrive()
if len(drives) > 0:
print("DVD drive(s) found:")
for drive in drives:
print(drive.Caption)
else:
print("No DVD drive found.")
check_dvd_drive()
This code snippet utilizes the `wmi` module in Python to interact with the Windows Management Instrumentation (WMI) and retrieve information about DVD drives. It lists the names/captions of all the DVD drives found on the system. However, it doesn’t address any specific issues related to DVD functionality.
Remember, this is just a basic example and may not cover all possible scenarios or resolve any specific problems you might encounter with a DVD drive on a Windows 10 system. It is always recommended to consult official documentation, forums, or seek professional assistance for specific issues.
Check BIOS/UEFI Settings and Update Chipset Firmware
To check BIOS/UEFI settings and update chipset firmware for a non-working DVD drive in Windows 10, follow these steps:
1. Restart your computer and enter the BIOS/UEFI settings by pressing a specific key during startup (refer to your computer’s manual for the correct key).
2. In the BIOS/UEFI settings, navigate to the “Boot” or “Advanced” section and ensure that the CD/DVD drive is enabled and set as the primary boot device.
3. Save the changes and exit the BIOS/UEFI settings.
4. Once your computer restarts, press the Windows key + X, and select “Device Manager.”
5. Expand the “DVD/CD-ROM drives” category and right-click on your CD/DVD drive.
6. Select “Update driver” and choose the option to search automatically for updated driver software.
7. If a new driver is found, follow the on-screen instructions to install it.
8. Additionally, you can visit the manufacturer’s website to download and install the latest chipset firmware for your CD/DVD drive.
9. Finally, restart your computer and check if the DVD drive is now working properly.
Remember to consult your computer’s manual or contact the manufacturer’s support if you encounter any difficulties during this process.
Edit Windows Registry to Fix CD Drive Issues
If you’re experiencing issues with your CD drive on Windows 10, editing the Windows Registry can be an effective solution. Here’s a step-by-step guide to help you fix the problem:
1. Press the Windows key + R to open the Run dialog box.
2. Type “regedit” and press Enter to open the Registry Editor.
3. In the left pane, navigate to the following location:
HKEY_LOCAL_MACHINESYSTEMCurrentControlSetControlClass{4D36E965-E325-11CE-BFC1-08002BE10318}
4. Look for the UpperFilters and LowerFilters entries in the right pane.
5. Right-click on each entry and select “Delete.” Confirm the deletion if prompted.
6. Close the Registry Editor and restart your computer.
After following these steps, your CD drive should be working properly again. Remember to exercise caution when making changes to the Windows Registry, as incorrect modifications can cause system issues.
Playing DVD Movies in Windows 10
If your Windows 10 DVD drive is not working, there are a few steps you can take to address the issue.
First, ensure that your DVD drive is properly connected and recognized by your computer. Check the Device Manager to see if it appears under “DVD/CD-ROM drives.” If not, you may need to update the drivers for your optical drive.
To update the drivers, follow these steps:
1. Press the Windows key + X and select “Device Manager.”
2. Locate your DVD drive under “DVD/CD-ROM drives” and right-click on it.
3. Select “Update driver” and follow the on-screen instructions.
If updating the drivers doesn’t resolve the issue, you can try other fixes such as resetting the optical drive, running the Windows DVD troubleshooter, or reinstalling Windows Media Player.
Remember to always check for software updates and ensure that your DVD drive is compatible with Windows 10.
Symptoms and Resolutions for DVD Drive Issues
-
Step 1: Check device manager for DVD drive issues
- Open Device Manager by pressing Windows key + X and selecting Device Manager
- Expand the DVD/CD-ROM drives category
- If there is a yellow exclamation mark or a down arrow icon next to the DVD drive, right-click on it and select Update driver
- Follow the on-screen instructions to update the driver
- If the driver is already up to date, right-click on the DVD drive and select Uninstall device
- Restart the computer and let Windows automatically reinstall the DVD drive
-
Step 2: Check for driver updates
- Open Device Manager as explained in Step 1
- Right-click on the DVD drive and select Update driver
- Select Search automatically for updated driver software
- If an updated driver is found, follow the on-screen instructions to install it
-
Step 3: Disable and re-enable the DVD drive
- Open Device Manager
- Expand the DVD/CD-ROM drives category
- Right-click on the DVD drive and select Disable device
- Wait for a few seconds, then right-click on the DVD drive again and select Enable device
-
Step 4: Check for hardware issues
- Make sure the DVD drive is properly connected to the computer
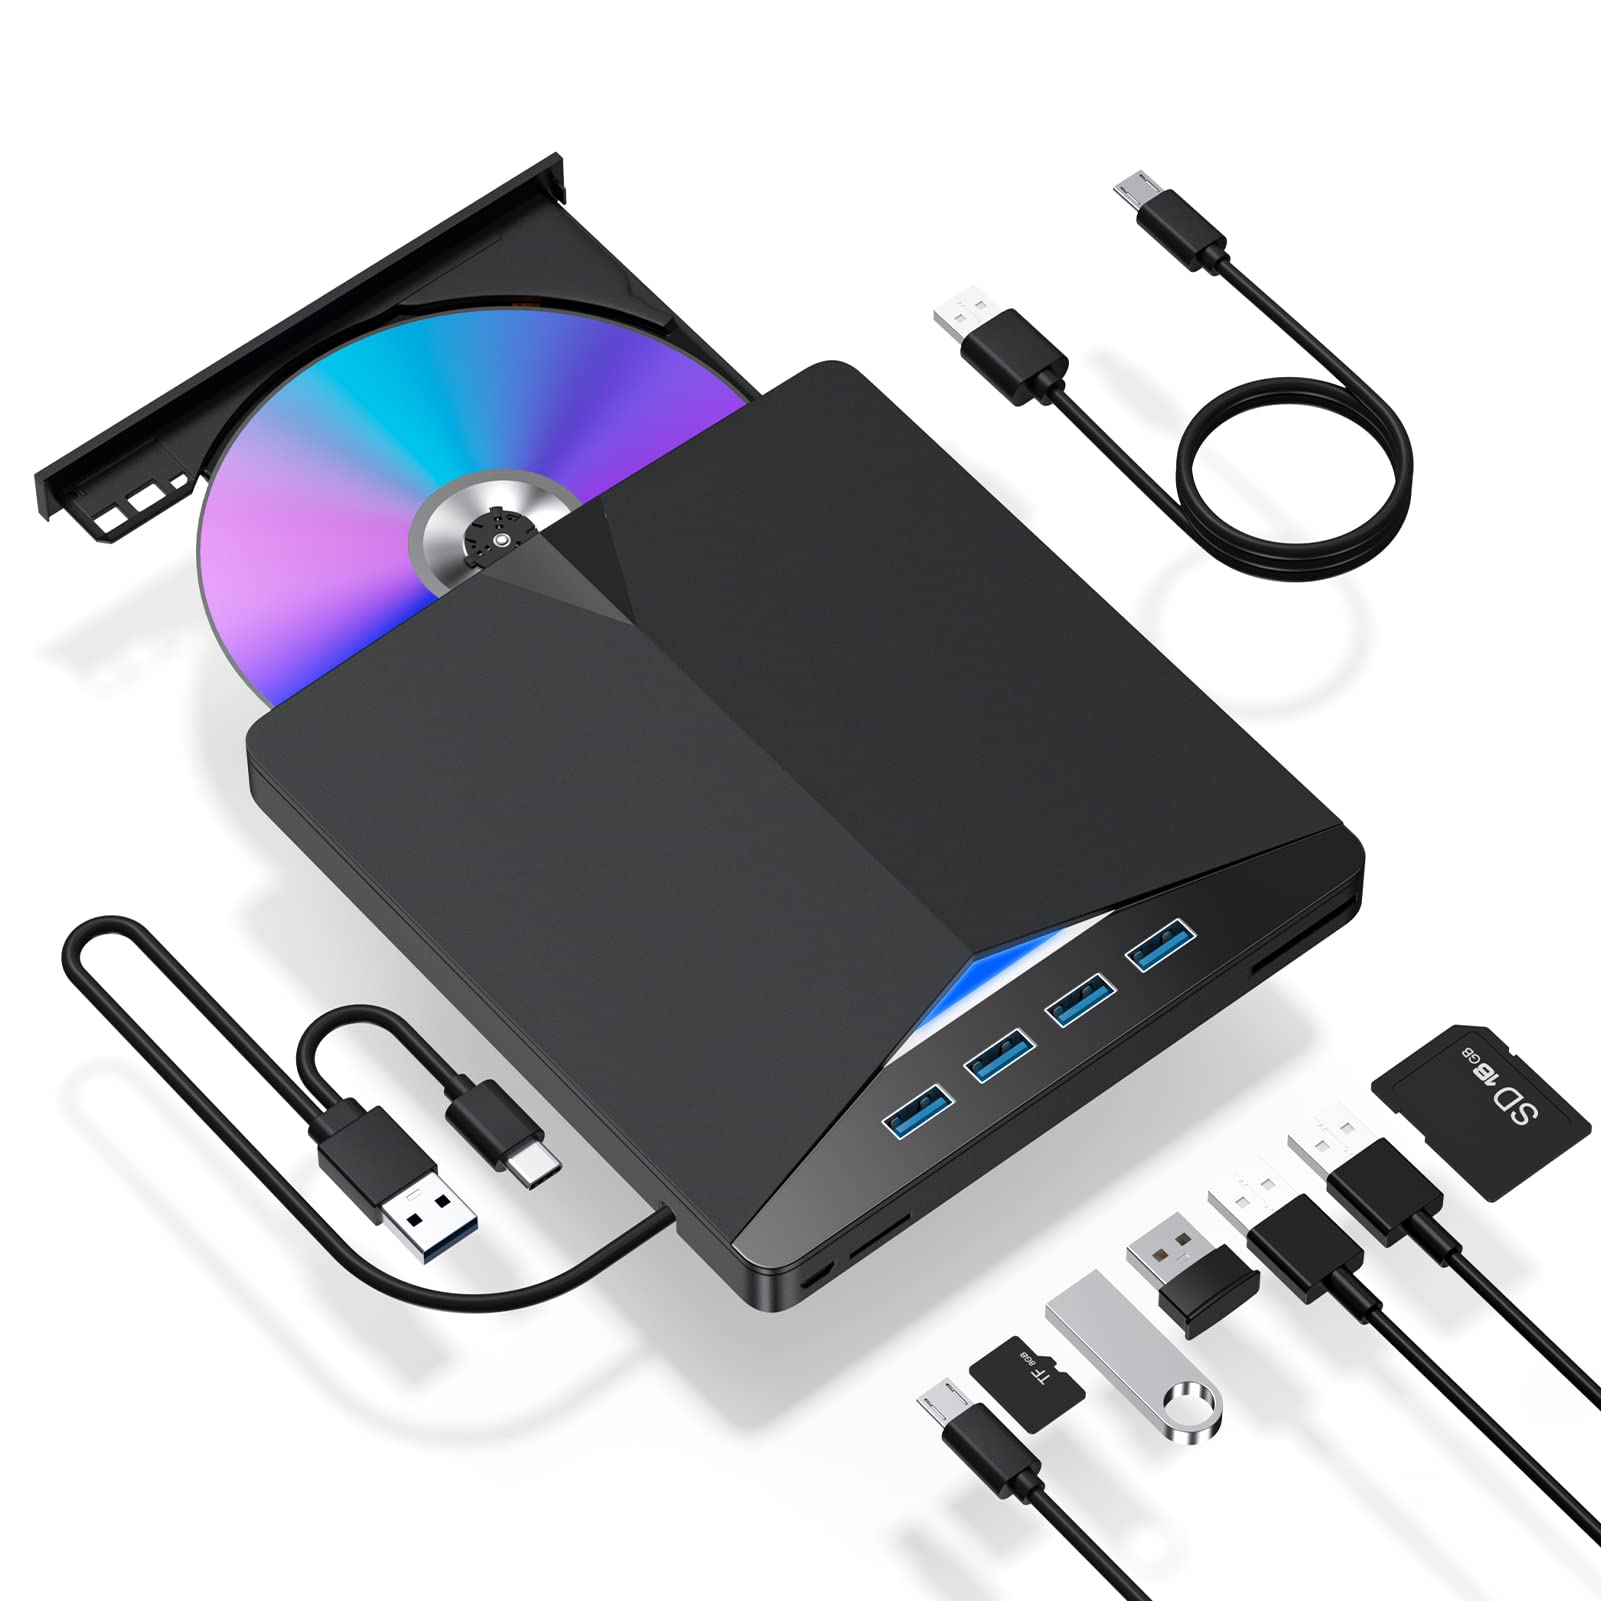
- If using an external DVD drive, ensure it is connected to a working USB port
- If the DVD drive is connected via SATA, check if the cables are securely attached to both the drive and the motherboard
- If possible, try connecting the DVD drive to a different computer to see if it works
-
Step 5: Run the Hardware and Devices troubleshooter
- Open Settings by pressing Windows key + I
- Go to Update & Security
- Select Troubleshoot from the left menu
- Click on Hardware and Devices and then click Run the troubleshooter
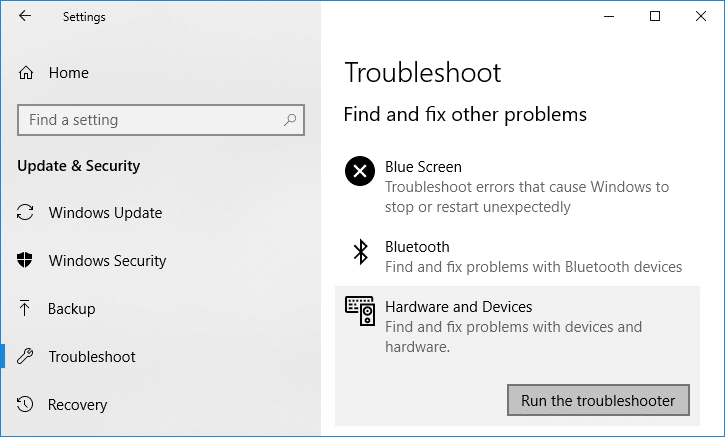
- Follow the on-screen instructions to complete the troubleshooting process
Methods to Fix Windows 10 DVD Drive Not Working
| Method | Description |
|---|---|
| 1. Update DVD Drive Drivers | Check for any available updates for the DVD drive drivers and install them. |
| 2. Uninstall DVD Drive and Restart | Uninstall the DVD drive from Device Manager, restart the computer, and let Windows reinstall the driver. |
| 3. Check for Hardware Changes | Scan for hardware changes in Device Manager to detect and reinstall the DVD drive. |
| 4. Run Hardware and Devices Troubleshooter | Use the built-in Hardware and Devices troubleshooter to automatically detect and fix DVD drive issues. |
| 5. Enable DVD Drive in BIOS | Access the computer’s BIOS settings and ensure that the DVD drive is enabled. |
| 6. Clean DVD Drive Lens | Carefully clean the lens of the DVD drive using a soft cloth or lens cleaning kit. |
| 7. Check DVD Drive Power and Data Connections | Make sure that the power and data cables connecting the DVD drive are properly connected and not loose. |
| 8. Disable and Enable DVD Drive | Disable the DVD drive in Device Manager, restart the computer, and then re-enable the drive. |
| 9. Check Third-Party Software Conflicts | Temporarily disable or uninstall any third-party software that may be conflicting with the DVD drive. |
| 10. Perform System Restore | Restore the computer to a previous point in time when the DVD drive was working correctly. |