Windows 10 USB Install Stuck on Logo – Fix & Troubleshoot
Welcome to this informative article where we dive into the frustrating world of Windows 10 USB installation issues. If you’ve ever found yourself staring at a static Windows logo while attempting to install the operating system, fear not, as we are here to guide you through troubleshooting and fixing this common stumbling block.
Windows installation stuck during setup
If your Windows 10 USB installation is stuck on the logo screen, follow these steps to fix the issue:
1. Disconnect all unnecessary USB devices from your computer, including external drives and peripherals.
2. Restart your computer and boot from the USB installation media.
3. On the “Please wait” or “Getting ready” screen, press Ctrl + Shift + F3 to enter audit mode.
4. Open Device Manager and check for any hardware or driver issues. Update or uninstall problematic drivers.
5. If the issue persists, try using different USB ports on your computer.
6. If you’re using a laptop, connect it to a power source to ensure stable power supply during the installation.
7. If you’re using a MacBook Pro with Boot Camp, make sure you have the latest Boot Camp drivers installed.
8. If you’re using a virtualization software like VMware Workstation or Virtualbox, make sure you have the latest version installed.
9. If you’re still experiencing issues, try creating a new USB installation media using the WindowsMediaCreationTool or an ISO file.
Windows installation stuck on logo screen
If your Windows 10 USB installation is stuck on the logo screen, here are some troubleshooting steps to try:
1. Check your USB ports: Ensure that the USB port you’re using is functioning properly. Try connecting the USB drive to a different port.
2. Restart your computer: Sometimes, a simple restart can resolve the issue. Press and hold the power button until your computer turns off, then turn it back on.
3. Disconnect unnecessary devices: Unplug any external devices, such as printers or external hard drives, that are connected to your computer. This can help eliminate any conflicts.
4. Use Windows Startup Repair: Restart your computer and repeatedly press the F8 key until the Advanced Boot Options menu appears. Select “Repair your computer” and follow the on-screen instructions.
5. Check for hardware issues: If the problem persists, it could be related to faulty hardware. Consider contacting your computer manufacturer for further assistance.
Windows installation stuck on getting ready
If your Windows 10 USB installation is stuck on the “Getting Ready” screen, there are a few troubleshooting steps you can try to fix the issue.
First, make sure your internet connection is stable and that you have enough disk space for the installation.
Next, try restarting your computer and booting from the USB again. If that doesn’t work, try using a different USB port or a different USB drive.
If you’re using a virtual machine like VMware Workstation or Virtualbox, make sure you have the necessary settings configured.
If none of these solutions work, you may need to perform a startup repair or reinstall Windows using an ISO or the Windows Media Creation Tool.
Windows installation blocked or inaccessible
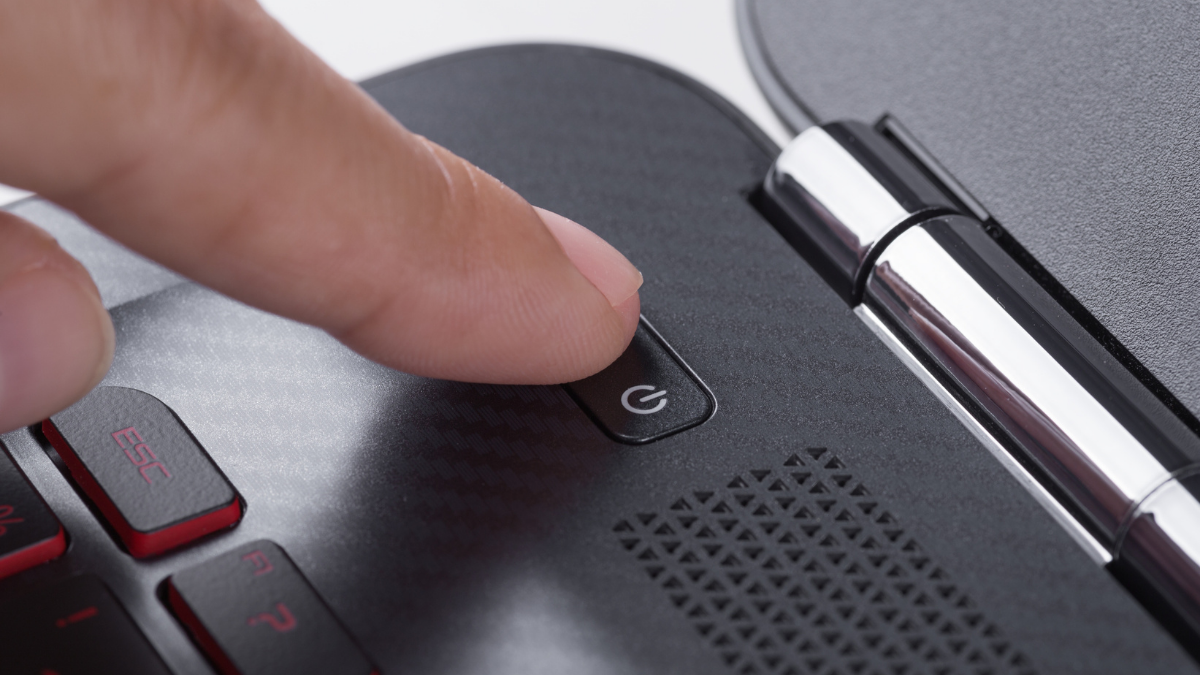
- Press and hold the power button on your computer until it turns off completely.
- Wait for a few seconds, then press the power button again to turn on the computer.
- Check if the Windows 10 USB installation continues past the logo screen.
Repair Method 2: Disconnect External Devices
- Unplug any external devices connected to your computer, such as USB drives, printers, or external hard drives.
- Restart the computer and try the Windows 10 USB installation again.
Repair Method 3: Boot into Safe Mode
- Restart the computer and continuously press the F8 key before the Windows logo appears.
- Select “Safe Mode” from the Advanced Boot Options menu.

- Once in Safe Mode, open Device Manager by pressing Windows key + X and selecting “Device Manager” from the menu.
- Expand the “Display adapters” category, right-click on your graphics card, and select “Uninstall device.”
- Restart the computer and try the Windows 10 USB installation again.
Repair Method 4: Check BIOS Settings
- Restart the computer and continuously press the F2 or Del key to enter the BIOS setup.
- Navigate to the “Boot” or “Startup” section in the BIOS menu.
- Ensure that the USB drive is set as the primary boot device.
- Save the changes and exit the BIOS.
- Restart the computer and check if the Windows 10 USB installation proceeds.
Repair Method 5: Create a New Windows 10 USB Installer
- Using a different computer, download the official Windows 10 ISO file from the Microsoft website.
- Insert a blank USB drive into the computer.
- Use a reliable tool, such as Rufus, to create a bootable USB installer with the Windows 10 ISO file.
- Once the USB installer is created, insert it into the problematic computer and restart.
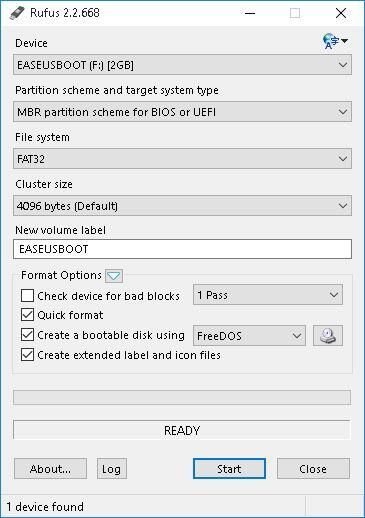
- Follow the on-screen prompts to install Windows 10 from the new USB installer.