Fixing Kernel Power 41 Error in Windows 10
Unveiling the Path to Resolving the Kernel Power 41 Error in Windows 10
Introduction to the Kernel Power 41 Error
The Kernel Power 41 error in Windows 10 is a critical error that can cause your PC to suddenly shut down or restart without warning. This can be frustrating and disruptive, but there are steps you can take to fix it. Here are some troubleshooting tips:
1. Check for hardware issues: Make sure all your hardware components, such as your video card, sound card, and memories, are properly installed and functioning correctly.
2. Update drivers: Outdated or incompatible drivers can be a common cause of the Kernel Power 41 error. Use a reliable driver update tool like Driver Easy to automatically update your drivers.
3. Reset BIOS settings: Resetting your BIOS to default settings can help resolve any configuration issues that may be causing the error.
4. Run a power configuration command: Open Command Prompt as an administrator and enter the command “powercfg -h off” to disable hibernation mode, which has been known to cause the Kernel Power 41 error.
5. Check the event log: Use the Event Viewer in Windows to view the event log and look for any critical errors or warnings related to the Kernel Power 41 error. This can help identify the underlying cause of the problem.
Methods to Fix the Kernel Power 41 Error
- Make sure all power cables are properly connected to your computer and power outlets.
- Check for any loose connections or damaged cables.
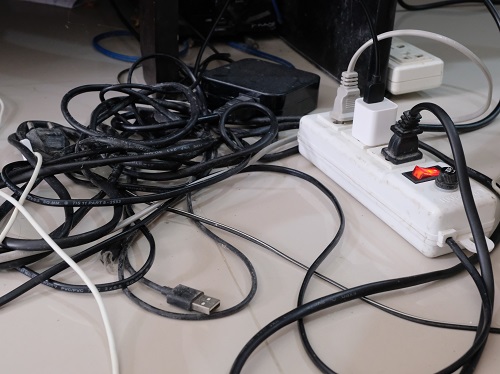
- If using a power strip or surge protector, try plugging directly into a wall outlet.
- Consider using a different power outlet to rule out any issues with the current outlet.
Method 2: Update Device Drivers
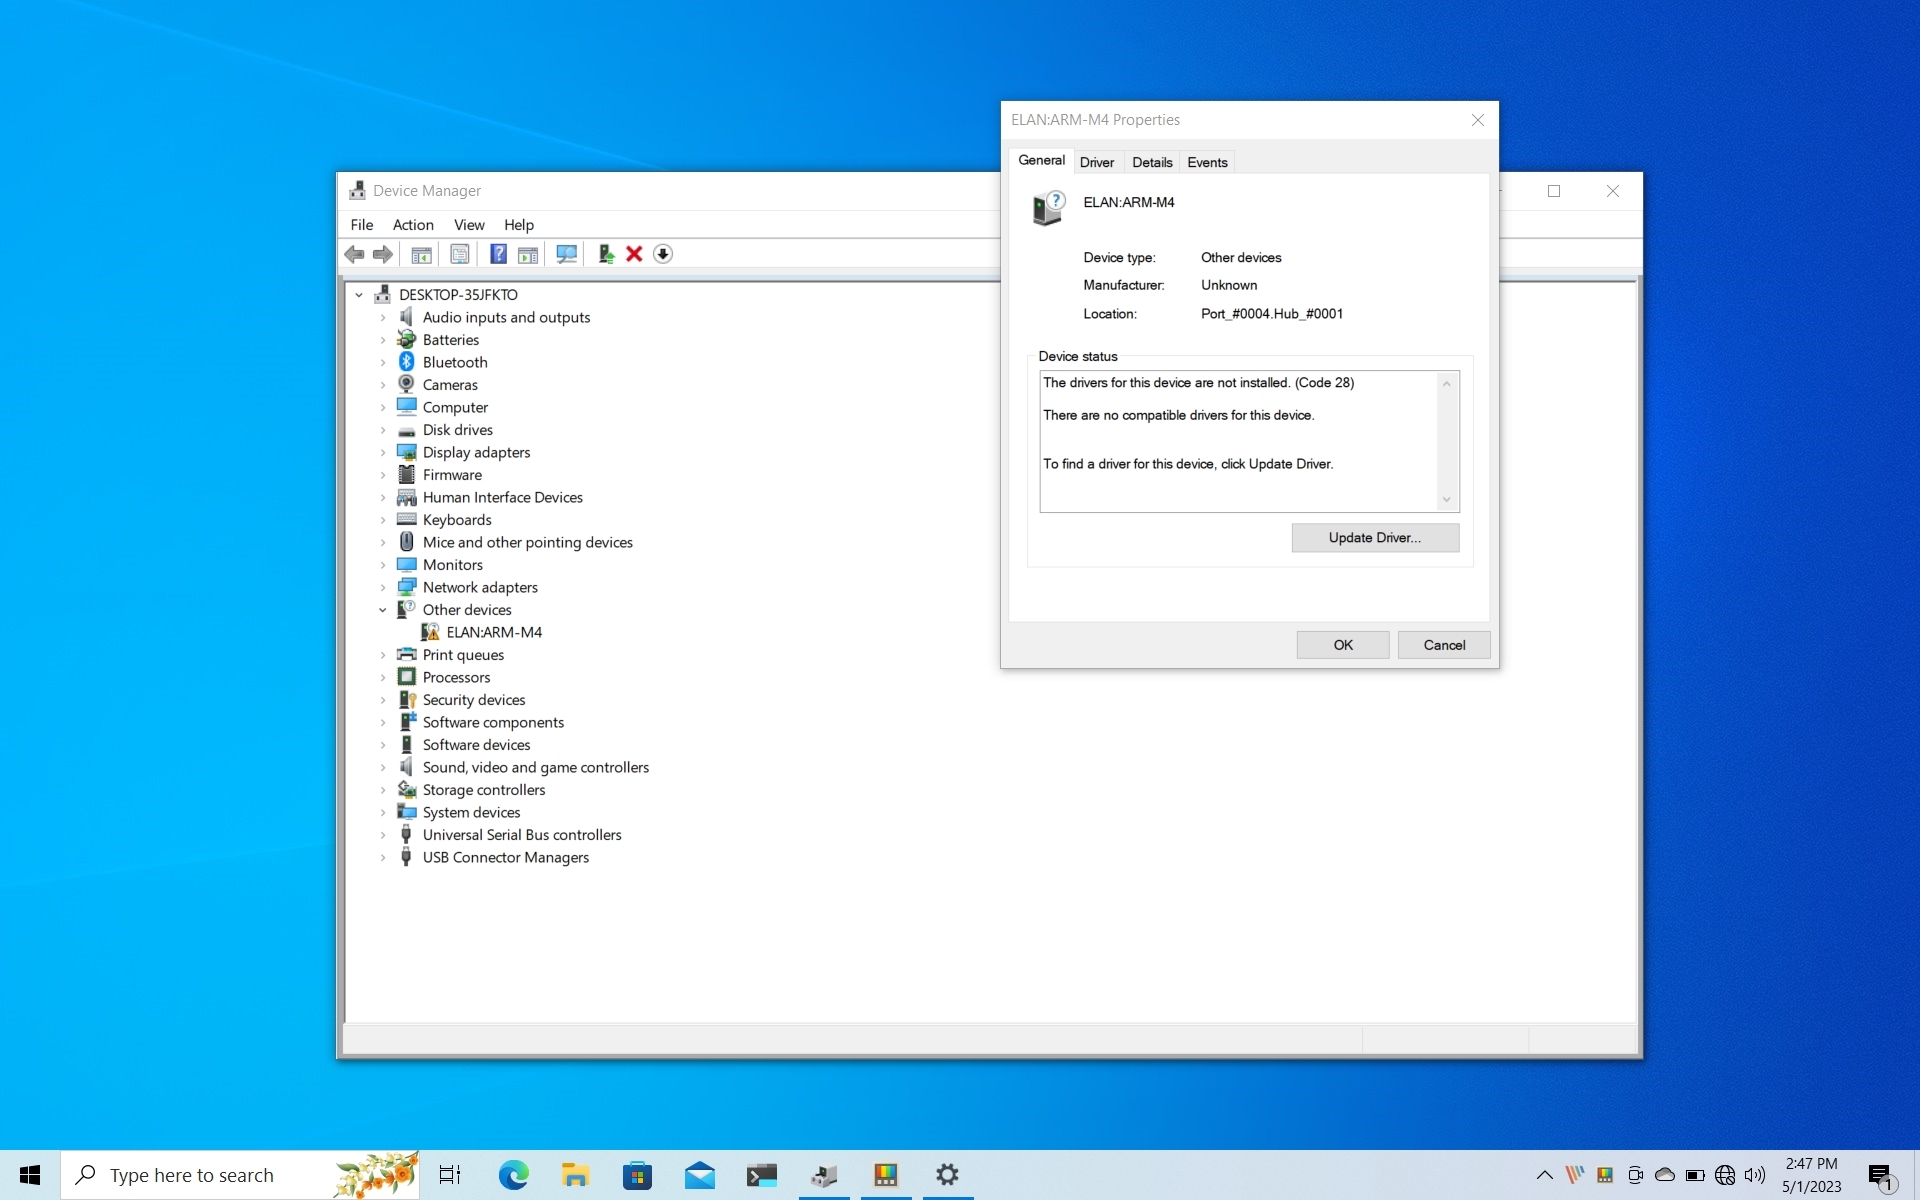
- Open Device Manager by pressing Windows Key + X and selecting Device Manager from the list.
- Expand the categories and look for any devices with a yellow exclamation mark.
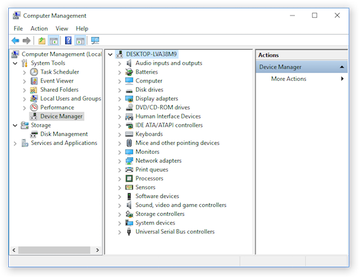
- Right-click on the device with the exclamation mark and select Update driver.
- Choose the option to Search automatically for updated driver software.
- Follow the on-screen instructions to complete the driver update process.
- Repeat this process for any other devices with exclamation marks.
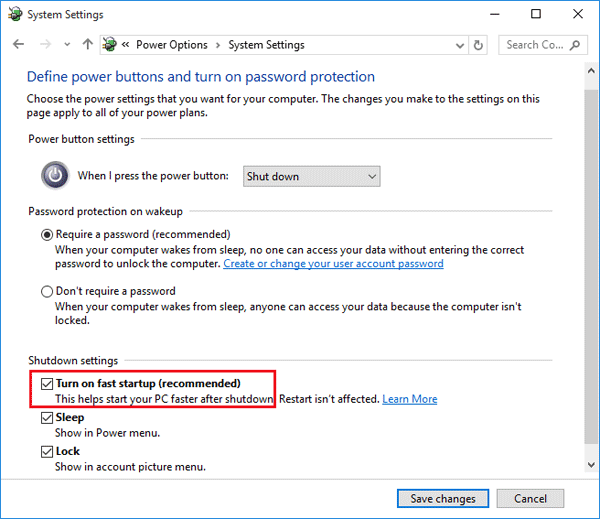
Method 3: Disable Fast Startup
- Open the Control Panel by pressing Windows Key + X and selecting Control Panel.
- Click on Power Options.
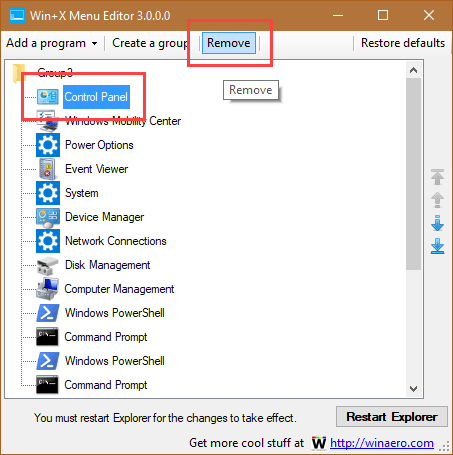
- Click on Choose what the power buttons do from the left sidebar.
- Click on Change settings that are currently unavailable.
- Scroll down to the Shutdown settings section and uncheck the box next to Turn on fast startup (recommended).
- Click Save changes to apply the changes.
Method 4: Perform a Clean Boot
- Press Windows Key + R to open the Run dialog box.
- Type msconfig and press Enter to open the System Configuration window.
- In the General tab, select the option for Selective startup.
- Uncheck the box next to Load startup items.
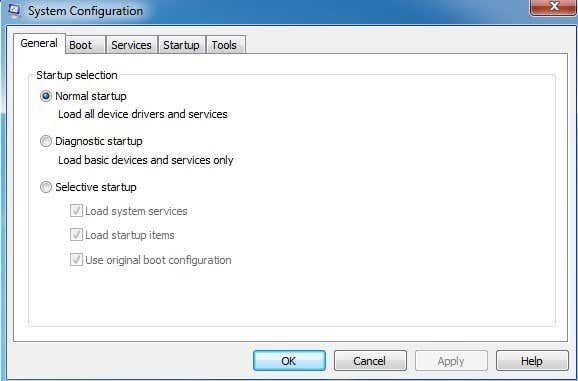
- Go to the Services tab and check the box for Hide all Microsoft services.
- Click on Disable all to disable all non-Microsoft services.

- Click Apply and then OK.
- Restart your computer for the changes to take effect.
Update All Drivers to Resolve the Error
Update all drivers on your PC to resolve the Kernel Power 41 error in Windows 10. Outdated or incompatible drivers can cause this critical error, leading to system issues like blue-screening. To fix the problem, follow these steps:
1. Open Driver Easy (or any driver update tool).
2. Click “Scan Now” to detect outdated drivers.
3. Click “Update All” to automatically update all drivers.
4. Restart your system to apply the driver updates.
By updating your drivers, you can address any compatibility issues and improve system stability. This troubleshooting method has proven effective for many users experiencing the Kernel Power 41 error.
python

import subprocess
def analyze_power_error():
try:
# Run the system event log query command
command = 'wevtutil qe System "/q:*[System [(EventID=41)]]" /rd:true /f:text'
output = subprocess.check_output(command, shell=True, stderr=subprocess.STDOUT)
# Process the output to extract relevant information
events = output.decode('utf-8').split('Event[0-9]+:')
for event in events:
if 'Kernel-Power' in event:
print(event.strip())
except subprocess.CalledProcessError as e:
print(f"Error executing command: {e.output.decode('utf-8')}")
# Call the function to analyze the power error
analyze_power_error()
Please note that this code sample utilizes the `wevtutil` command-line tool available in Windows to query the system event log for events related to the “kernel 41 power error.” The tool searches for events with Event ID 41 and filters out any non-Kernel-Power related events. Finally, it prints the found events to the console.
Keep in mind that this is a basic example, and depending on your specific requirements, you may need to modify or enhance the code accordingly.
Change Power Options to Fix the Error
To fix the Kernel Power 41 error in Windows 10, you can change the power options by following these steps:
1. Press the Windows key + X and select “Power Options.”
2. Click on “Additional power settings” on the right-hand side.
3. In the Power Options window, click on “Change plan settings” next to your selected power plan.
4. Click on “Change advanced power settings.”
5. Scroll down and expand the “Sleep” category.
6. Set “Sleep after” and “Hibernate after” to “Never” for both “On battery” and “Plugged in.”
7. Click “Apply” and then “OK” to save the changes.
This should help fix the Kernel Power 41 error in Windows 10. If you continue to experience issues, it may be helpful to seek assistance from the Windows community or Microsoft support.
How to Turn Off Fast Startup to Resolve the Error
To resolve the Kernel Power 41 error in Windows 10, you can try turning off Fast Startup. This feature can sometimes cause issues with the system shutting down properly. Here’s how to do it:
1. Press the Windows key + X and select “Power Options.”
2. Click on “Choose what the power buttons do” on the left side.
3. Click on “Change settings that are currently unavailable.”
4. Scroll down and uncheck the box that says “Turn on fast startup (recommended).”
5. Click on “Save changes.”
By disabling Fast Startup, you may be able to fix the Kernel Power 41 error and prevent your system from blue-screening or restarting unexpectedly.
Troubleshooting BIOS and Hardware for Kernel Power 41 Error
If you’re experiencing the Kernel Power 41 error in Windows 10, there are a few troubleshooting steps you can take to resolve the issue.
Firstly, it’s recommended to reset your BIOS settings to their default values. This can help eliminate any potential conflicts or misconfigurations that may be causing the error.
Additionally, check for any hardware-related issues. Ensure that all your hardware components, such as your video card, memories, and sound card driver, are properly connected and seated.
Furthermore, updating your device drivers and BIOS can also help resolve the error. Visit the manufacturer’s website to download and install the latest drivers and firmware for your hardware components.
Lastly, perform a thorough scan for malware and viruses, as they can sometimes interfere with system processes and cause the Kernel Power 41 error.