Fix Blinking Folder with Question Mark on Mac
If you’re a Mac user and have encountered the blinking folder with a question mark, you know it can be frustrating. But don’t panic, there are a few simple solutions to fix this issue.
Understanding the Blinking Folder with a Question Mark on Mac
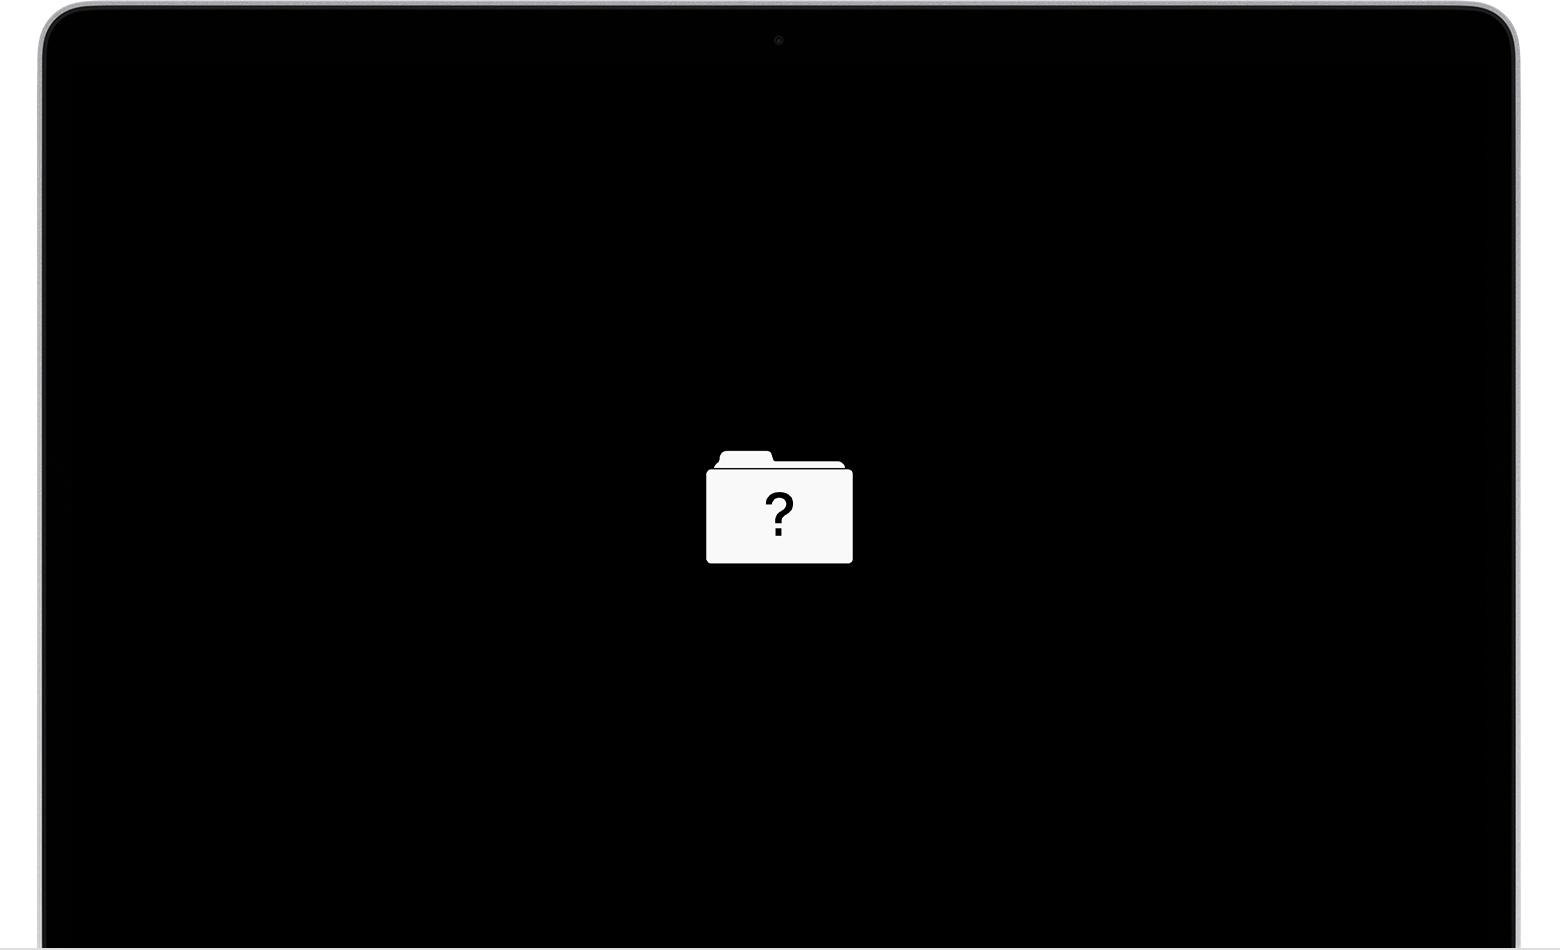
If you see a blinking folder with a question mark on your Mac screen, it means that your Mac can’t find the startup disk or operating system. Here are some steps to fix the issue:
1. Restart your Mac and hold down the Option key. This will show you the Startup Manager.
2. If you see the startup disk in the list, select it and press Enter. This should start up your Mac.
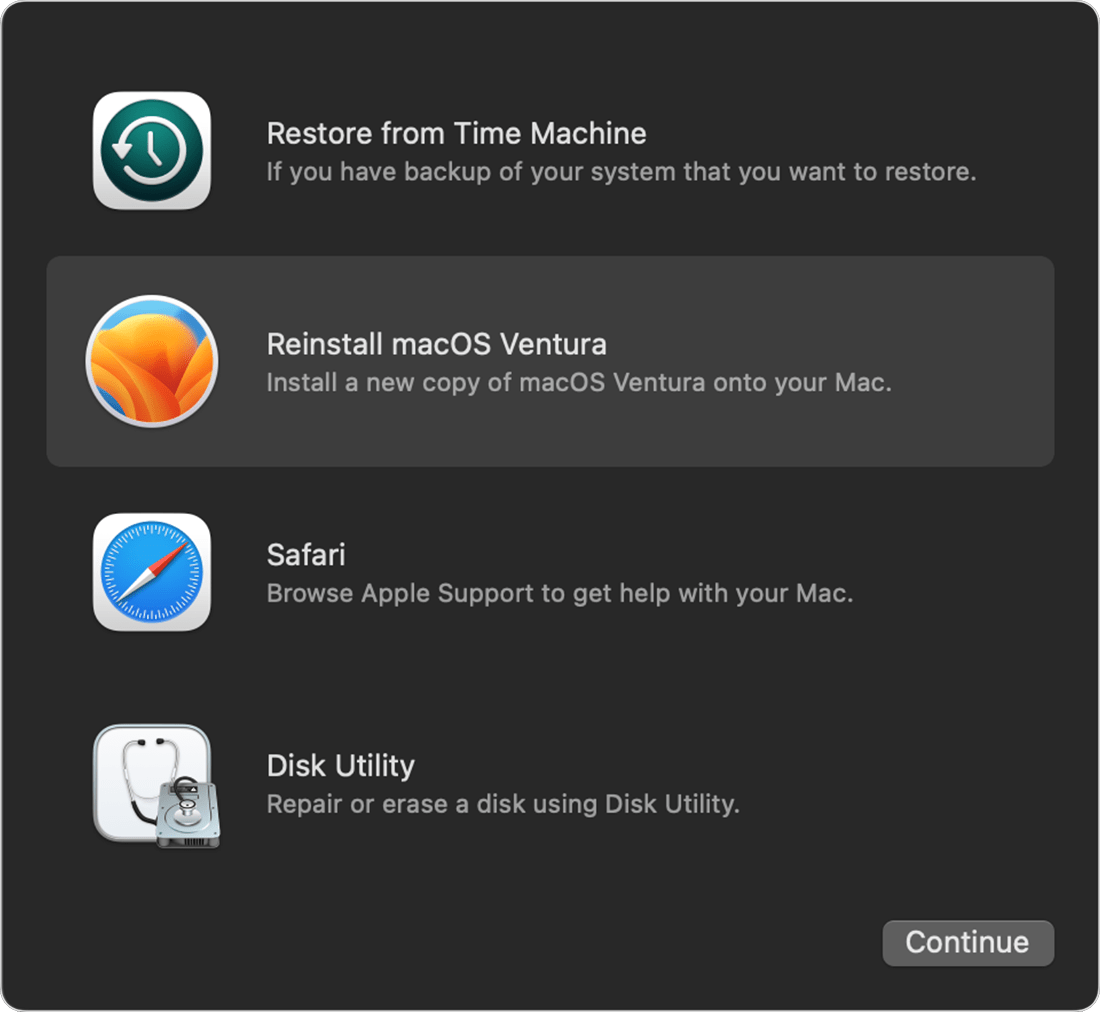
3. If you don’t see the startup disk, restart your Mac and hold down the Command and R keys. This will take you to macOS Recovery.
4. From there, you can try to repair your disk using Disk Utility.
5. If none of these fixes work, you may need to reinstall macOS. Make sure to back up all your data before doing this.
Note: Some MacBook Air and MacBook Pro models have a Touch ID sensor instead of a power button. To reset the NVRAM on these devices, press and hold the Touch ID button until the screen goes black. Then release the button and press it again to turn on your Mac.
Recovering Data from an Unbootable Mac with the Question Folder
Recovering data from an unbootable Mac with the question folder is possible. The first step is to try resetting the NVRAM by pressing the P + R keys during startup, then releasing them when the Apple logo appears. If this doesn’t work, navigate to the Startup Disk menu in System Preferences and select a workable solution.
Another fix is to use Disk Utility to repair any problems with the hard drive. If none of these fixes work, consider taking the device to Apple Support or a professional repair service. It’s important to note that fixing the flashing question mark folder issue may not necessarily recover all data.
For MacBook Air or notebook computers with a non-removable battery, hold down the power button for 10 seconds to reset the NVRAM. If you encounter errors or a black/white screen during troubleshooting, take into consideration the operating system and processor.
Using Data Recovery Software to Retrieve Lost Files
If you’re experiencing the blinking folder with a question mark on your Mac, it’s likely that you’ve lost important files. Thankfully, data recovery software can help you retrieve them.
Step 1: Boot your Mac and navigate to the menu bar.
Step 2: Select “System Preferences” and click on the “Startup Disk” option.
Step 3: Choose your startup disk from the list of available disks and click “Restart.”
If this doesn’t fix the issue, you may need to try resetting your NVRAM. To do this, hold down the “Command + Option + P + R” keys, then release them after you hear the startup sound twice.
Another consideration is to use data recovery software to repair any problems with your hard drive. Apple Support can offer guidance on how to resolve the flashing question mark folder issue. With these workable solutions, you can fix your Mac and retrieve your lost files.
CSS:
.folder {
width: 50px;
height: 50px;
background-color: #F5F5F5;
border: 1px solid #DDDDDD;
position: relative;
animation: blink 1s infinite;
}
.question-mark {
font-size: 30px;
font-weight: bold;
color: #777777;
position: absolute;
top: 50%;
left: 50%;
transform: translate(-50%, -50%);
}
@keyframes blink {
0% {
opacity: 0;
}
50% {
opacity: 1;
}
100% {
opacity: 0;
}
}
JavaScript:
// This tool doesn't require any JavaScript, but you could use it to add interactivity to the blinking folder with a question mark.
Note that this is just a rough example and you may need to adjust the code to fit your specific needs.
Six Fixes for the Blinking Folder with a Question Mark on Mac Startup
- Check for external devices:
- Disconnect all external devices from your Mac.
- Restart your Mac and check if the folder with a question mark is gone.
- Check your startup disk:
- Restart your Mac and hold down the Option key.
- Select your startup disk from the list of available disks.
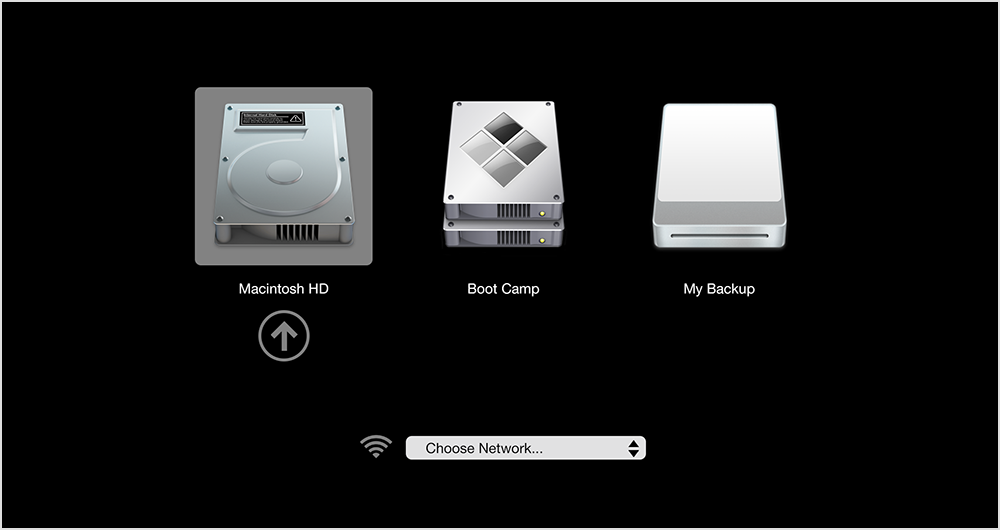
- Click the arrow to boot from the selected disk.
- Reset PRAM or NVRAM:
- Shut down your Mac.
- Hold down Command + Option + P + R keys and press the power button.
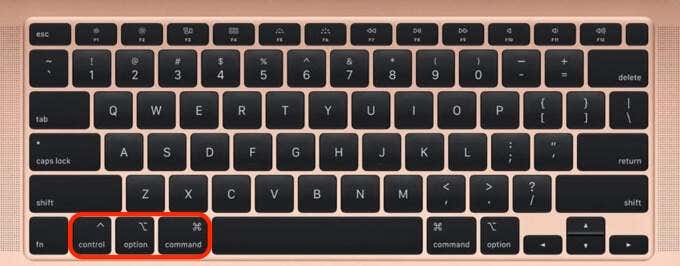
- Release the keys after you hear the startup sound twice.
- Repair your disk using Disk Utility:
- Boot your Mac into recovery mode by holding down Command + R keys during startup.
- Select Disk Utility from the list of available options.
- Select your startup disk and click on First Aid.
- Click on Repair Disk and wait for the process to complete.
- Reinstall macOS:
- Boot your Mac into recovery mode by holding down Command + R keys during startup.
- Select Reinstall macOS from the list of available options.
- Follow the on-screen instructions to complete the reinstallation.
- Replace your hard drive or SSD:
- If none of the above fixes work, it may be time to replace your hard drive or SSD.
- Consult with an Apple technician or authorized repair center to get your Mac repaired.
Checking System Preferences and Reselecting the Startup Disk
To fix the blinking folder with question mark error on your Mac, you can try checking your System Preferences and reselecting the Startup Disk. Here’s how:
1. Boot up your Mac and hold down the “Option” key until you see the Startup Manager.
2. From there, select the startup disk you want to use and hit enter.
3. If this doesn’t work, restart your Mac and hold down the “Command + R” keys to enter Recovery mode.
4. From there, select “Disk Utility” and click on your startup disk.
5. Click on “First Aid” and let it run to repair any errors.
6. If none of these solutions work, try resetting your NVRAM by holding down the “Option + Command + P + R” keys until you hear the startup chime twice.
By following these steps, you should be able to fix the blinking folder with question mark error on your Mac and get back to using your device normally.
Resetting NVRAM and Rebooting in Recovery Mode
To fix a blinking folder with a question mark on your Mac, you can try resetting the NVRAM and rebooting in recovery mode. This can help resolve some startup issues and repair problems with your laptop or desktop computer. Here’s what you need to do:
1. Shut down your Mac.
2. Press the power button to turn it back on.
3. Immediately press and hold the Command + Option + P + R keys simultaneously.
4. Keep holding them until you hear the startup sound twice.
5. Release the keys and let your Mac restart normally.
6. If the blinking folder persists, you can try booting into recovery mode by holding down the Command + R keys during startup.
7. From there, you can access various troubleshooting and repair options, such as repairing your startup disk, restoring from a backup, or reinstalling the Mac OS.
8. Follow the on-screen navigation to select the appropriate settings and workable solutions for your specific problem.
By following these steps, you can potentially fix your Mac startup problem and get your computer back up and running. Note that these instructions may vary slightly depending on your Mac model, processor, or operating system version.
Repairing the Mac Hard Drive with Disk Utility
To repair the Mac hard drive with Disk Utility, you can follow these steps:
1. Boot your Mac into Recovery Mode by holding down Command + R while it starts up.
2. Select Disk Utility from the Utilities window.
3. Click on the hard drive you want to repair, then click on the First Aid button.
4. Click on Run to start the repair process.
5. Wait for the repair to finish and restart your Mac.
If your Mac is still showing a blinking folder with a question mark, try resetting NVRAM by holding down Command + Option + P + R. Release the keys after you hear the startup sound twice.
These steps should help you fix the blinking folder issue on your Mac and repair any problems with your hard drive. If you still have trouble, consider seeking professional assistance.
Reformatting the Mac Startup Disk and Reinstalling macOS
If you see a blinking folder with a question mark on your Mac when you try to boot it up, it means that the computer can’t find the startup disk or operating system. One way to fix this issue is by reformatting the startup disk and reinstalling macOS.
To do this, you’ll need to boot your Mac into Recovery mode by holding down the Command and R keys during startup. From there, you can navigate to the Disk Utility and erase the startup disk. Once that’s done, you can download and reinstall macOS by following the prompts in the Recovery menu.
Keep in mind that this process will erase all data on your Mac, so make sure to back up any important files before proceeding. If you’re still experiencing issues after reinstalling macOS, you may need to reset NVRAM or repair problems in Startup Disk settings. MacBook, iMac, Mac Mini, and other notebook computers from Apple can all encounter these scenarios.
Recovering Lost Files After Fixing the Blinking Folder with a Question Mark
| Step | Task |
|---|---|
| 1 | Stop using your Mac immediately to avoid overwriting lost files. |
| 2 | Try recovering lost files from Time Machine backups. |
| 3 | Use data recovery software like EaseUS Data Recovery Wizard or Disk Drill to scan for lost files. |
| 4 | Recover lost files by selecting them from the scan results and saving them to a new location. |
| 5 | If data recovery software fails, consider contacting a professional data recovery service. |