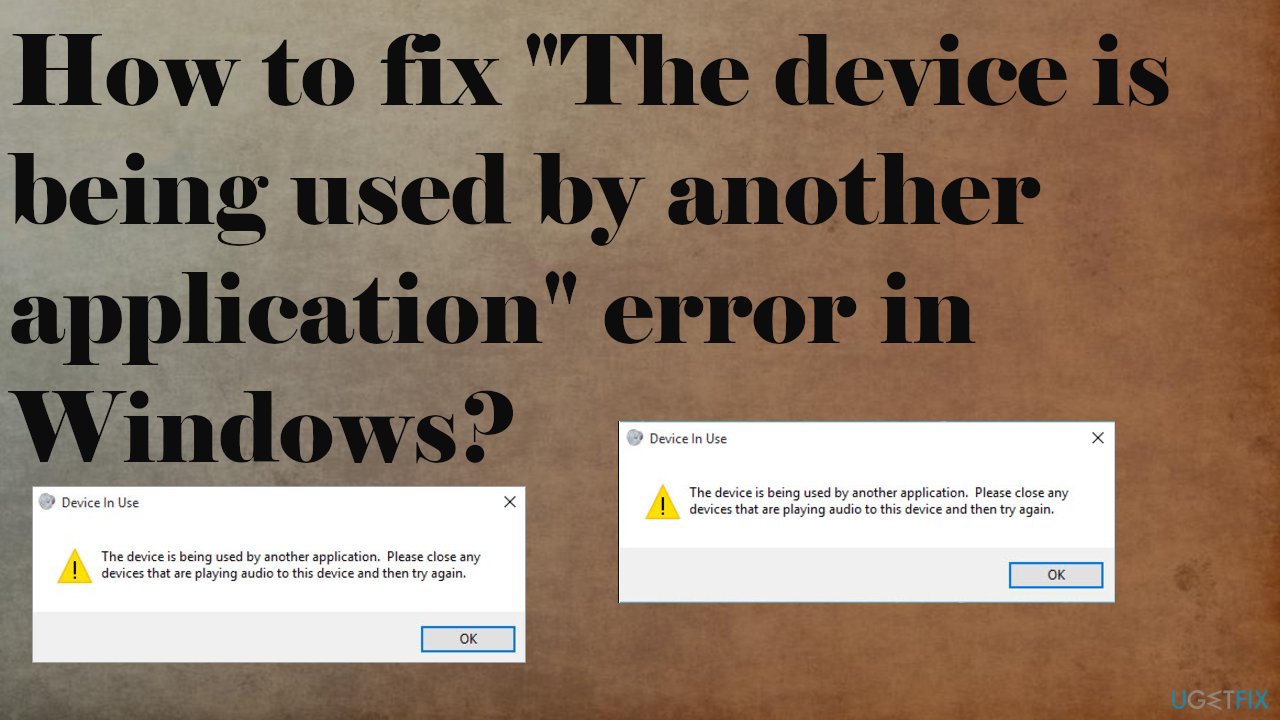
Why won’t my headphones work on my laptop – Troubleshooting guide
Are you tired of dealing with headphone woes when trying to enjoy your favorite tunes or engage in virtual meetings on your laptop? Look no further! In this troubleshooting guide, we will unravel the mysteries behind why your headphones refuse to cooperate and help you find the perfect fix. Get ready to bid farewell to frustrating audio issues and say hello to uninterrupted sound!
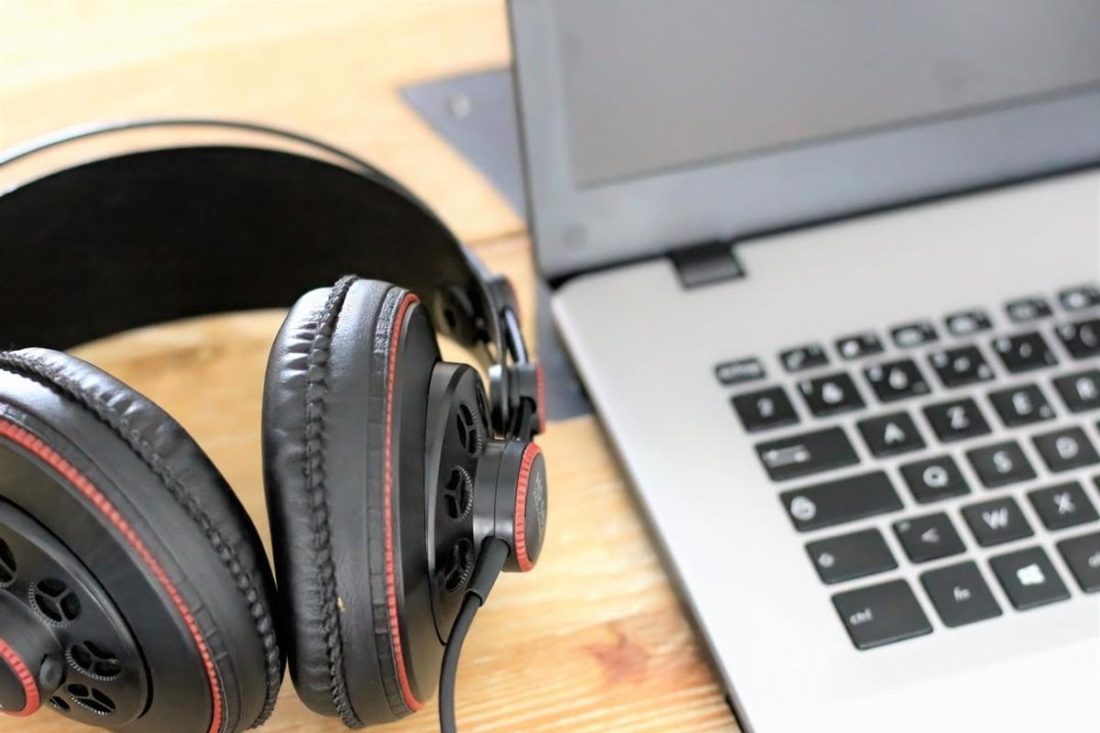
Check headphone connection
Check Headphone Connection
If your headphones aren’t working on your laptop, there are a few simple troubleshooting steps you can take to fix the issue.
1. Ensure the headphone jack is securely plugged in to your laptop. Sometimes a loose connection can prevent audio from playing through your headphones.
2. Check the volume settings on your laptop. Right-click on the volume icon in the taskbar and select “Open Volume Mixer.” Make sure the volume slider for your headphones is not muted or set too low.
3. Update your audio driver. Outdated or incompatible drivers can cause headphone problems. Use a reliable driver update tool like Driver Easy to automatically update your audio driver.
4. Try a different pair of headphones. Sometimes the issue lies with the headphones themselves, so test them on another device to see if they work.
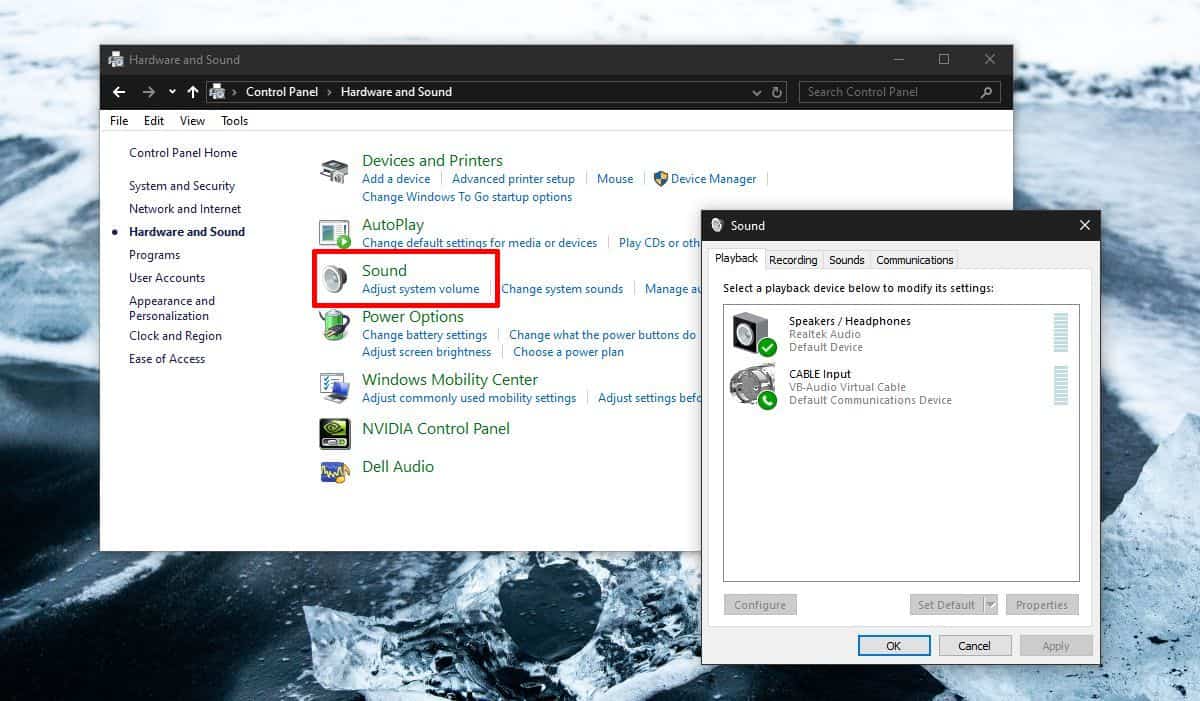
Adjust volume settings
Adjusting Volume Settings on Windows 10 Laptop
If you’re experiencing issues with your headphones not working on your laptop, adjusting the volume settings can often resolve the problem. Here’s how you can do it:
1. Check the volume slider: Locate the volume control icon in the system tray, usually found at the bottom-right corner of the screen. Right-click on the icon and adjust the volume slider to an appropriate level.
2. Verify headphone device icon: Make sure your laptop recognizes the headphone jack. Look for the headphone device icon in the volume control options. If it’s not there, it could indicate a system problem.
3. Update audio drivers: Outdated or incompatible audio drivers can cause headphone connectivity issues. Use a reliable driver updater like Driver Easy to automatically update your drivers.
4. Test different headphones: If you’re still experiencing problems, try using a different pair of headphones to rule out any hardware-related issues.
By adjusting the volume settings and following these troubleshooting steps, you can often fix headphone connectivity problems on your Windows 10 laptop.
Troubleshoot headphone audio
1. Check the basics: Make sure your headphones are properly plugged into the headphone jack and adjust the volume control on your laptop.
2. Update your audio driver: Update your audio driver to fix any system problems. Use Driver Easy to easily update your drivers.
3. Test with a different headphone: Try using a different pair of headphones to see if the problem lies with the headphones themselves.
4. Check your headphone jack: Inspect the headphone jack for any dirt or debris that may be obstructing the connection. Clean it gently with a soft cloth or compressed air.
5. Try different ports: If your laptop has multiple headphone jacks, try connecting your headphones to a different jack.
6. Restart your laptop: Sometimes a simple restart can resolve connectivity issues between your laptop and headphones.
Follow these steps to troubleshoot and fix common headphone audio problems on your laptop.
python

import subprocess
def check_headphone_connection():
try:
output = subprocess.check_output('powershell.exe Get-WmiObject -Query "select * from Win32_SoundDevice where (Name like '%headphones%' or Name like '%headset%')"', shell=True)
if output:
print("Headphones are connected.")
else:
print("No headphones found.")
except Exception as e:
print("Error occurred while checking headphone connection:", str(e))
check_headphone_connection()
The above Python code utilizes the `subprocess` module to run a PowerShell command in order to check whether any headphones or headsets are connected to the laptop. It searches for the presence of “headphones” or “headset” in the device names. If any matching device is found, it prints a message indicating that headphones are connected; otherwise, it notifies that no headphones were found.
Please note that this code is a basic example and may not cover all possible scenarios or account for specific laptop models or operating systems. Additionally, it only checks the connection status based on device names and does not address any of the previously mentioned reasons why headphones may not work on a laptop.
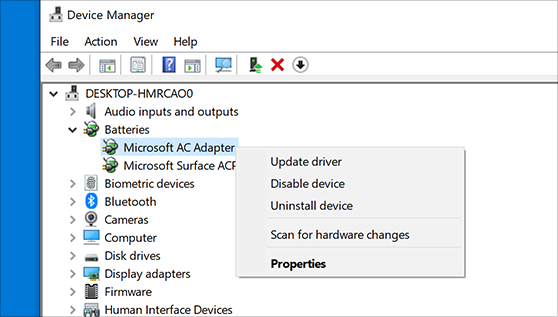
Update audio driver
To update the audio driver for your laptop, follow these steps:
1. Press the Windows key + X and select Device Manager.
2. Expand the “Sound, video and game controllers” category.
3. Right-click on your audio device and select “Update driver.”
4. Choose “Search automatically for updated driver software.”
5. Windows will search for and install the latest driver for your audio device.
If this doesn’t resolve the issue, try the following solutions:
1. Check if the headphone jack is working properly. Try using different headphones or speakers to rule out a hardware problem.
2. Ensure that the volume is not muted or too low. Adjust the volume using the volume control.
3. Restart your laptop and check if the headphones are now working.
4. If you have recently installed any third-party audio software or drivers, uninstall them and restart your laptop.
5. Consider using a driver update tool like Driver Easy to automatically update your audio driver.
Following these steps should help troubleshoot and resolve any issues with your laptop’s headphone jack.
Set headphones as default
Set Headphones as Default:
To set your headphones as the default audio output device on your laptop, follow these steps:
1. Right-click on the volume icon in the system tray and select “Sounds.”
2. In the “Playback” tab, locate your headphones and right-click on them.
3. Choose “Set as Default Device” from the context menu.
4. Click “Apply” and then “OK” to save the changes.
By setting your headphones as the default device, you ensure that audio will be directed to them instead of the laptop speakers. This can resolve issues where your headphones are not working.
If your headphones still won’t work after setting them as the default device, try these additional troubleshooting steps:
1. Check the headphone jack for any physical damage or debris. Clean it if necessary.
2. Update your audio drivers. Visit the manufacturer’s website or use Driver Easy (www.drivereasy.com) to automatically update them.
3. Restart your laptop and test the headphones again.
These steps should help resolve most headphone-related issues. If the problem persists, it may be a hardware problem, and you should consult a professional for further assistance.
Change audio format
To change the audio format on your laptop and troubleshoot headphone issues, follow these steps:
1. Right-click on the volume icon in the taskbar and select “Open Sound settings.”
2. Under the “Output” section, click on the drop-down menu and select your headphones as the default audio device.
3. Scroll down to the “Related Settings” section and click on “Sound Control Panel.”
4. In the Sound Control Panel, select your headphones and click on the “Properties” button.
5. Go to the “Advanced” tab and change the default format to a different option. Try different formats until your headphones start working.
6. Click “Apply” and then “OK” to save the changes.
7. Test your headphones to see if they’re now working properly.
If your headphones still don’t work, try these additional troubleshooting steps:
1. Update your audio drivers. Go to the manufacturer’s website or use a reliable driver update tool like Driver Easy to download and install the latest drivers for your sound card.
2. Check the headphone jack for any physical damage or debris that may be blocking the connection. Clean it gently with a soft cloth or compressed air if necessary.
3. Restart your laptop and try again.
4. If you’re using a wireless headset or Bluetooth headphones, make sure they’re properly paired and connected to your laptop.
5. Test your headphones on another device to rule out any hardware issues.
These steps should help you resolve most headphone problems on your laptop. If the issue persists, it’s recommended to reach out to your laptop manufacturer’s support or consult a professional technician for further assistance.
Clean headphone jack
To clean your headphone jack on your laptop, follow these simple steps:
1. First, turn off your laptop and unplug any headphones or other audio devices.
2. Take a small, clean, and dry brush (such as a toothbrush) and gently brush the inside of the headphone jack. Be careful not to apply too much pressure or use any liquids.
3. If there is any visible debris or dust, use a can of compressed air to blow it out of the jack.
4. If the issue persists, try using a Q-tip or cotton swab lightly moistened with rubbing alcohol to clean the inside of the jack. Make sure to let it dry completely before testing again.
5. Finally, plug in your headphones and check if they are working properly.
Repair or replace laptop audio components
-
Check headphone connection
- Ensure the headphone plug is fully inserted into the laptop’s audio jack
- Try using a different pair of headphones to determine if the issue is with the headphones or the laptop
-
Adjust audio settings
- Open Control Panel and navigate to Sound settings
- Make sure the correct playback device is selected
- Ensure the volume is not muted or turned too low
-
Update audio drivers
- Open Device Manager by pressing Windows Key + X and selecting Device Manager
- Expand the Sound, video and game controllers category
- Right-click on the audio driver and select Update driver
- Follow the prompts to update the driver
-
Disable audio enhancements
- Right-click on the volume icon in the system tray and select Playback devices
- Double-click on the active playback device
- Navigate to the Enhancements tab
- Check the box to Disable all enhancements
- Click Apply and then OK
-
Run audio troubleshooter
- Open Control Panel and search for Troubleshooting
- Select Troubleshoot audio playback
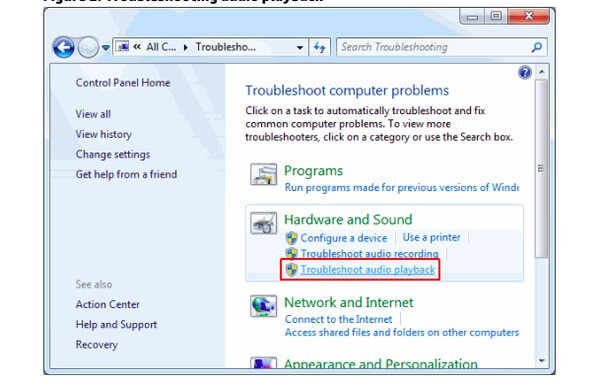
- Follow the on-screen instructions to detect and fix audio issues
-
Test audio with different applications
- Try playing audio using different applications, such as media players or online videos
- If the issue is specific to one application, reinstall or update the application
-
External audio device
- Connect external speakers or headphones to the laptop’s audio jack
- If the external device works, the issue may be with the laptop’s built-in audio components
- Consider using the external device or contacting a technician for further assistance